Cook, Learn, and Share to Fight Hunger.
  • 75 min.
  • 75 min.
  • 2/5

Ingredients:

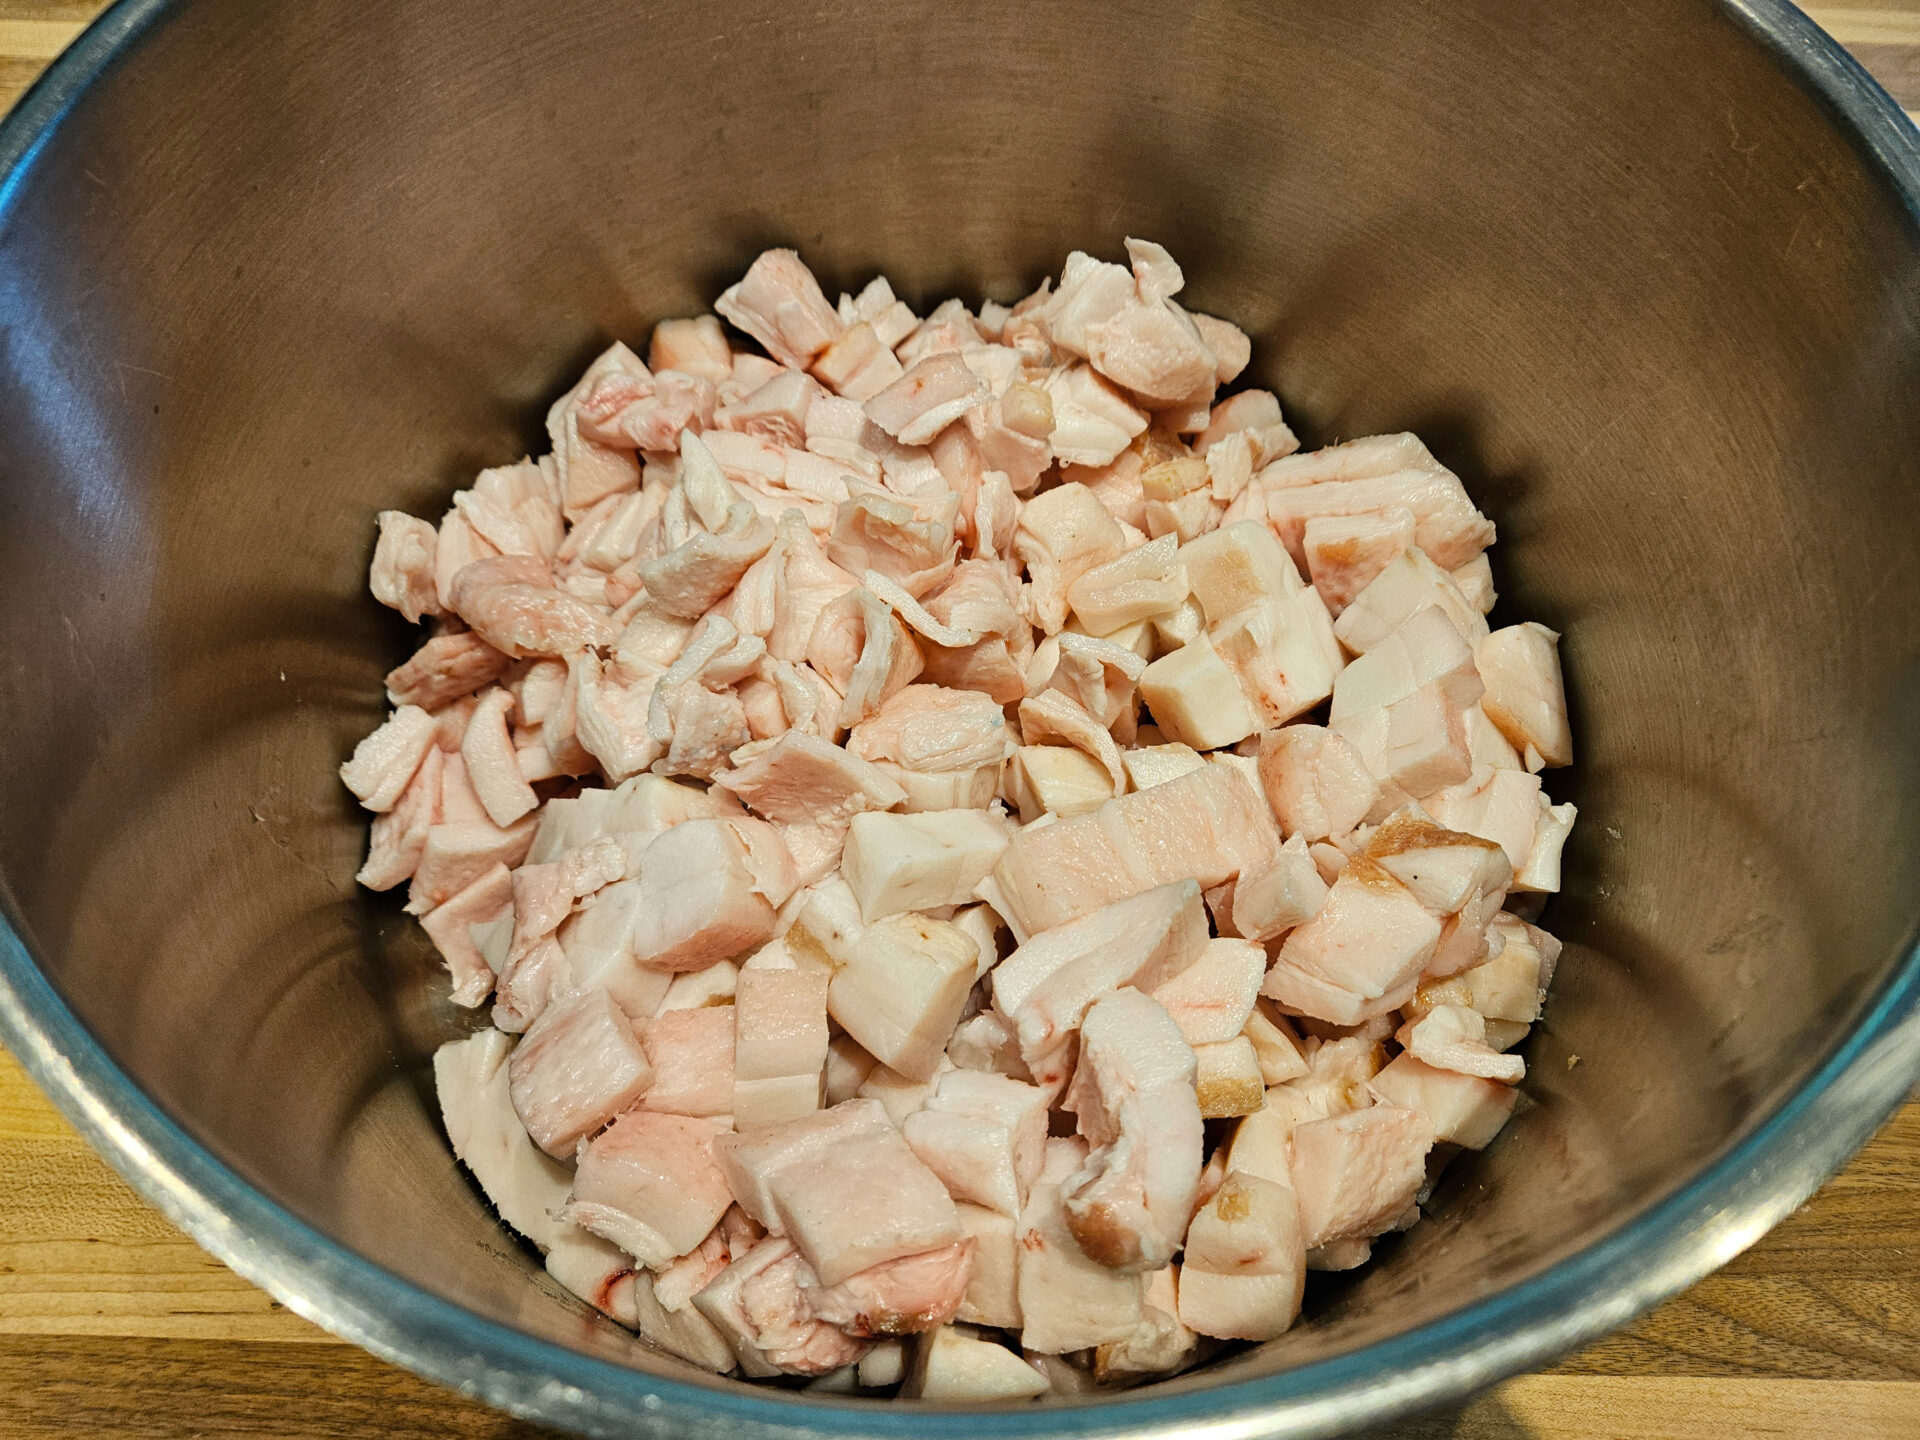
* Pork back fat is standard meat cut. Every hog has enough of it. In Europe, it is normally available in most stores. In the United States, it is for sale less commonly, but it is still very heavily used in meat products. It is a common ingredient for sausages, kielbasas, brats, and other meat products that are commonly eaten. Since butchers utilize this cut for their meat products, they often do not sell it by themselves.  In any good butcher store, you can request this kind of cut, and they will gladly prepare it for you (it may just have to be a special order). You can also purchase this cut from some online meat seller (just write “pork back fat” to Google, confirm with enter, and then select the shopping section. Please note that sellers usually ship only in certain parts of the USA, for that reason I’m not providing you with links). Optionally, you can also obtain pork fat from other pork parts while preparing other meals. For example, Boston pork butt or back pork leg can have in packaging a thick layer of fat that people often cut off and dispose of. If you keep this fat layer and freeze it every time you prepare, eventually, you will collect enough to prepare this recipe. And it will be totally free!
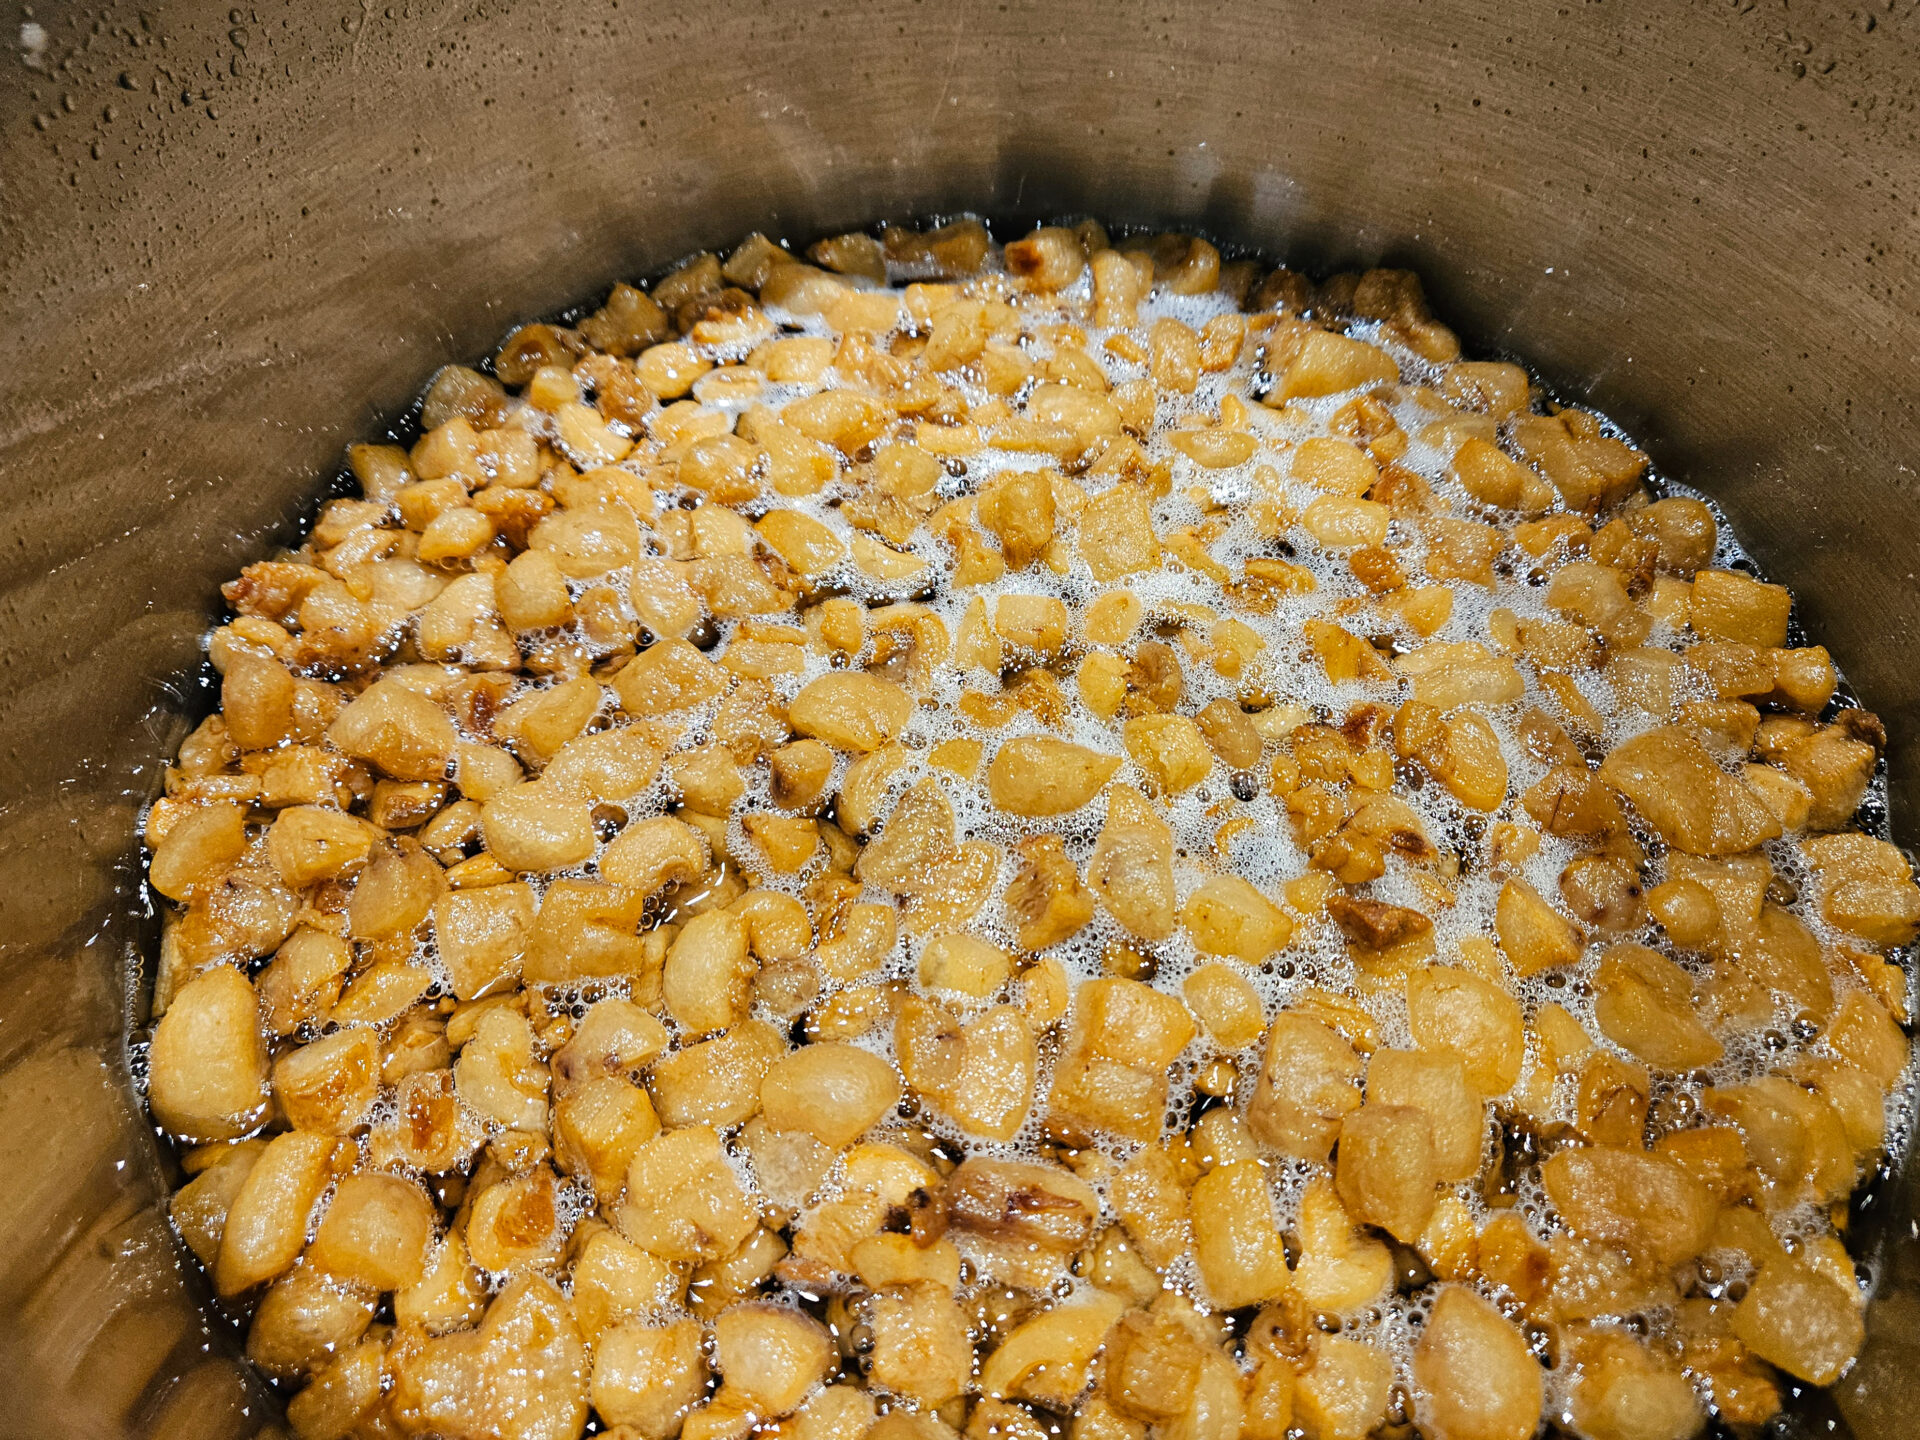
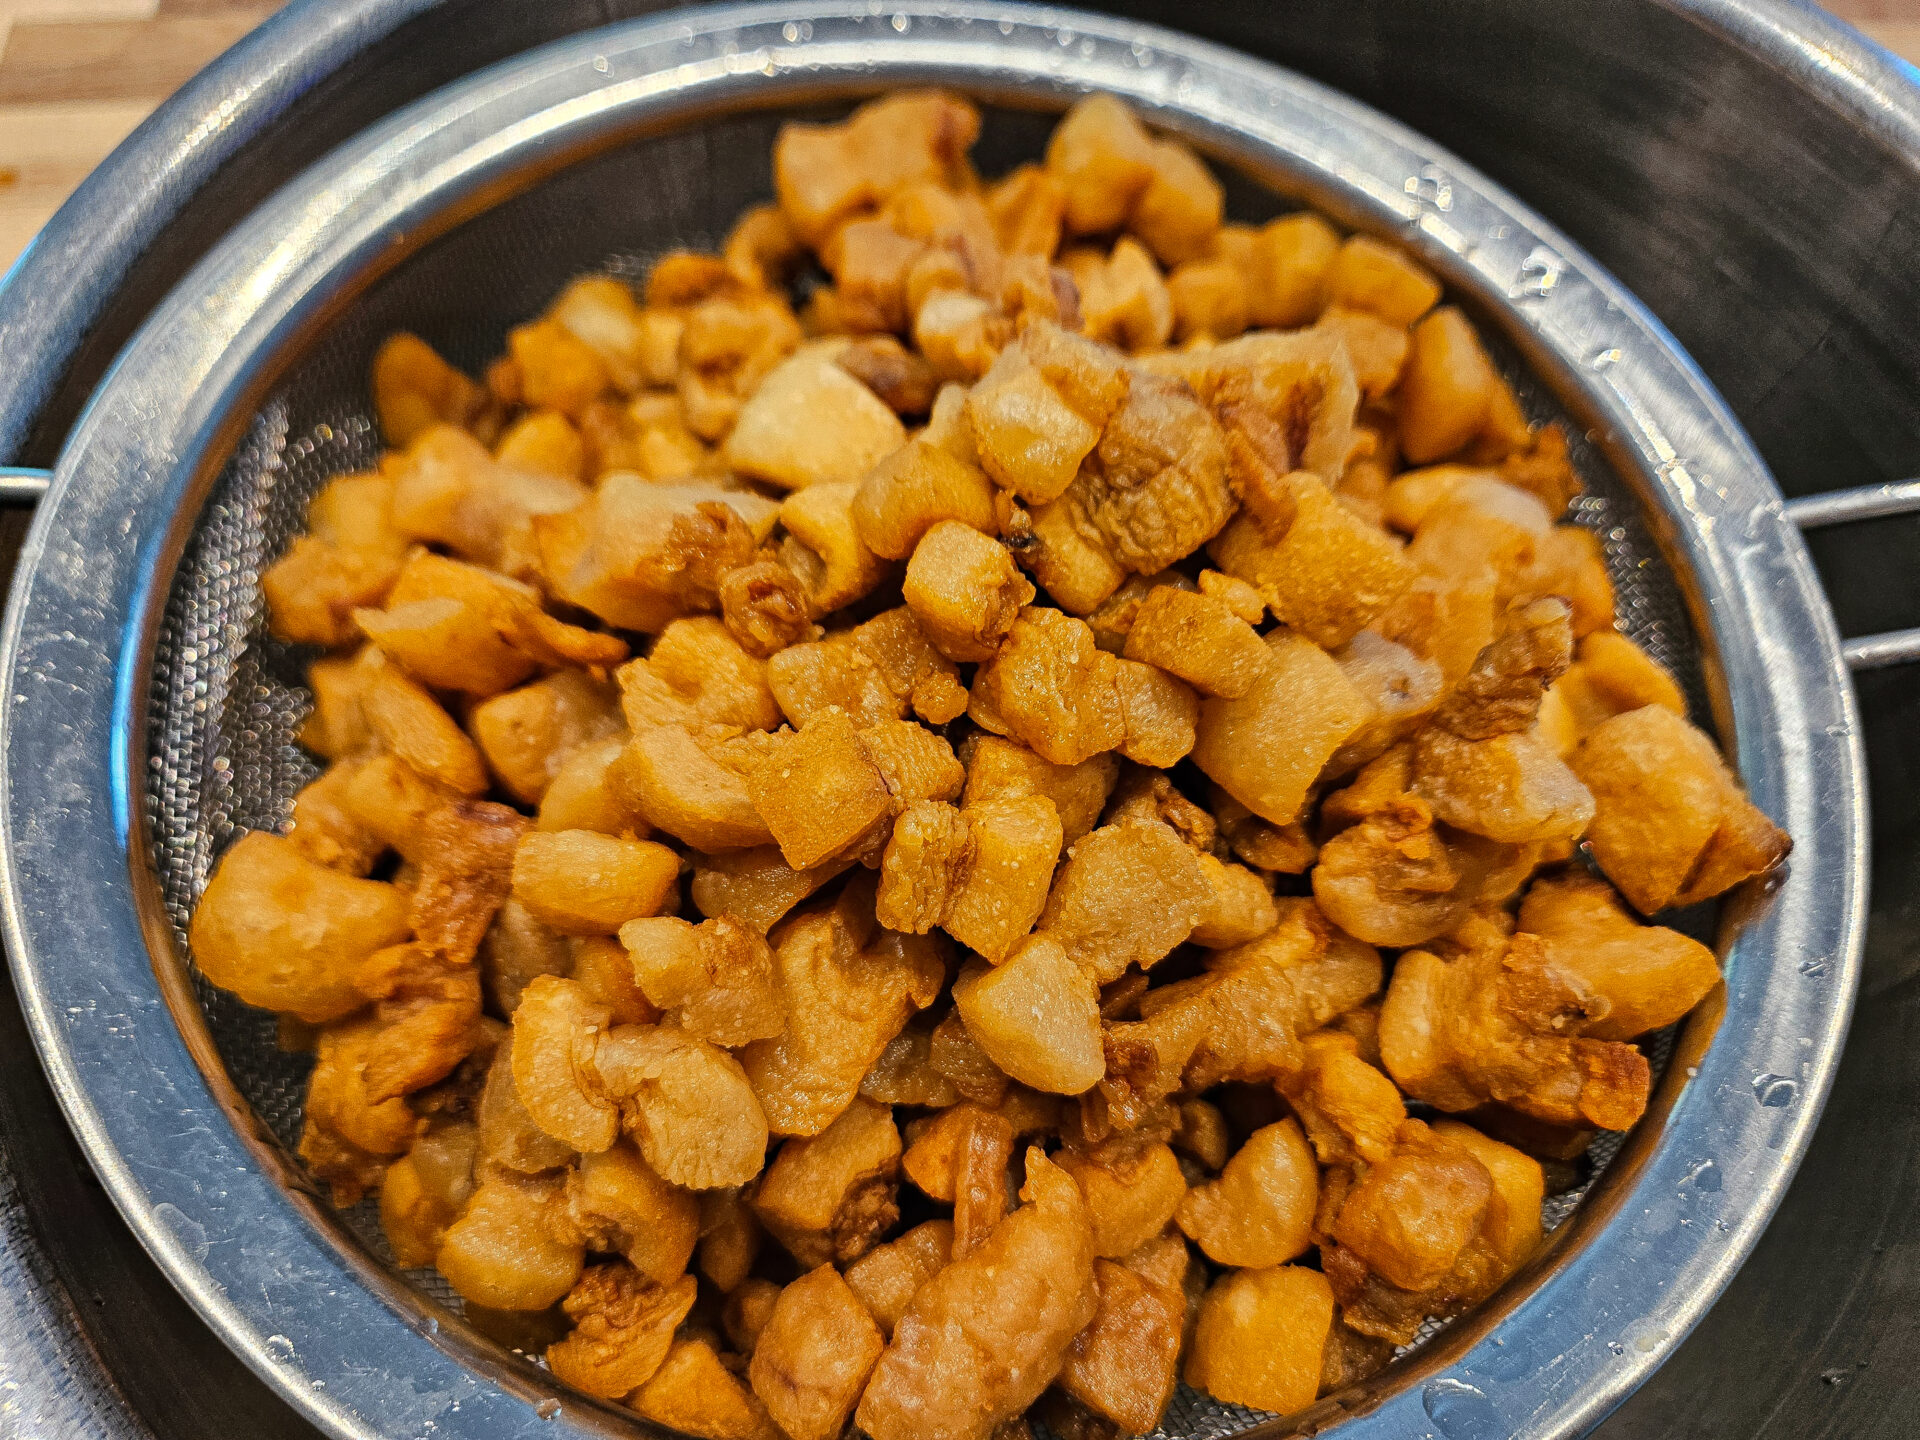
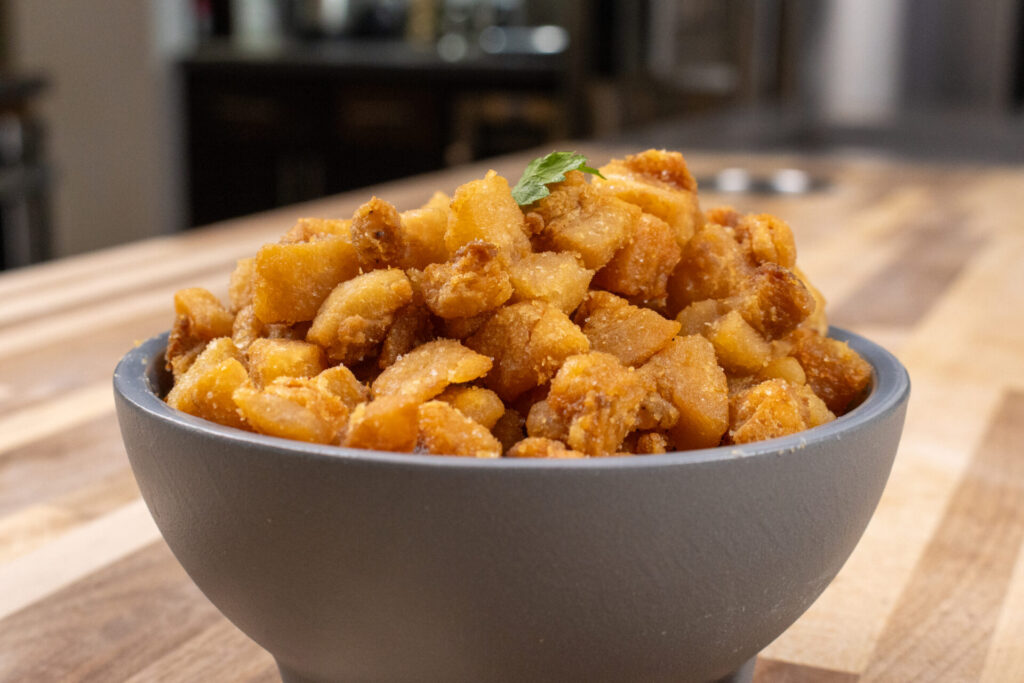
Tools:

Directions:

1. Meat Preparation:

1.1.

Rinse pork back fat thoroughly under cold water to remove surface bacteria.

1.2. Then cut into even dice (size based on your preferences; I prefer sizes about ½ to ¾”) and place them right in the large stock pot that is not on the stove yet.

Important:

  • Fat is usually with minimal or no meat present on it.
  • Little meat is okay (leave little parts on it without worries), but if large pieces of meat are present, remove them and use them for another project (yes, they are delicious).
  • If you leave too much meat, your pork rinds will still be delicious but may be more chevy than you wish.
  • Keep the size of your dice unified as much as possible for even cook, but still use smaller pieces from the side.
Pork Cracklins and Lard - preparation-5

2. Cooking – Part 1:

2.1.

Place stock pot with dice on the stove and set stove to medium heat.

2.2. Add:

2 cups of water

And briefly stir using a large cooking spoon.

Notes:

  • Water is added just to begin the process of cooking – it will eventually evaporate.
  • It will help to preheat diced pork back fat, which will then start turning into pork rinds by gradually releasing fat (pork lard).
  • If you do not use water to start, it will not get properly cooked, and it will start sticking to the pot.
Pork Cracklins and Lard - preparation-6Pork Cracklins and Lard - preparation-7

2.3. Bring to a simmer with occasional stirring and cook until the first part of the lard is released.

Notes:

  • The first amount of the lard will be very small, and diced pork back fat will turn slightly shiny.
  • Do not expect large amounts; expect just the right amount to prevent burning or sticking to the pot.
  • At this stage, water should be evaporated, and the amount of the lard should be roughly like how much cooking oil you would use for stir-frying.

3. Cooking – Part 2:

3.1. Reduce temperature to medium-low and cook with occasional stirring until pork rinds release a significant amount of lard and turn to an appetizing golden color (usually between 30 minutes to 90 minutes based on the size, exact temperature, and quality of pork back fat).

Notes:

  • During the whole cooking process, you will have more and more pork lard until the amount of pork lard is the majority of the content in the pot, and the diced pork back fat will start frying in it (last step of cooking).
  • Eventually, pork rinds may start sticking to the bottom. Therefore, using a large cooking spoon will allow you to scrape them from the bottom of the pot.
  • Do not overthink the cooking time. Pork rinds are going to reach the minimum required safe serving temperature of 145°F within less than the first 10 minutes, and after that, it is just about releasing the lard and turning it into a nice appetizing golden color. If you like a less fatty taste, just simply extend the cooking – just make sure not to burn them. And feel free to take one out and taste it when you get close to making sure it fits your flavor preference (lightly salt it before tasting).
Pork Cracklins and Lard - preparation-8

4. Drain the Lard:

4.1. When pork rinds are cooked to your satisfaction, cover the pot with a lid and very carefully move it to a cool surface, away from the hot burner or the cooling rack next to the stove.

Important:
Minimize the movement of the pot to just the necessary distance, placing it on the closest cold surface. At this point, the oil is extremely hot, potentially reaching temperatures close to 400°F. Burns from hot oil can be very dangerous.

4.2. Remove the lid and, using a slotted spoon, gradually scoop all cracklings into the strainer. (Place the strainer into the mixing bowl to allow the cracklings to drip excess fat.)

Important:

  • Secure the strainer with a fork or spoon on the mixing bowl to prevent it from slipping.
  • Make sure not to use any plastic strainers or non-heatproof plastic utensils, as they could melt in the hot oil.

4.3.

When all the cracklings are in the strainer, let them drip for about a minute.

4.4.

Place rinds into a medium mixing bowl and generously salt.

4.5.

Let the lard cool for at least one hour with the lid removed to make it safer to handle.

4.6. Then carefully pour lard into jars while still warm (use a metal funnel if needed).

Notes:

  • Lard will turn to while and harden while fully cooled.
  • It will melt again if you decide to cook with it later.

5. Serving:

5.1.

Pork rinds:

5.1.1.

Can be served hot, but most often, they are served cold.

5.1.2.

Let it fully cool at room temperature, place it into the food container, and let it cool for a few hours (or preferably overnight) in the refrigerator.

5.1.3.

Serve like a snack or appetizer on the bread (use lard like a spread!) or turn it into the spread (recipe here).

5.2.

Pork Lard:

5.2.1.

Cook with lard right way or let it cool when you want to use it as a spread or for later use in cooking or baking.

5.2.2.

Let it cool fully at room temperature, cover it with a lid, and let it cool for a few hours (or preferably overnight) in the refrigerator.

5.2.3.

Use for cooking, baking, or spreading on a slice of bread with finely chopped onion and a sprinkle of salt.

About the Author:
TomFounder
# 1
  • Published Recipes: 229
  • Av. Recipe Evaluation:
  • Location: Iowa, USA
  • Member since: 2023-02-02

Add My Review

If you want to add your review, you must log in.

Disclaimer

All content and information (including recipes, articles, and other materials) on CookingHub.com are the opinions of the authors and are not intended to provide dietary, medical, legal, or political advice. Consult with a professional before deciding to follow these opinions.

Authors and www.CookingHub.com (operated by CookingHub Foundation) are not responsible for any part of any possible outcome or its consequences, which include (but are not limited to):

  • Any health risk related to the handling of food, food quality, and/or not following USDA recommendations (including minimum safe serving temperatures and other guidelines).
  • Safety during preparation, including the handling of equipment and the equipment’s suitability for food preparation.
  • Improper performance of cooking techniques.
  • Sourcing of ingredients, providing tools, equipment, and anything else related to the preparation and consumption of the products of this recipe.
  • Nutritional data and information and diet-related information (and their accuracy). It is important to consult with your medical provider to ensure that the diet you are considering is suitable for you and to verify the information provided before proceeding.
  • The overall outcome of following recipes, including the look and taste of the final product.
  • Possible errors in articles and recipes (including incorrectly or unclearly explained steps and directions).
  • Typos.

All readers (users and visitors of www.CookingHub.com) are responsible for evaluating the recipes and articles and making their own decisions about whether to follow the steps and recommendations. They must ensure that the ingredients and steps fit with their dietary restrictions and avoid preparation methods that could pose a health risk due to an unsuitable diet.