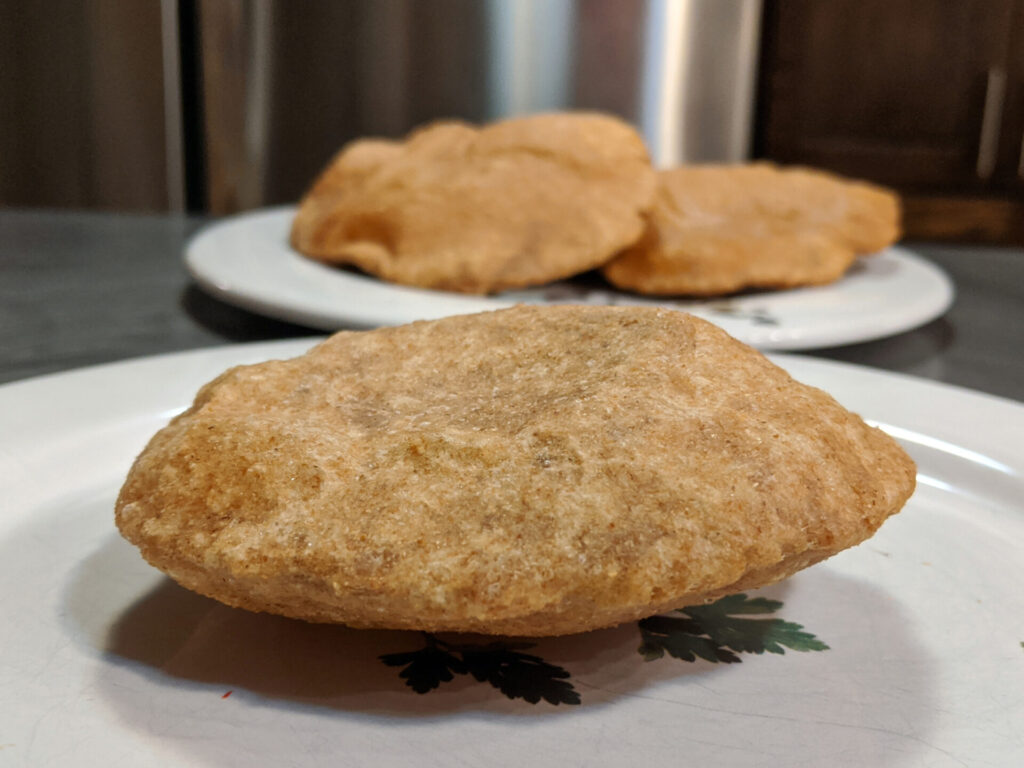
Poori bread, oh Poori bread! This light, airy, and golden-brown delight of Indian cuisine is a true testament to the magic of simple ingredients and careful technique. It’s a staple on tables across India, served alongside curries, chutneys, and all sorts of flavorful dishes. Today, we embark on a journey to master the art of making perfect Poori bread, achieving that satisfying puff with each and every one.
The Humble Beginnings: Ingredients and Tools
Our journey begins with gathering our humble ingredients. We’ll need two cups of whole wheat flour, the foundation of our Poori. To this, we add a touch of richness and flavor with 1 ½ teaspoons of frying oil – ghee, if you have it, adds a particularly lovely aroma. A mere ¾ cup of water binds our dough, and ½ teaspoon of salt enhances the flavors. Lastly, a bit of extra vegetable oil will aid us in the rolling process.
Our toolkit is simple but essential: measuring cups and spoons for precision, a large mixing bowl to accommodate our doughy creation, a trusty bowl scraper or dough cutter, a silicone brush for oiling, a rolling pin to achieve the perfect thinness, a deep fryer or pot with a thermometer to ensure the correct oil temperature, a skimmer for graceful retrieval, and a cooling rack or paper towels for that final touch.
The Dance of the Dough
With our ingredients and tools assembled, we begin the creation of our Poori dough. In our large mixing bowl, we combine the whole wheat flour, frying oil, water, and salt. Now, the real magic begins: kneading. With our hands, we work the dough for a good 4-5 minutes until it becomes stiff and tight. A word of caution: over-kneading will lead to a more elastic dough that absorbs oil during frying, hindering the desired puff.
The Oil’s Embrace: Preparing for the Fry
As our dough rests, we turn our attention to the heart of Poori making: the frying. We preheat our oil to a steady 350°F, the ideal temperature for achieving that golden-brown perfection and airy puff.
Shaping the Discs of Delight
Now, back to our dough. On an unfloured surface, we divide it into six equal pieces using our dough scraper. Each piece is then carefully rolled into a smooth ball. We place these dough balls on a plate and lightly brush them with extra oil, ensuring a non-stick surface for rolling.
Here’s a crucial step: we’ll flatten each ball with a rolling pin just before frying. Why? Because if we flatten them all at once, they’ll start to dry out, affecting the final texture. Remember to use a touch of extra vegetable oil instead of flour to prevent sticking. Our goal is to create round discs with an even thickness of about 1/8”. Too thick, and they may not puff; too thin, and they’ll become crisp rather than airy.
The Moment of Truth: The Deep Fry
With our oil shimmering at 350°F and our Poori discs ready, we approach the moment of truth. One by one, we carefully place each flattened disc into the hot oil. In a matter of seconds, they’ll begin to rise to the surface. This is where our skimmer comes in: we gently press the bread back under the oil level for 1-2 minutes, encouraging a beautiful puff. Then, with a gentle flip, we fry the other side until it turns a glorious golden brown, usually about 2-3 minutes.
Once golden and puffed, we retrieve our Poori with the skimmer and place it on a cooling rack. While it rests, we repeat the process with the remaining flattened discs, frying each one to perfection.
A Culinary Symphony: Serving and Enjoying
And there we have it! A plate of perfectly puffed Poori bread, ready to accompany any Indian meal or curry. Whether it’s a spicy vindaloo, a creamy korma, or a tangy chutney, Poori bread is the perfect vessel for scooping, dipping, and savoring every last drop of flavor.
So, go forth and create! With a bit of practice and attention to detail, you’ll be a Poori master in no time, impressing friends and family with this delightful Indian bread.
Sources and related content
Read less
Share
Click on the icons below to share "Title of the item to share"