Cook, Learn, and Share to Fight Hunger.
Picanha in Salt Crust medium distance side shot
  • 70 min.
  • 90 min.
  • 2/5

Ingredients:

Picanha in Salt Crust:

Optionally Serve With:

* Optionally substitute for other cuts of beef meat in a large chunk with a similar amount.

Recipes

Best served with:

Directions:

1. Meat Preparation:

 Let’s start preparing the Picanha in a Salt Crust with the meat preparation.

1.1. Make sure that the meat is properly rinsed under cold water.

Important:

  • Do not remove any fatty parts of the meat since they nicely tenderize picanha during cooking. After it is fully cooked, the fat part will taste great too, but if you want to, you can remove it later.
  • Do not cut into individual steaks – it will be prepared as a whole.

1.2.

Place meat on a cutting board.

Picanha in Salt Crust-01

1.3.

Perform the grid cut with your knife on the entire fat layer.

Picanha in Salt Crust - step 1

1.4.

Pour and sprinkle these ingredients on the top of the picanha:

1.4.1.

Pour Extra Virgin Olive Oil

Picanha in Salt Crust-04

1.4.2.

Grate 3 garlic cloves on the steak and spread with a silicone brush or fingers.

Picanha in Salt Crust-05Picanha in Salt Crust-06

1.4.3. Generously pepper.

Note:
Do not use salt – the meat will be later prepared in a salt crust, so it will get salt that way).

Picanha in Salt Crust-07

1.4.4.

Then turn and repeat on the other side of the beef picanha.

1.5. Cover the meat on the cutting board with plastic wrap and let rest (marinating) at room temperature for at least 30 minutes, but no more than 1 hour.

Important:
This step is also really important to prevent getting a rubbery texture of meat and reach the perfect tender flavor.

2. Salt Crust Mixture:

2.1. Place into a medium mixing bowl:

4 cups of Kosher salt
¾ cup of water

Thoroughly stir using a silicone spatula until fully combined.

Note:
The texture should be like wet sand. If necessary, add little more water or salt to reach that consistency.

Picanha in Salt Crust-14Picanha in Salt Crust-13

2.2.

Set aside for a later step.

3. Pan Sear:

3.1. Preheat the frying pan on high heat with 2 TBSP of frying oil and place in:

Marinated picanha prepared in step 1 (fat-side down)

And sear until the fat gets nicely rendered (about 2 minutes).

3.2.

Then turn and sear shortly from all remaining sides, just enough to get a nice sear on the meat.

3.3.

When a nice sear around the whole meat is reached (but the meat is still raw in the center), remove from the pan and place on a cooling rack to fully cool before the next step (usually takes about 15 – 20 minutes at room temperature).

Picanha in Salt Crust-12

4. Set Oven to Preheat:

4.1.

Set oven to preheat at 350°F.

5. Assemble:

5.1.

First, stir again the salt crust mixture.

5.2.

Place about ¼ of the salt crust mixture in the center of the baking sheet and distribute with a spatula to a thin layer with a slightly large diameter than is the diameter of your meat.

Picanha in Salt Crust-15

5.3.

Place meat on top of the thin layer.

Picanha in Salt Crust-16

5.4. Place the remaining salt crust mixture on top of the meat and then distribute using your hands.

Important:
Try to cover the meat evenly around the whole surface (if you have difficulties, just simply cover as much as you can).

Picanha in Salt Crust-17Picanha in Salt Crust-18Picanha in Salt Crust-19Picanha in Salt Crust-20

6. Roast Picanha in Salt Crust:

6.1. Place in a preheated oven and roast until you reach your desired internal temperature. *

Tip:
I usually try to target medium rare, which is a temperature anywhere between 130 – 135°F. To prepare about 2.5 LB picanha in a salt crust to this temperature usually takes about 40 – 50 minutes.

Important:
Keep in mind that the meat will have some carryover temperature – after cooking is terminated, you should expect an increase in internal temperature of about 3 – 5 °F.

7. Finishing of Picanha in Salt Crust:

7.1.

When the meat is roasted to your satisfaction, remove it from the oven, crack and remove the top crust, and then remove the meat to a cutting board.

Picanha in Salt Crust-21Picanha in Salt Crust-22Picanha in Salt Crust-23Picanha in Salt Crust-24

7.2. Let the meat rest on the cutting board for about 2 – 5 minutes before serving.

Note:

Picanha will use this time to release blood and lock the juices in.

7.3.

Slice it into thin slices and optionally serve with herb butter.

Picanha in Salt Crust-25Picanha in Salt Crust-26
* Check with a food thermometer to make sure that you have reached the minimum recommended safe serving temperature for beef, lamb, venison of 145°F.
Kitchen Guide

Beef, Lamb, Venison (steaks, chops, roast)

The USDA minimum safe internal temperature is 145°F.

Popular serving temperatures:

  • 110 – 120°F – Blue
  • 120 – 130°F – Rare
  • 130 – 135°F – Medium Rare (most popular, especially by chefs)
  • 135 – 145°F – Medium
  • 145 – 155°F – Medium Well
  • 155°F and more – Well Done
Ingredients

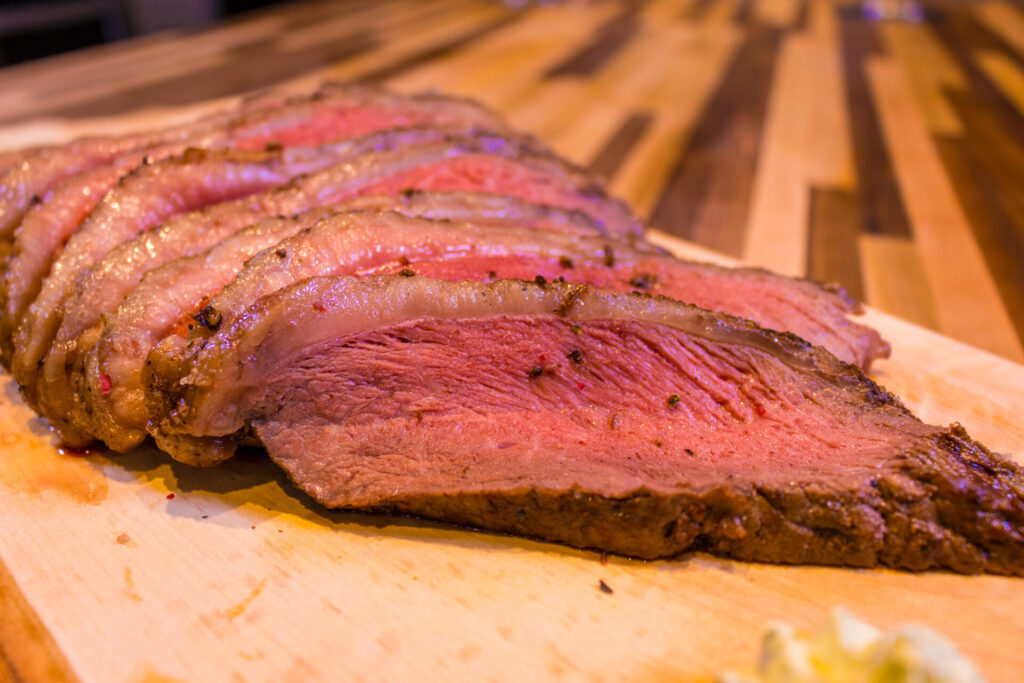
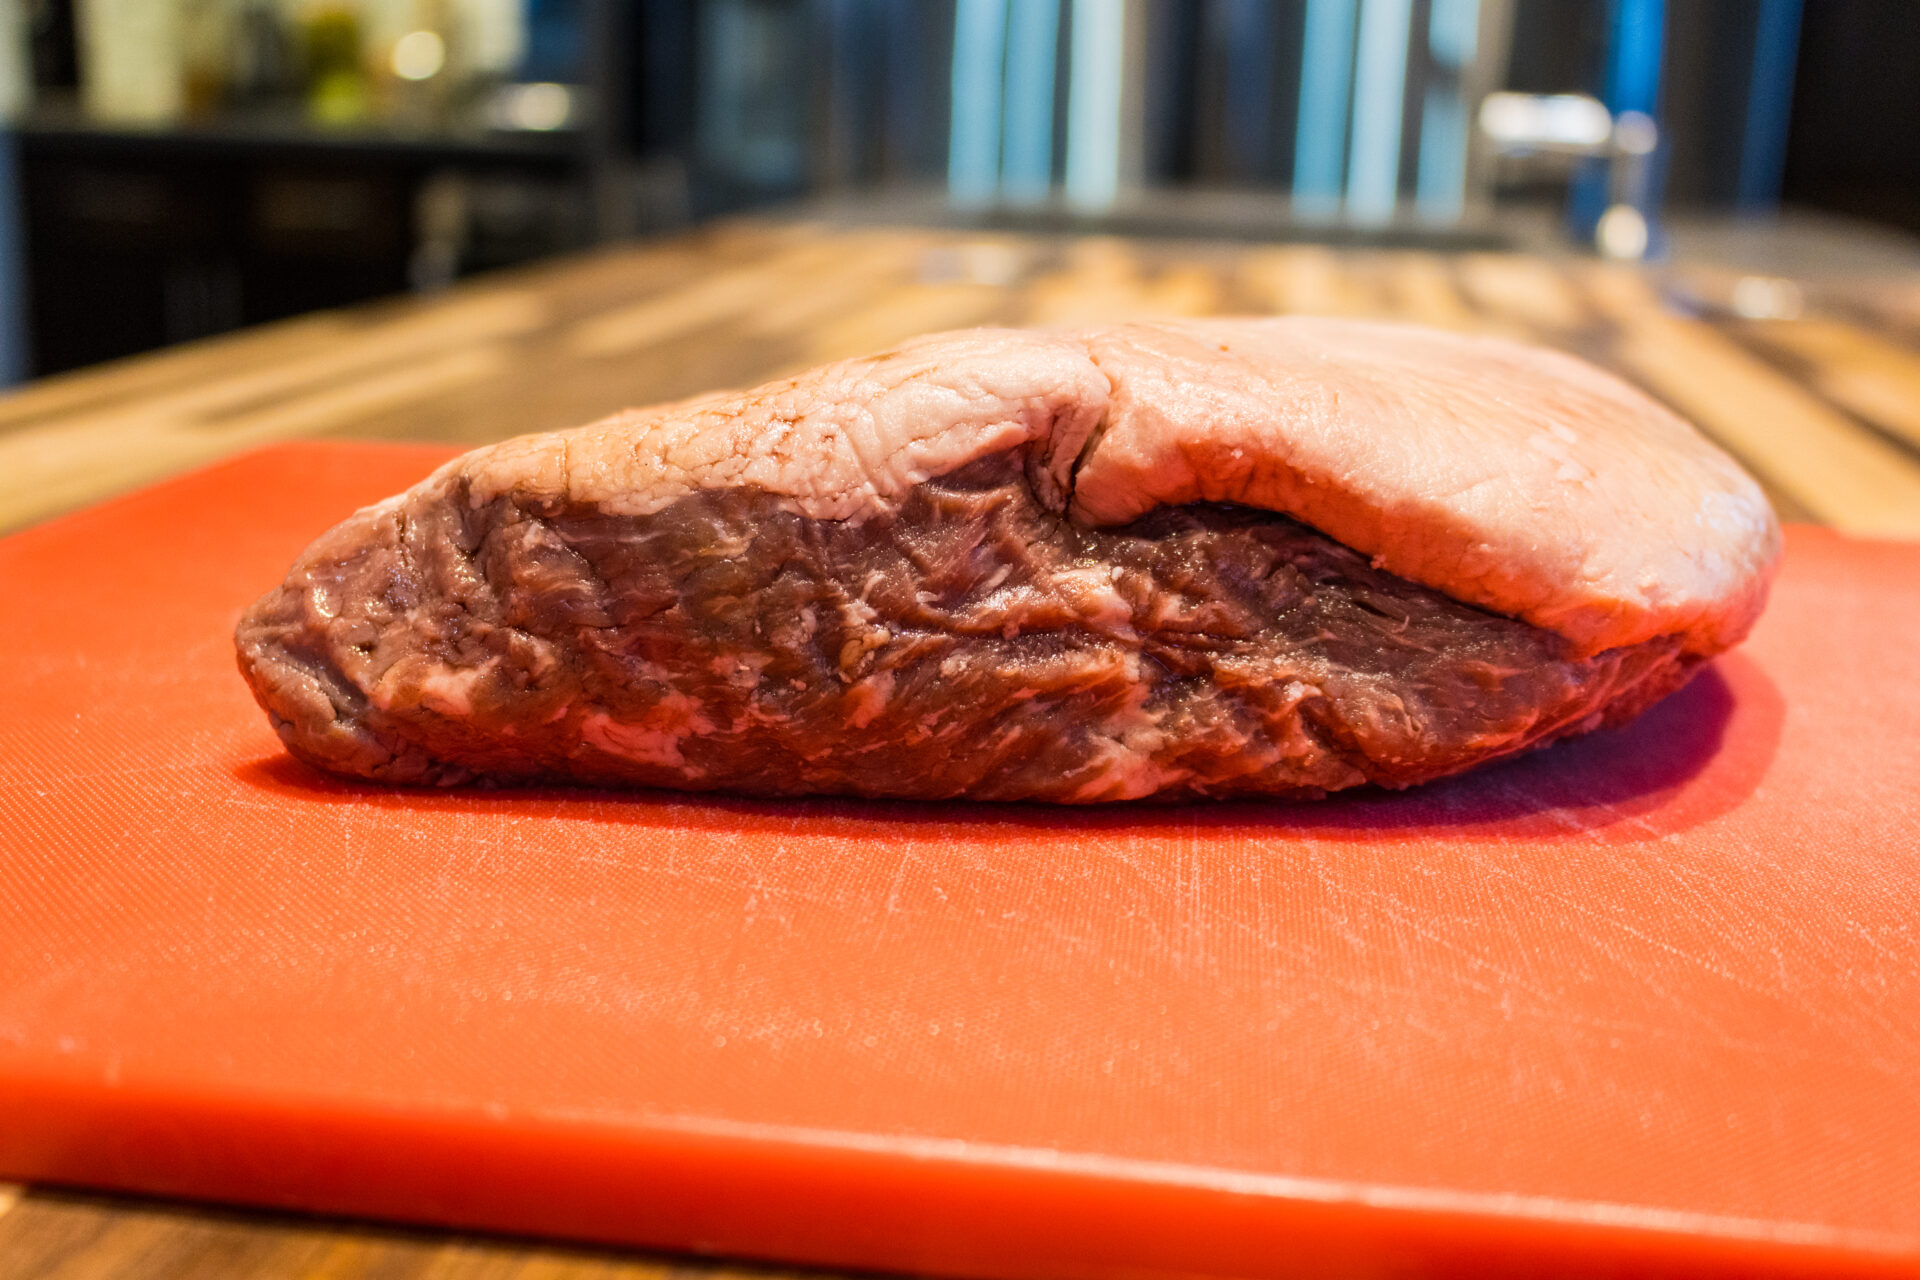
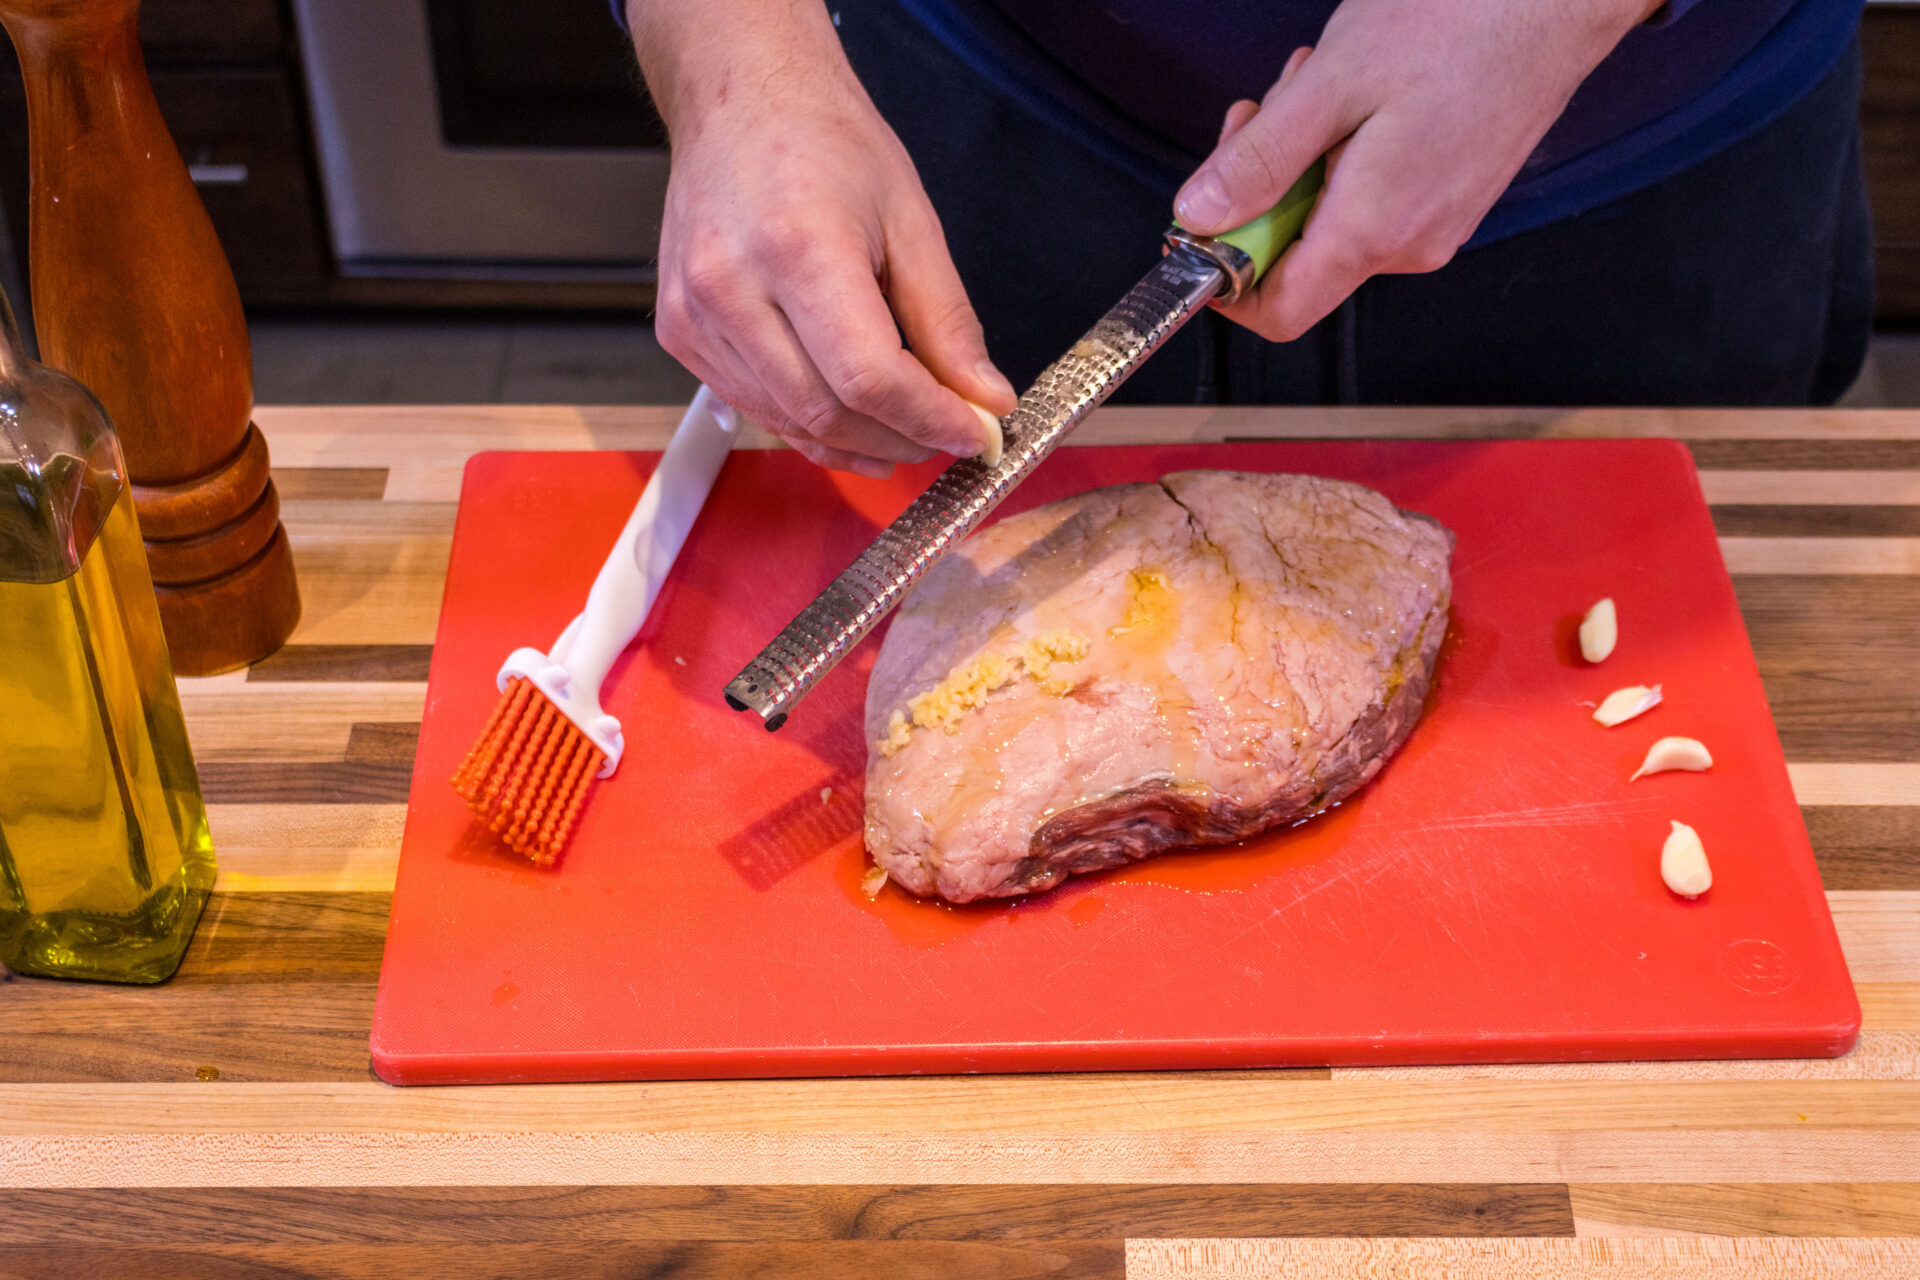
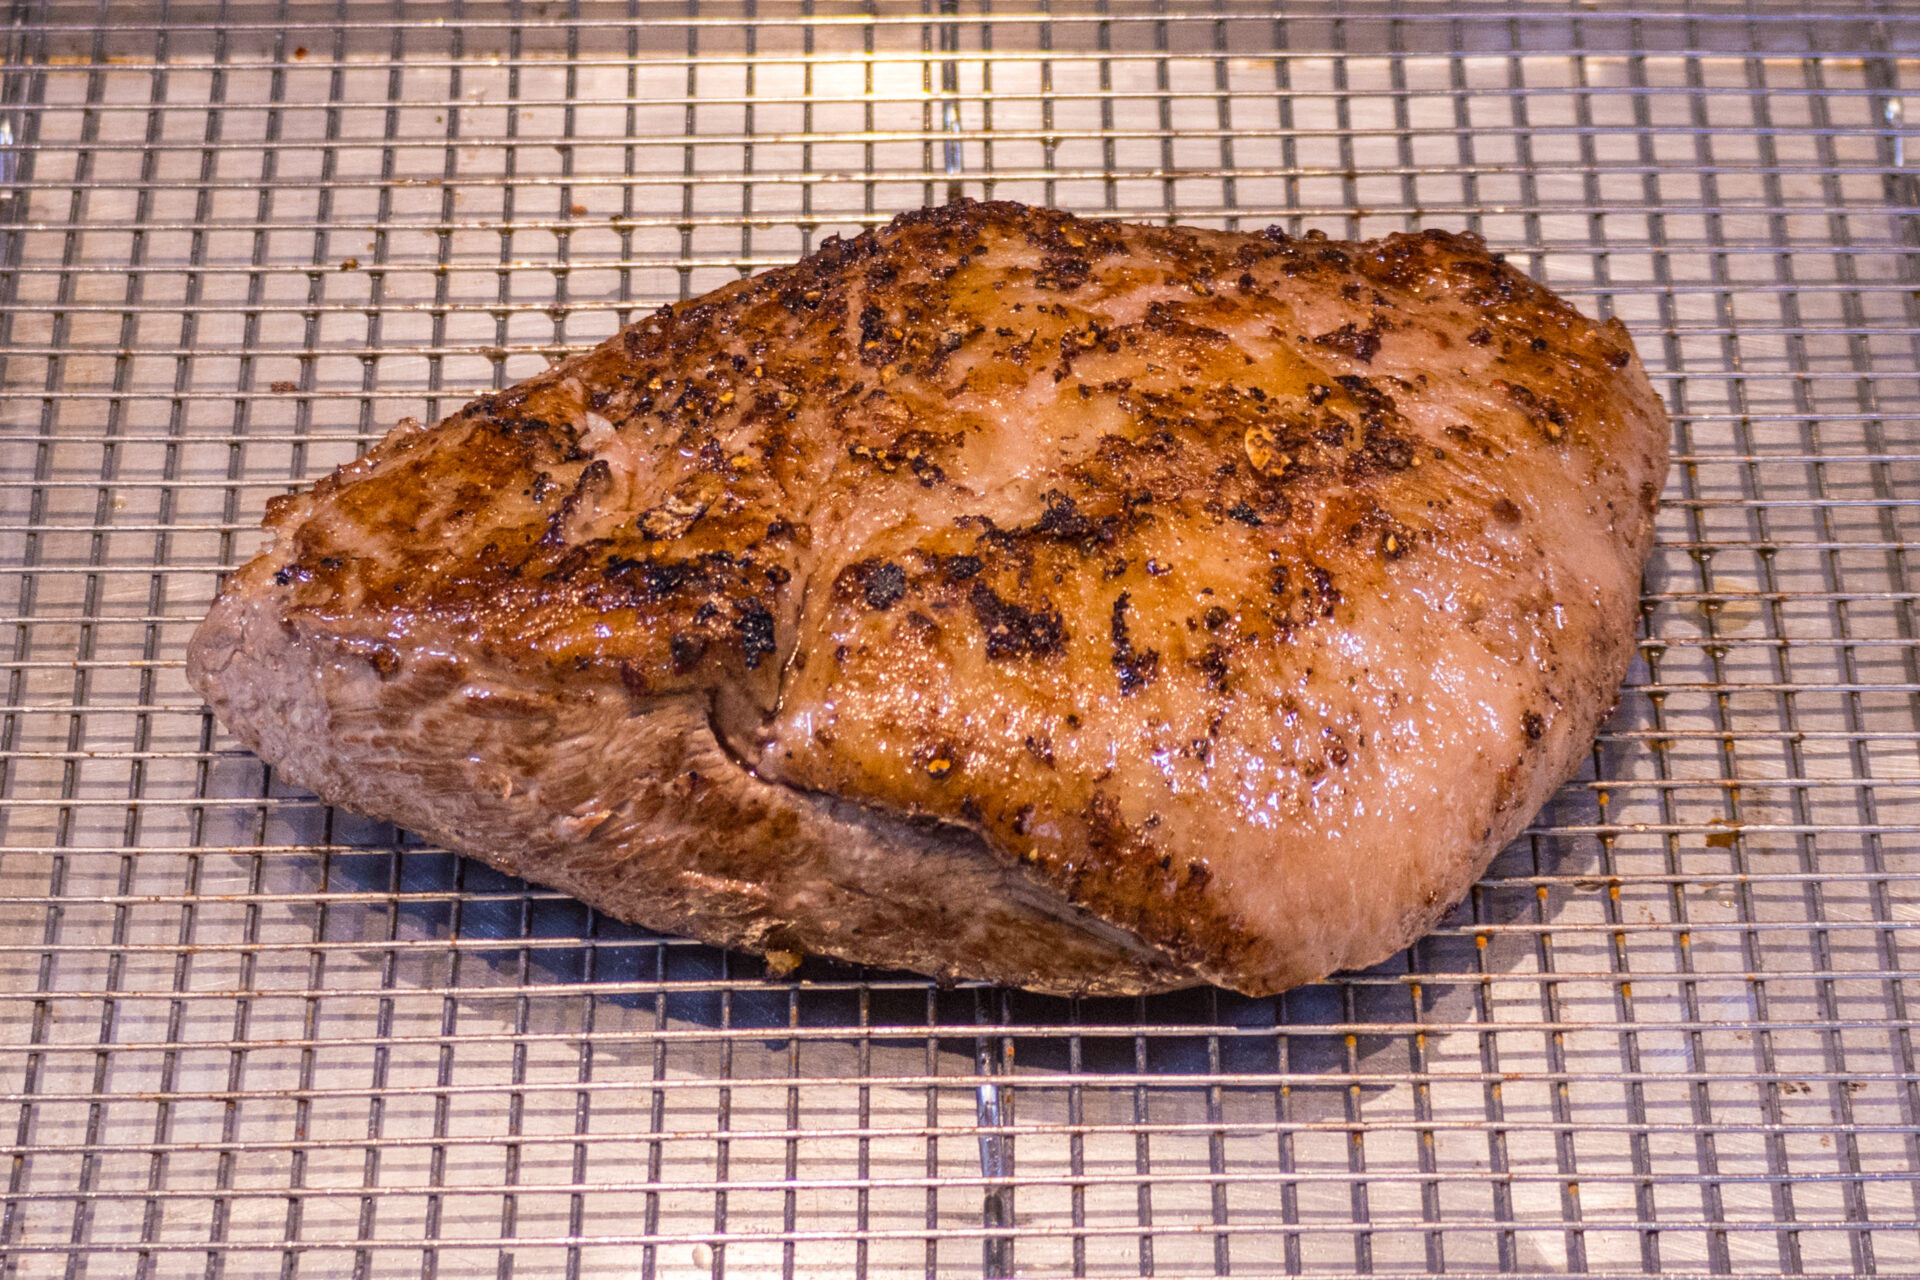
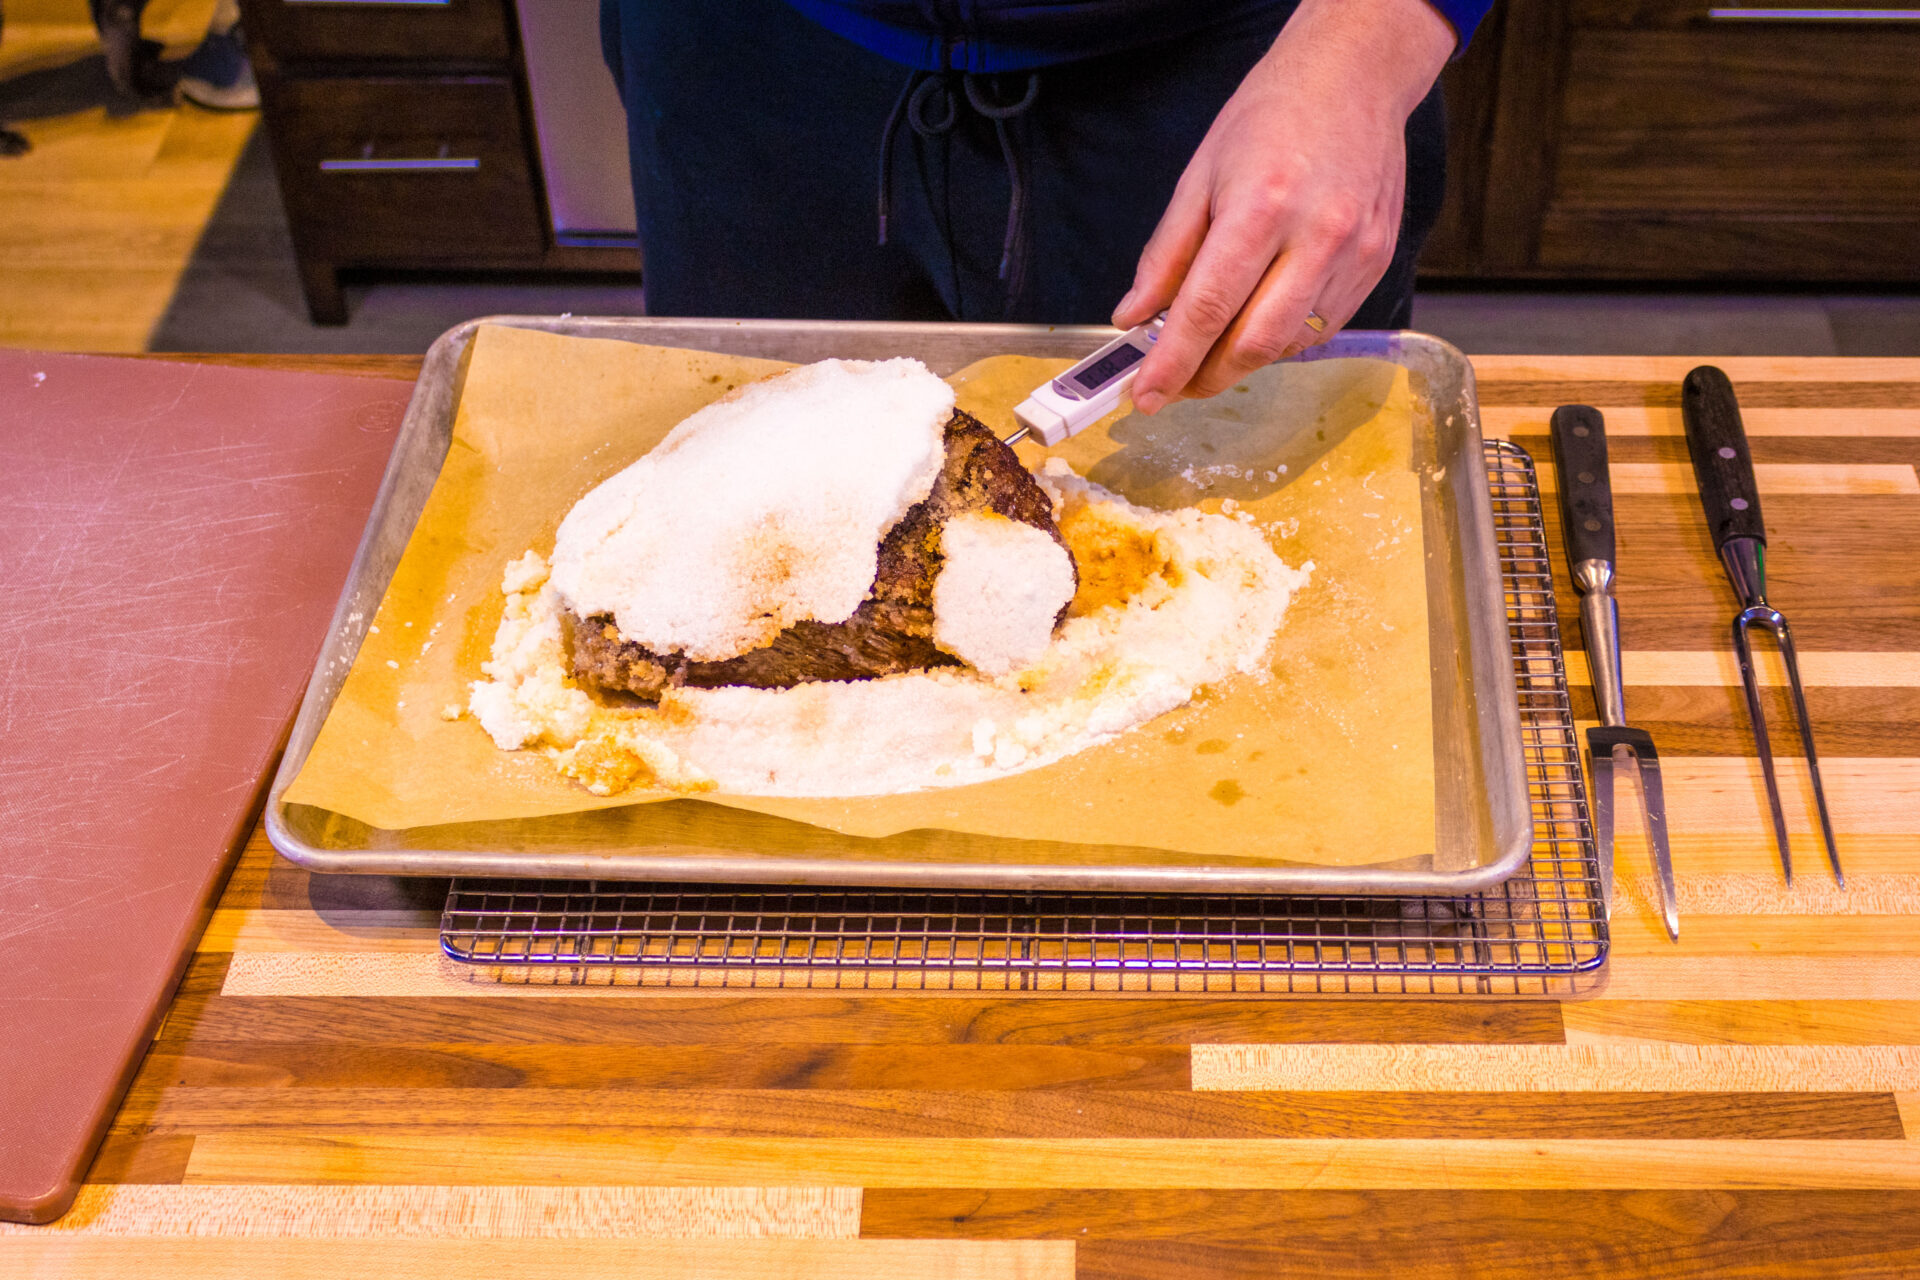
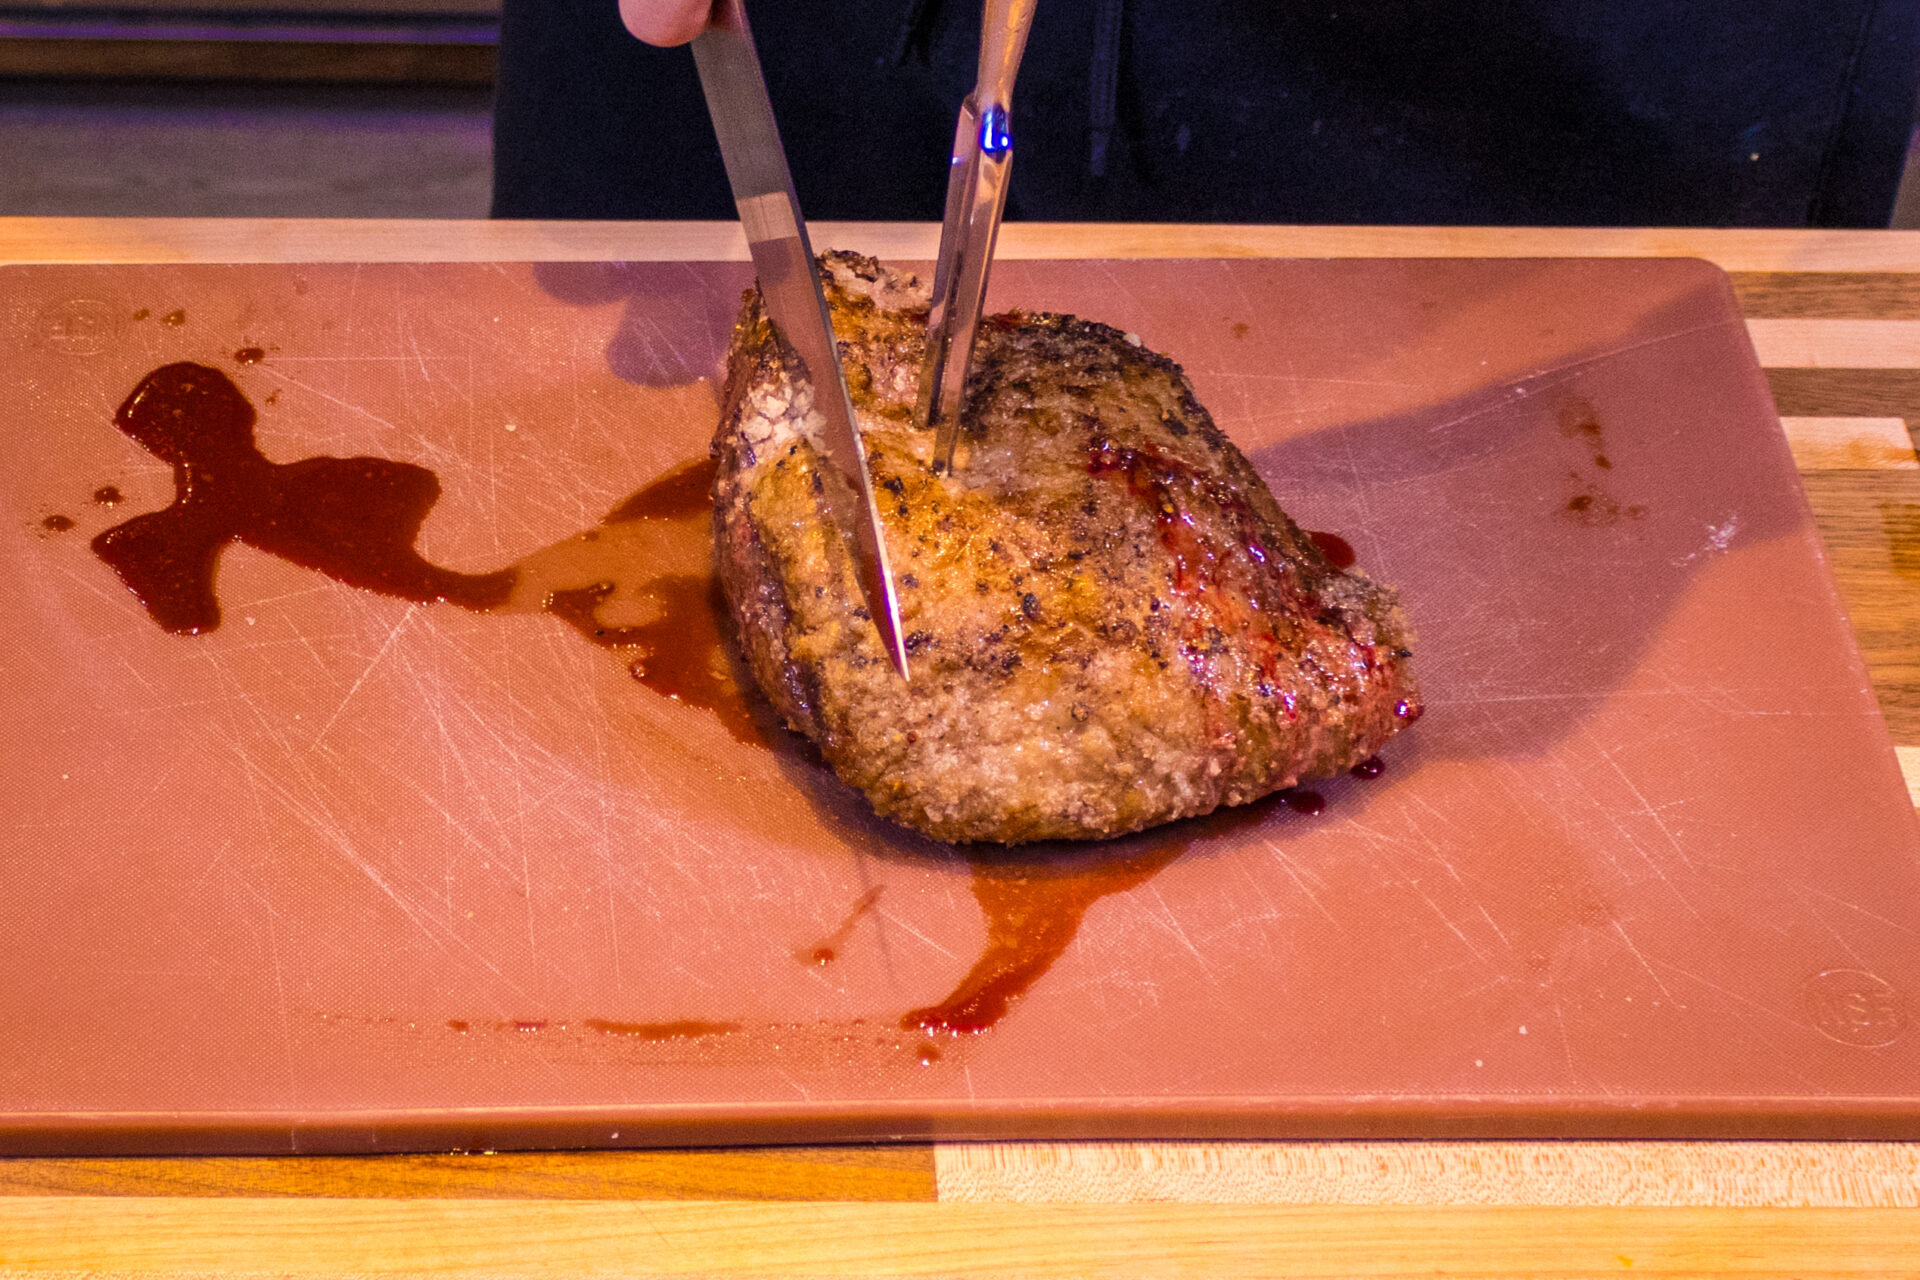
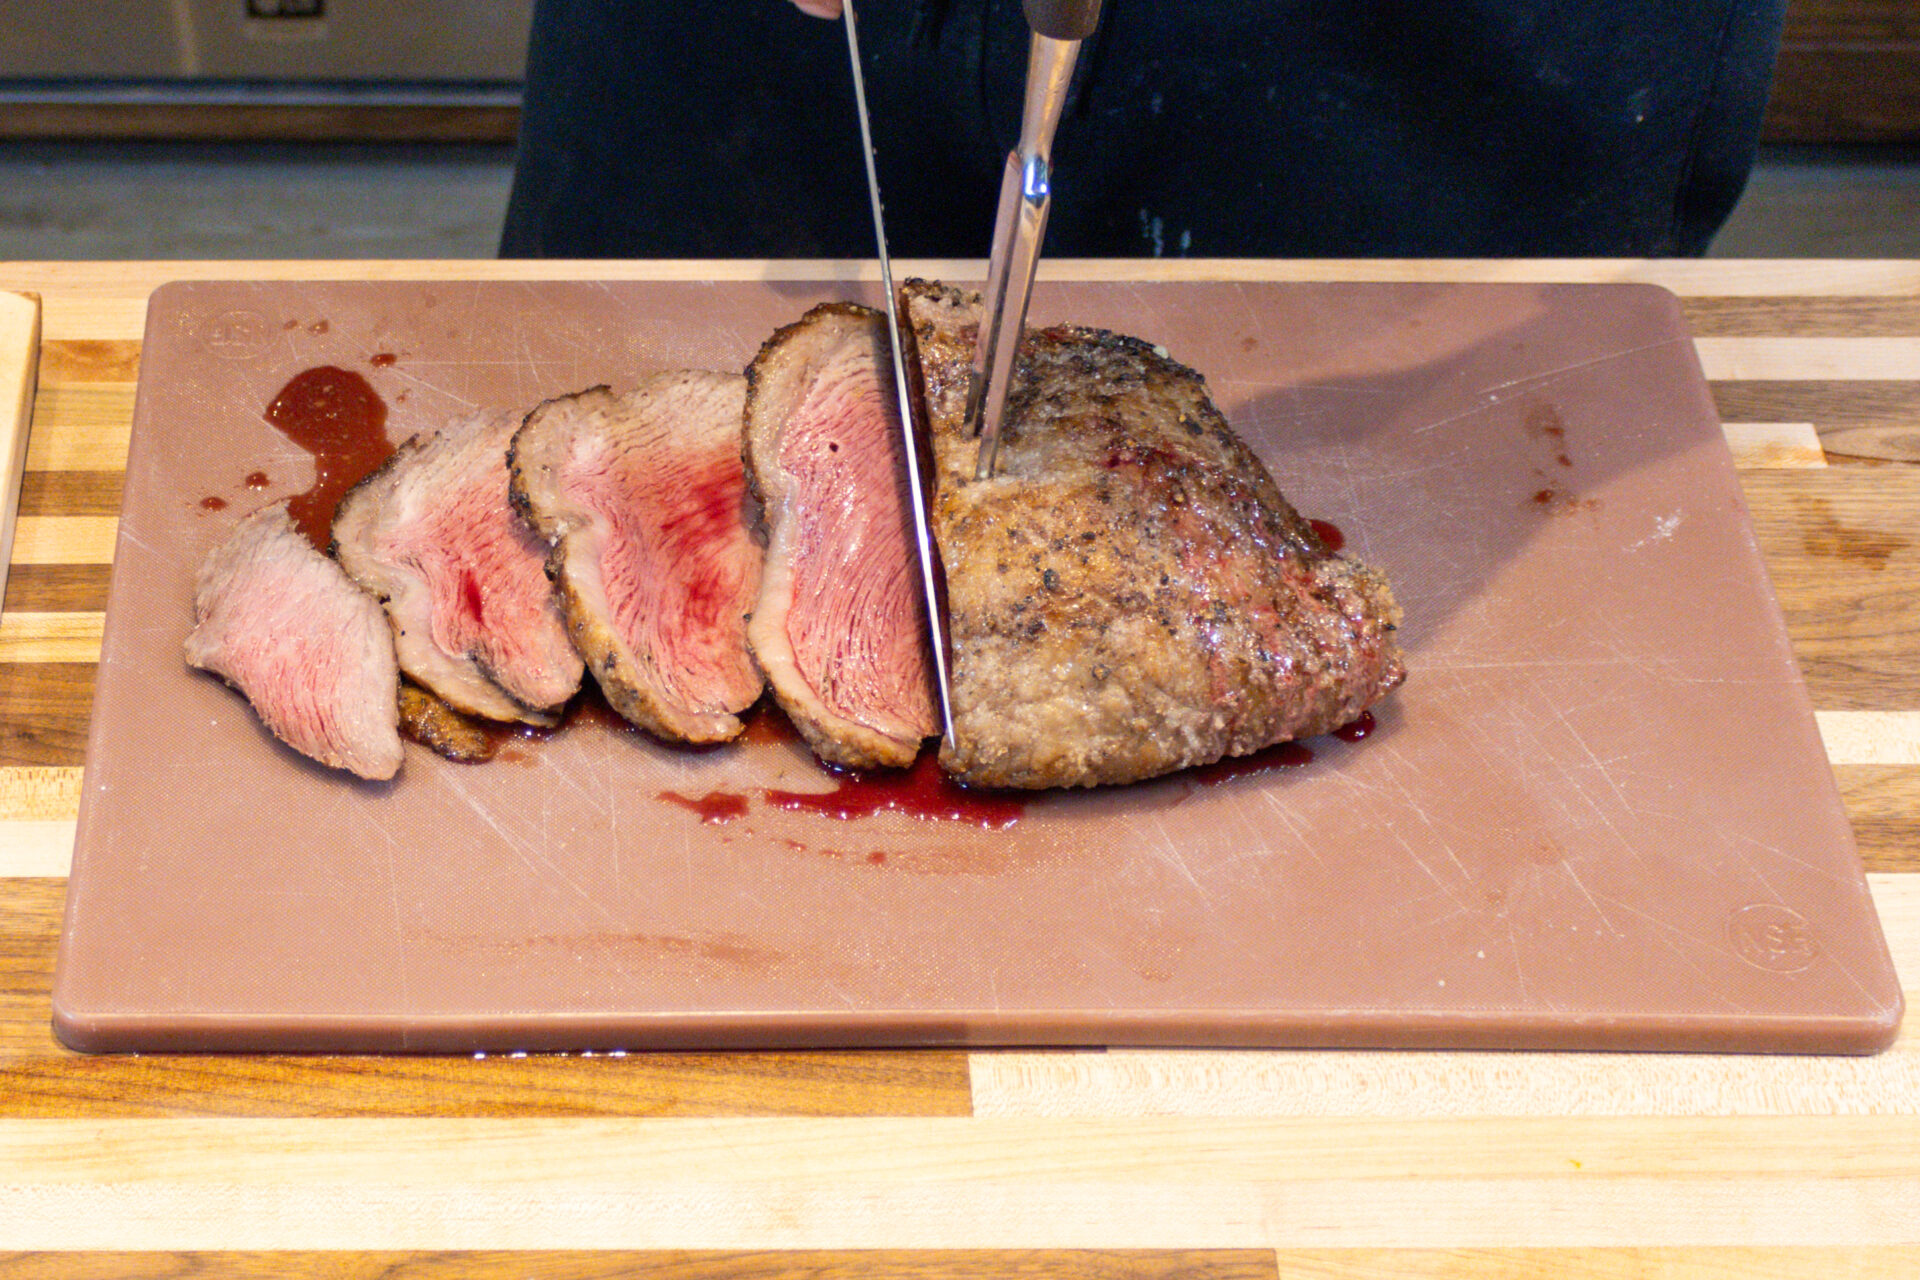
If you’re a fan of tender, beefy cuts, it’s time to get acquainted with picanha (pronounced pee-KAHN-ya). This beef top sirloin cap roast is a South American treasure, particularly beloved in Brazilian cuisine. But its delicious qualities are captivating palates worldwide.

Types of Beef Meat

February 15, 2025

Standing in front of the meat counter, faced with a seemingly endless array of beef options, can be overwhelming. What’s the difference between all of those cuts, and which one is right for your meal? This article will break down some of the most desired types of beef meat: steak, stew meat, roast meat, ground beef, and even the more adventurous option of beef intestines. We’ll explore their characteristics, ideal cooking methods, and everything you need to know to confidently choose the right types of beef meat for your next culinary adventure.

Chef Tom Chef Tom Founder
About the Author:
Chef TomFounder
# 1
  • Published Recipes: 255
  • Av. Recipe Evaluation:
  • Location: Iowa, USA
  • Member since: 2023-02-02

Add My Review

If you want to add your review, you must log in.

Disclaimer

All content and information (including recipes, articles, and other materials) on CookingHub.com are the opinions of the authors and are not intended to provide dietary, medical, legal, or political advice. Consult with a professional before deciding to follow these opinions.

Authors and www.CookingHub.com (operated by CookingHub Foundation) are not responsible for any part of any possible outcome or its consequences, which include (but are not limited to):

  • Any health risk related to the handling of food, food quality, and/or not following USDA recommendations (including minimum safe serving temperatures and other guidelines).
  • Safety during preparation, including the handling of equipment and the equipment’s suitability for food preparation.
  • Improper performance of cooking techniques.
  • Sourcing of ingredients, providing tools, equipment, and anything else related to the preparation and consumption of the products of this recipe.
  • Nutritional data and information and diet-related information (and their accuracy). It is important to consult with your medical provider to ensure that the diet you are considering is suitable for you and to verify the information provided before proceeding.
  • The overall outcome of following recipes, including the look and taste of the final product.
  • Possible errors in articles and recipes (including incorrectly or unclearly explained steps and directions).
  • Typos.

All readers (users and visitors of www.CookingHub.com) are responsible for evaluating the recipes and articles and making their own decisions about whether to follow the steps and recommendations. They must ensure that the ingredients and steps fit with their dietary restrictions and avoid preparation methods that could pose a health risk due to an unsuitable diet.