Cook, Learn, and Share to Fight Hunger.
Garlic Naan Bread Recipe on the black plate, close up shot with the kitchen in the background
  • 30 min.
  • 3 hours
  • 2/5

Ingredients:

Dough:

Brushing mixture:

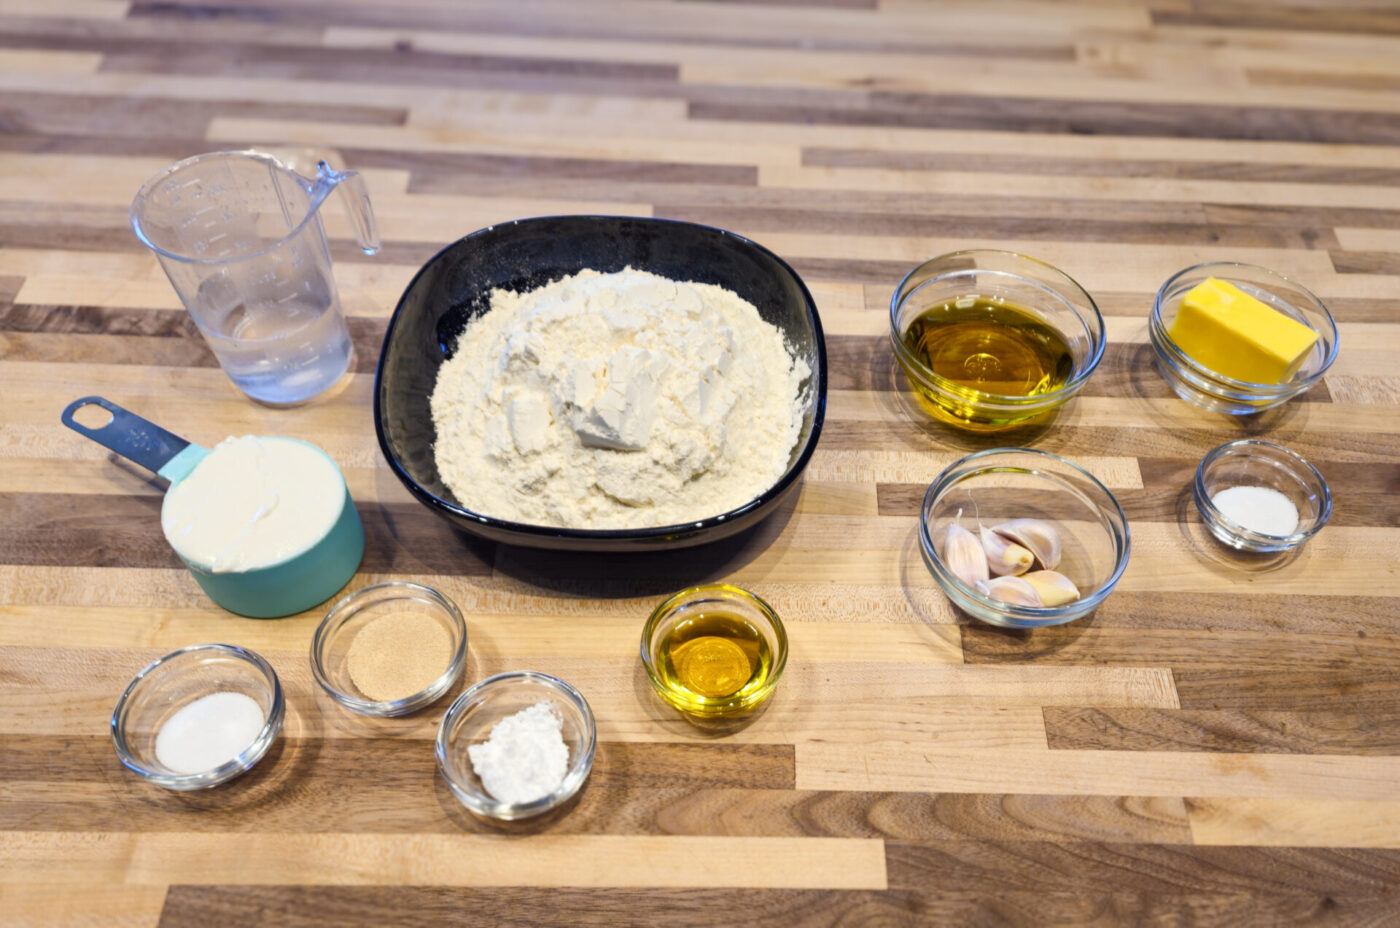
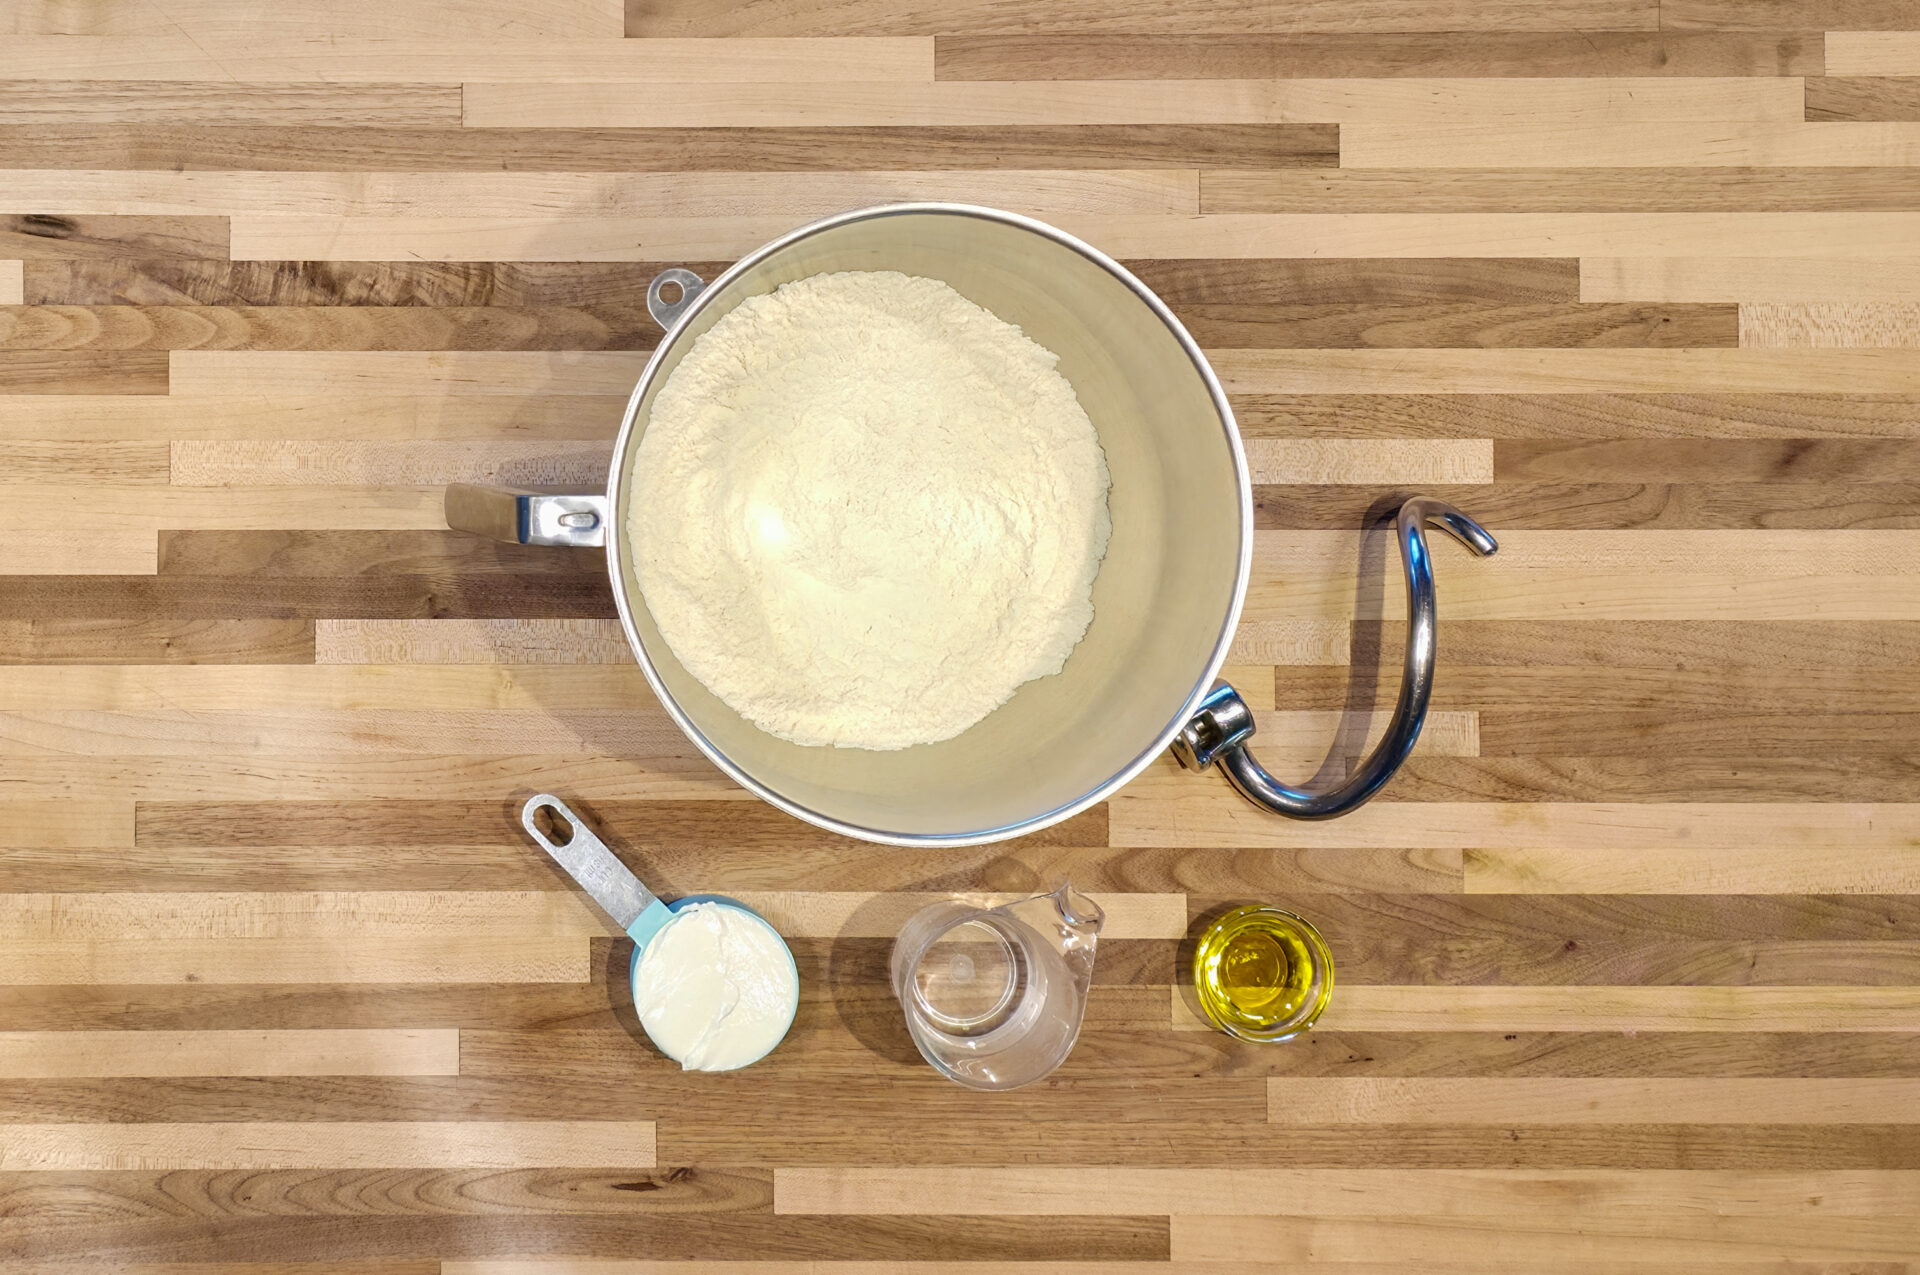
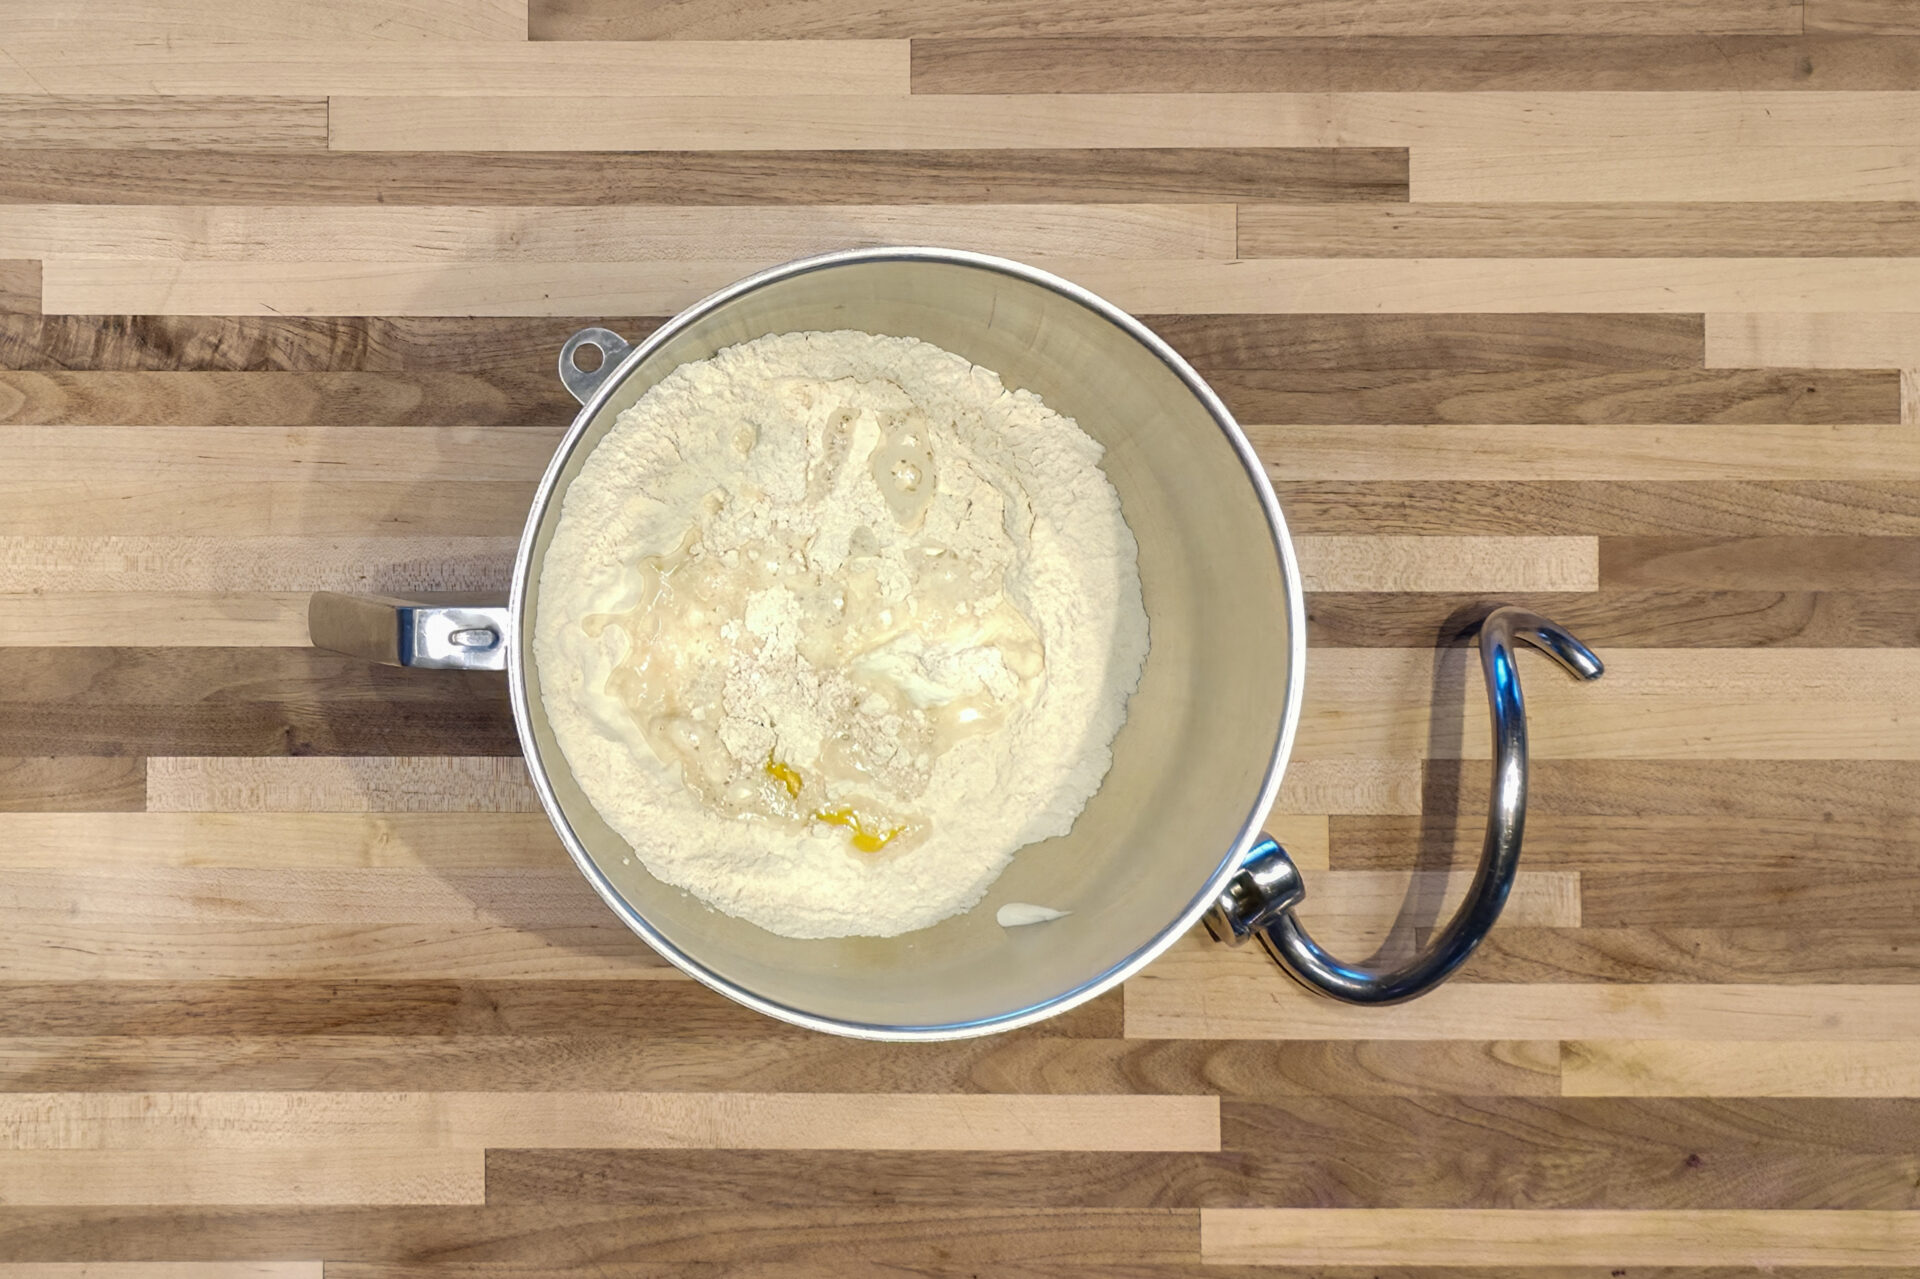
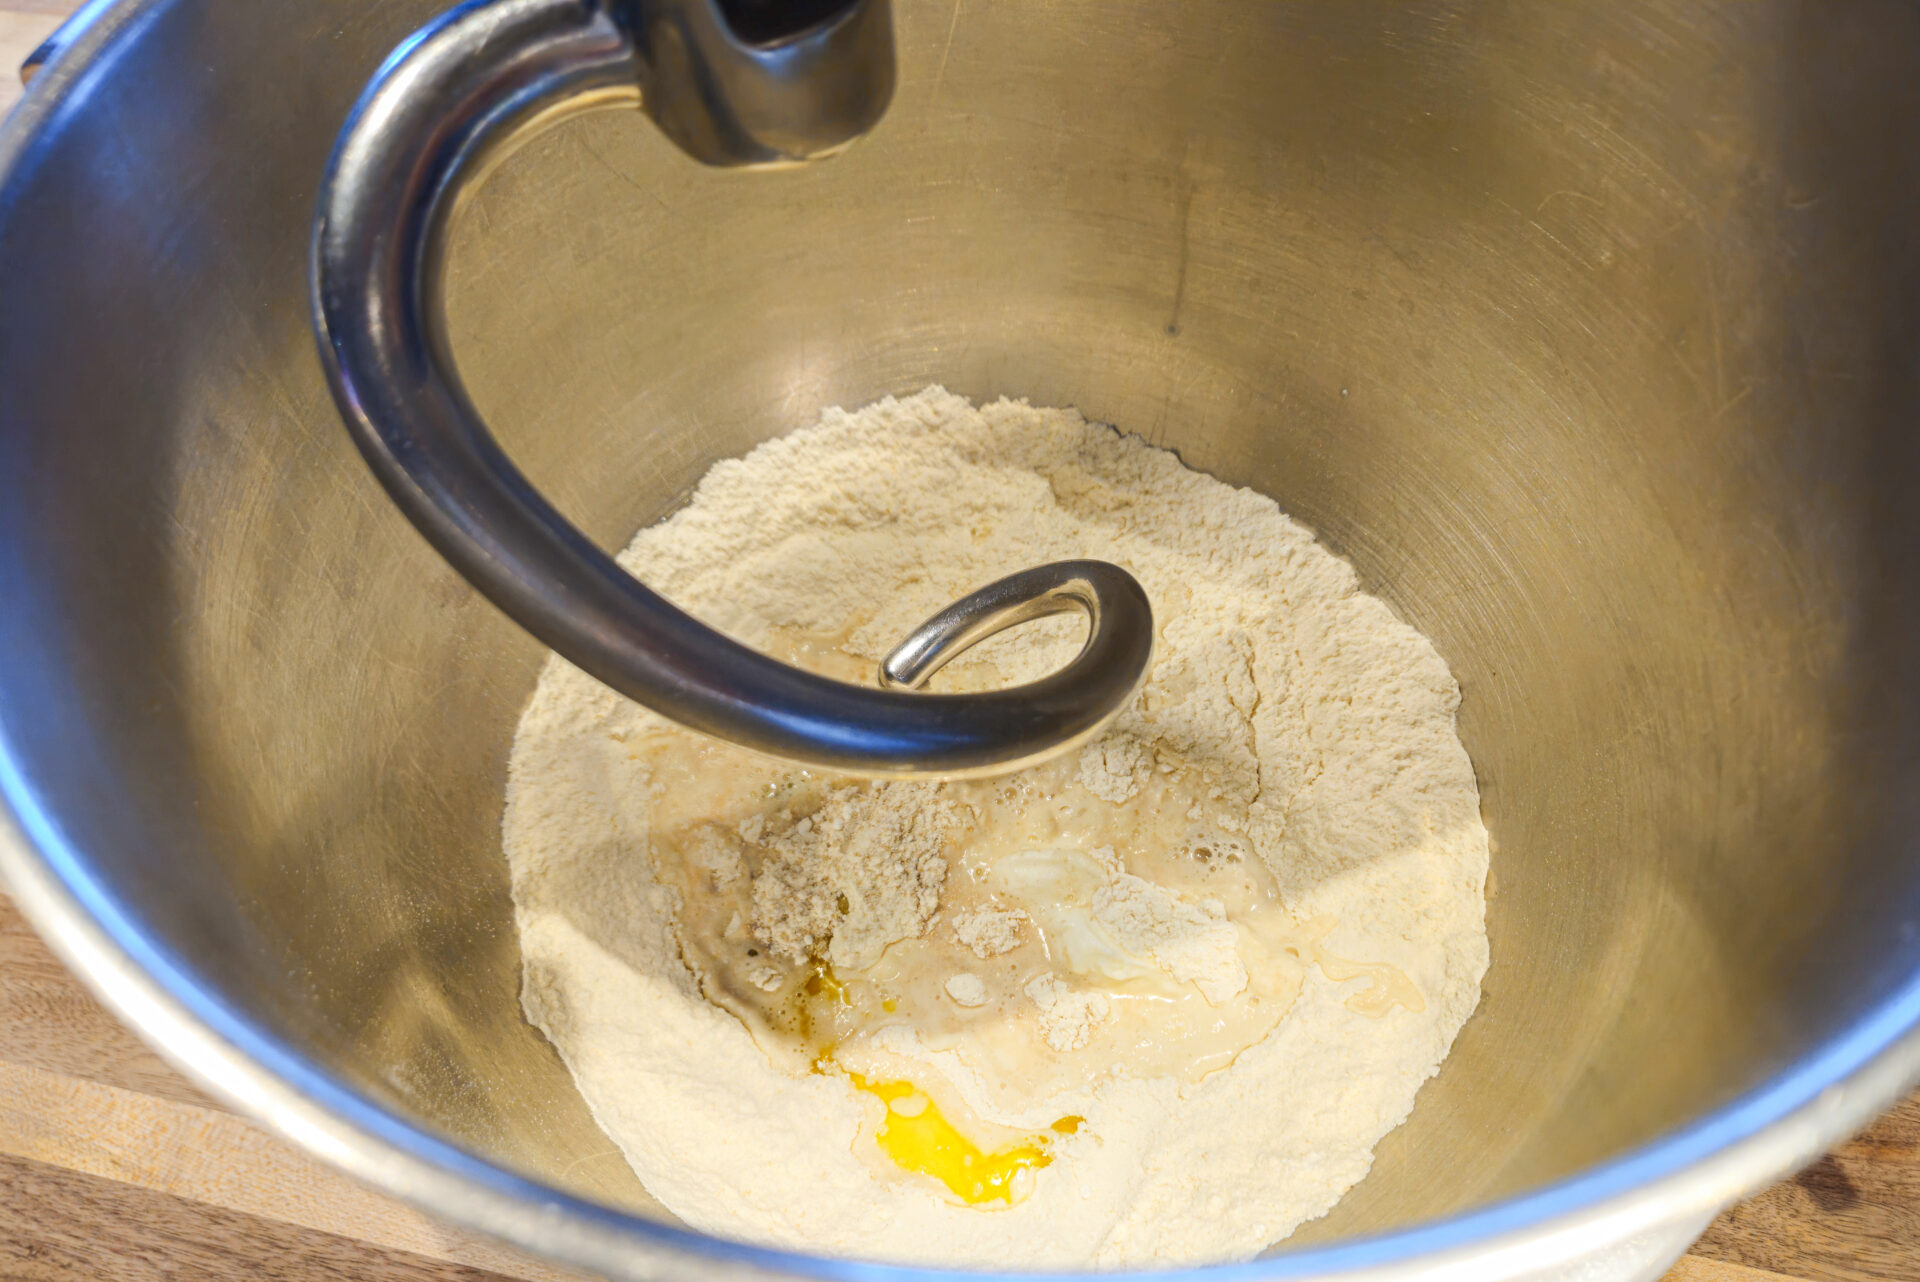
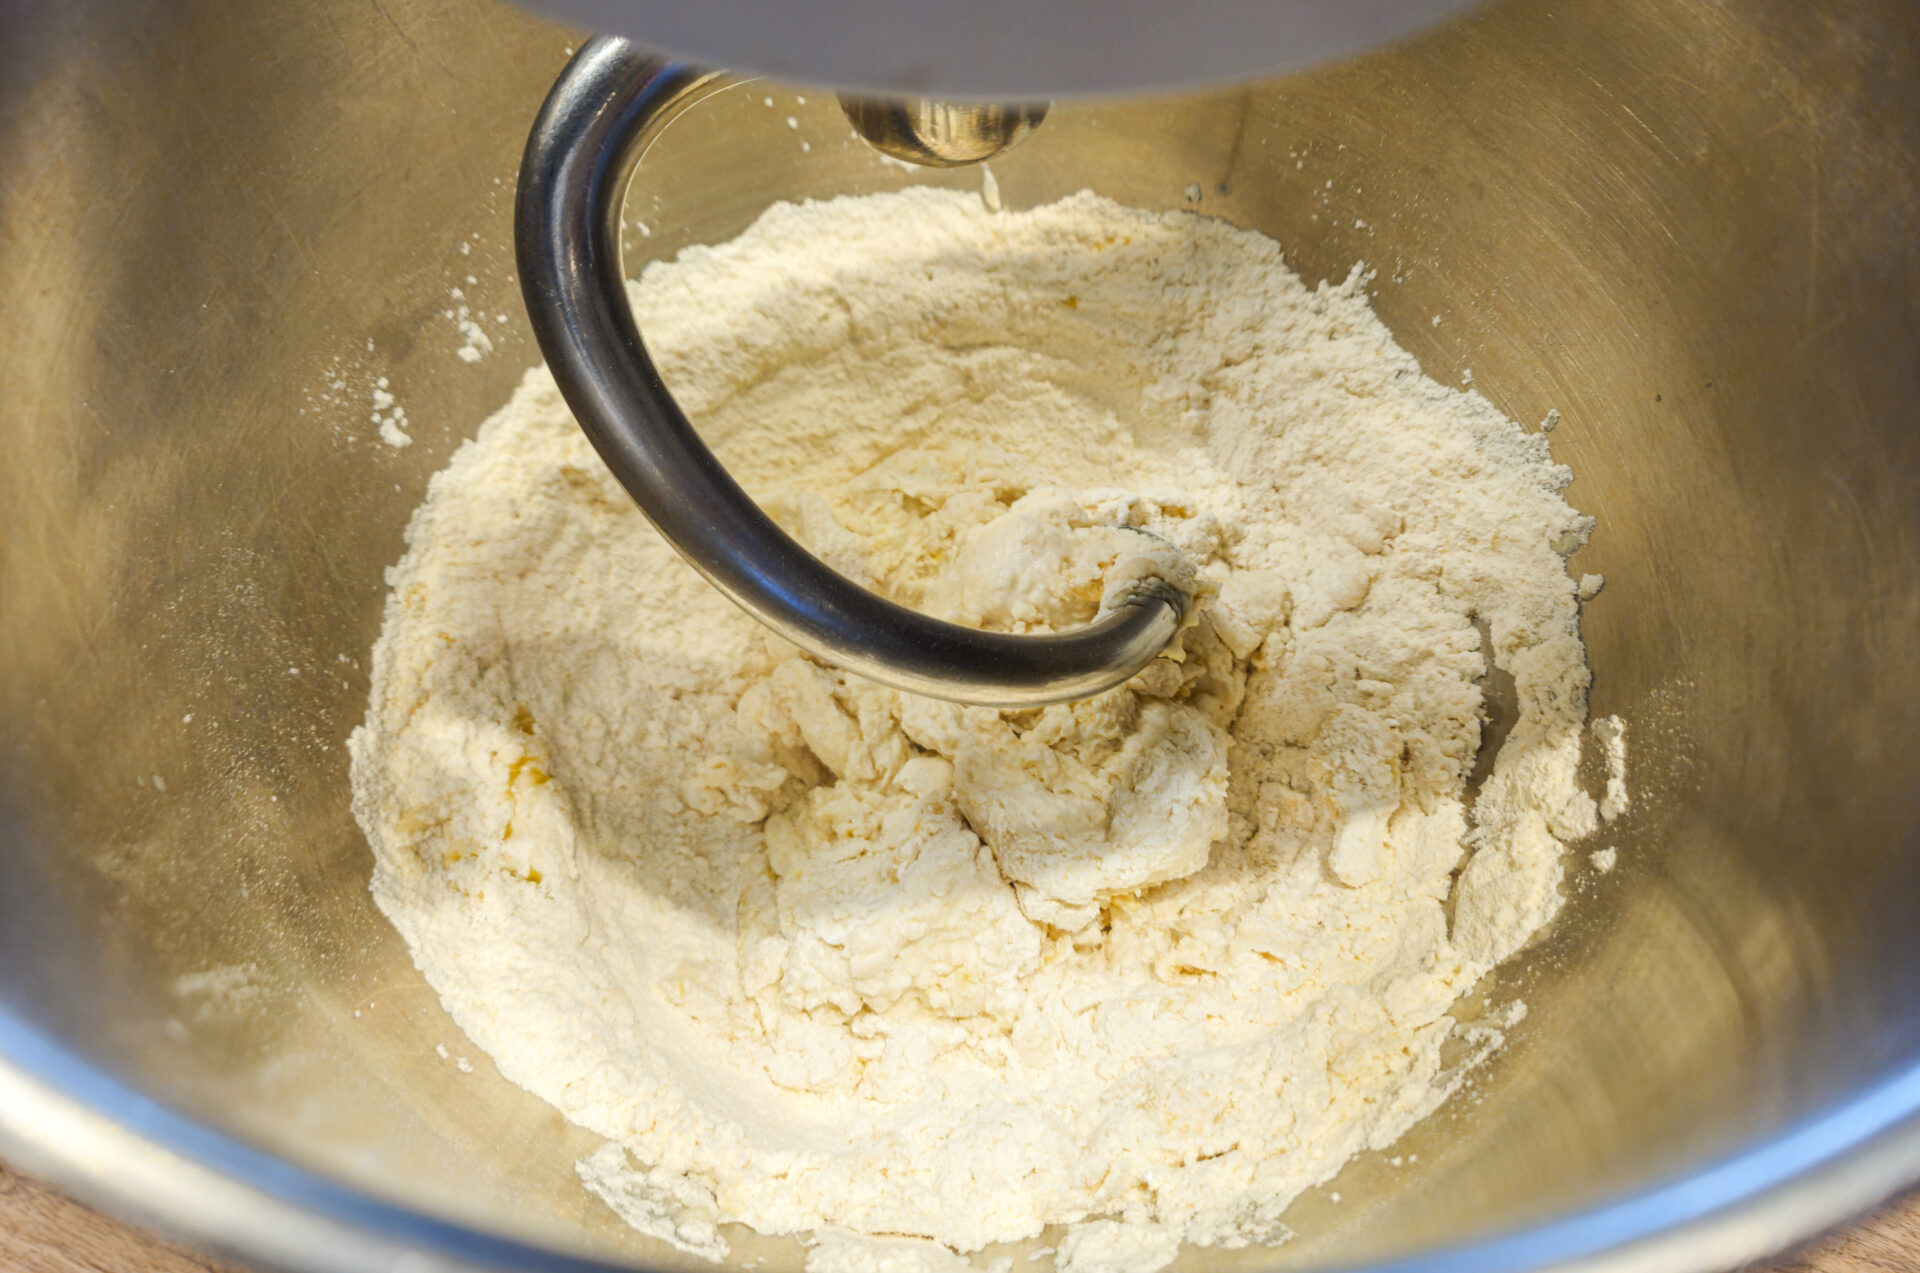
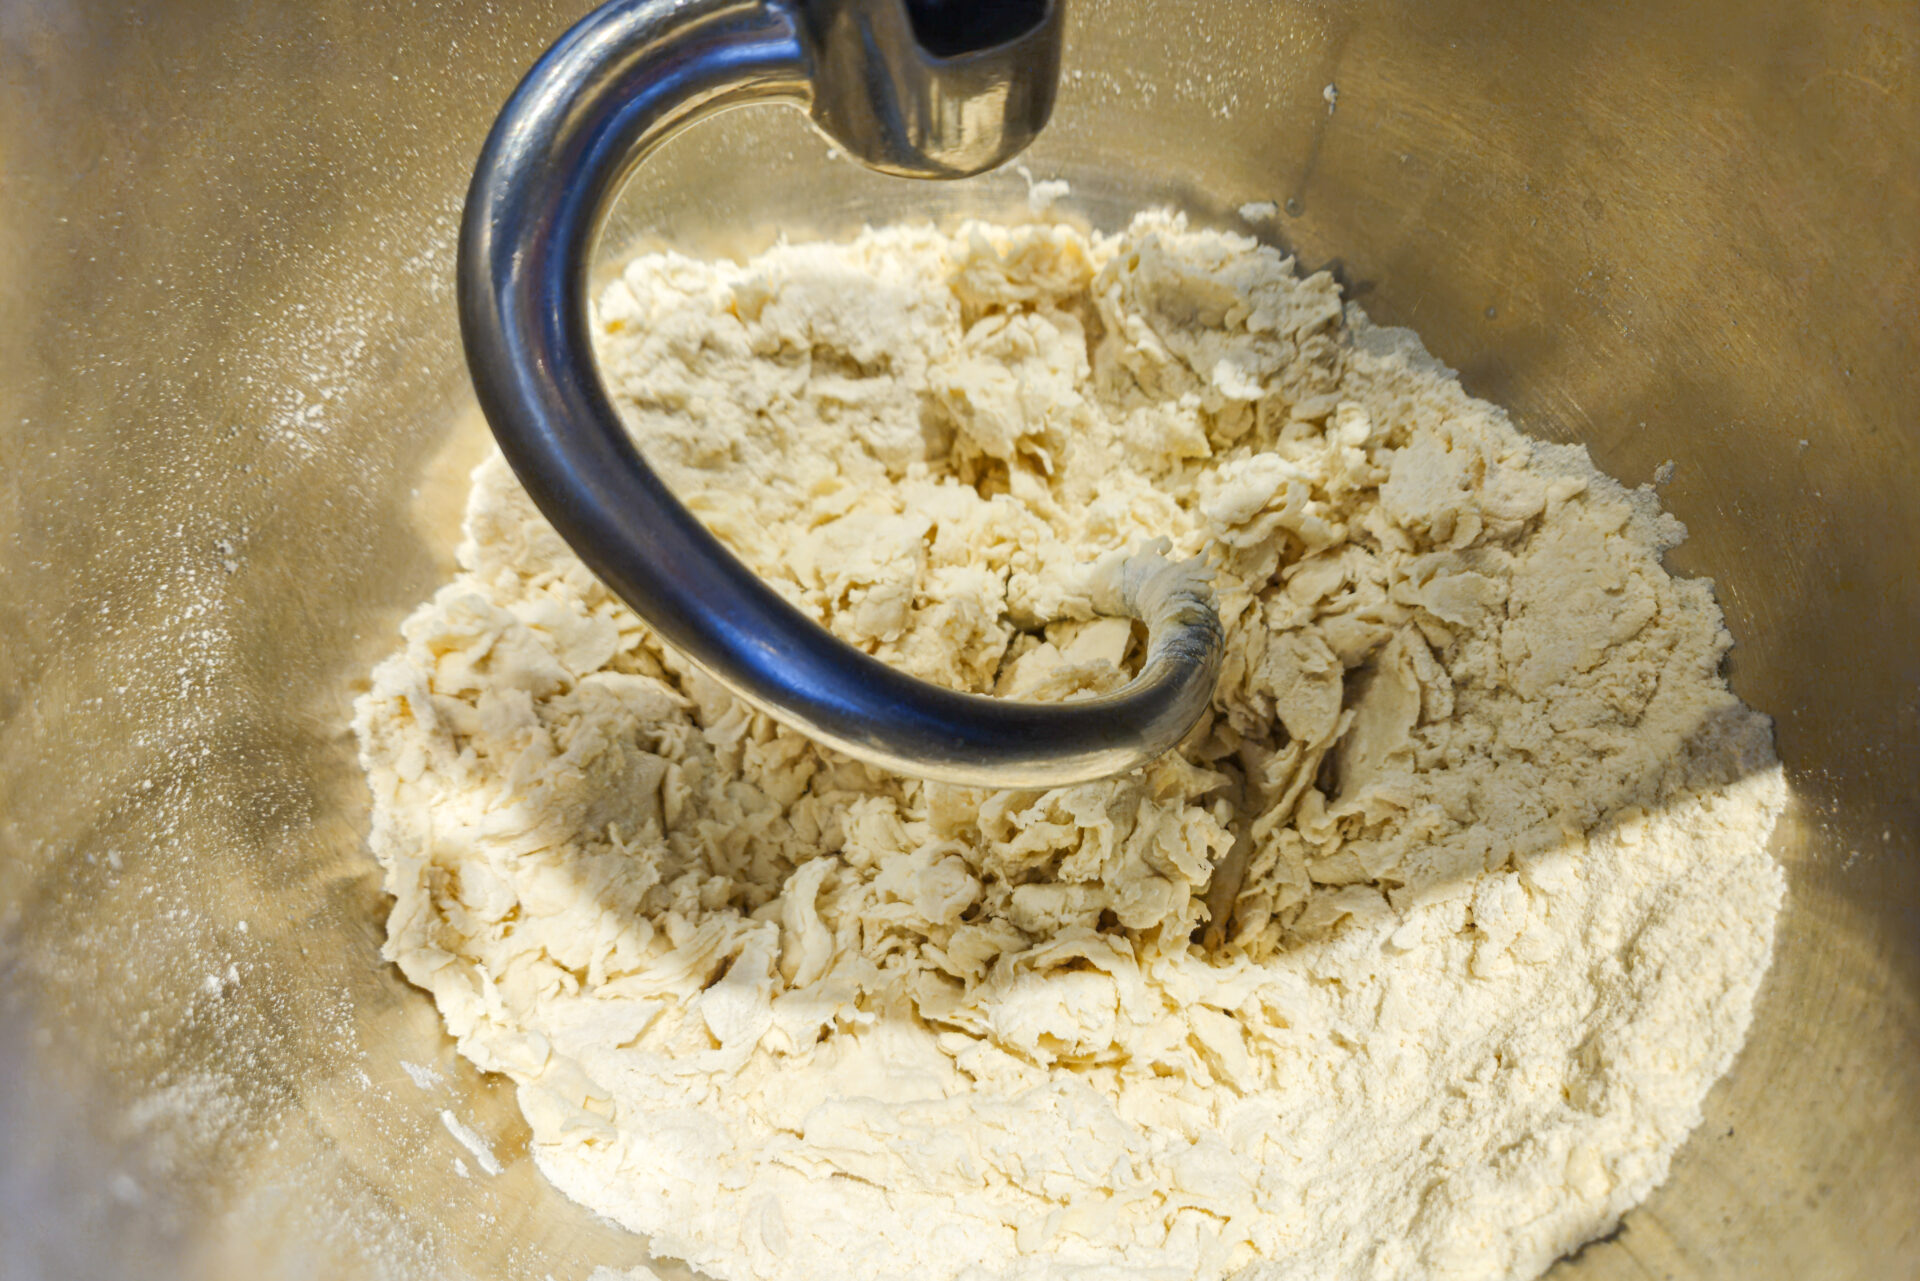
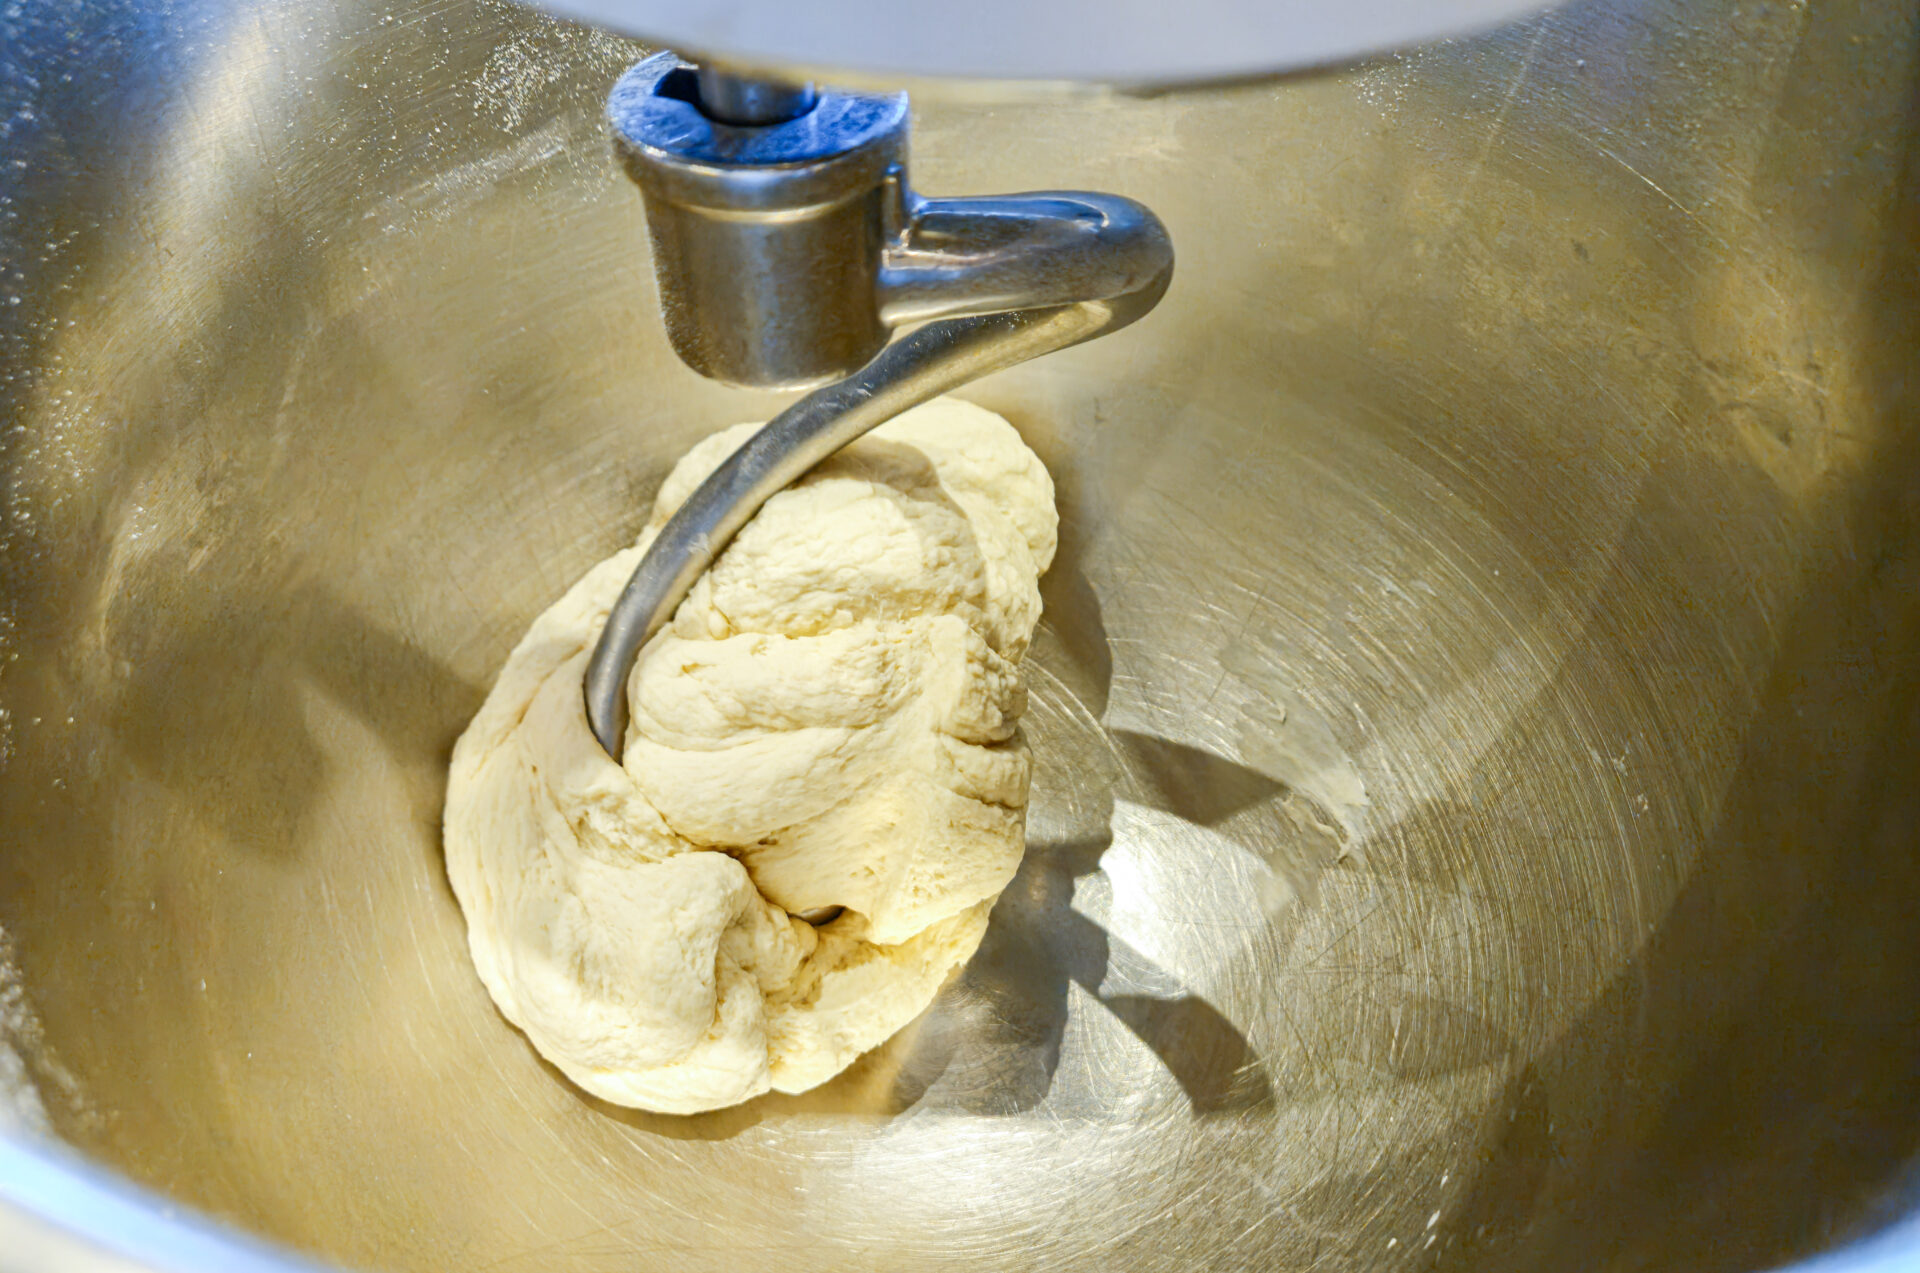
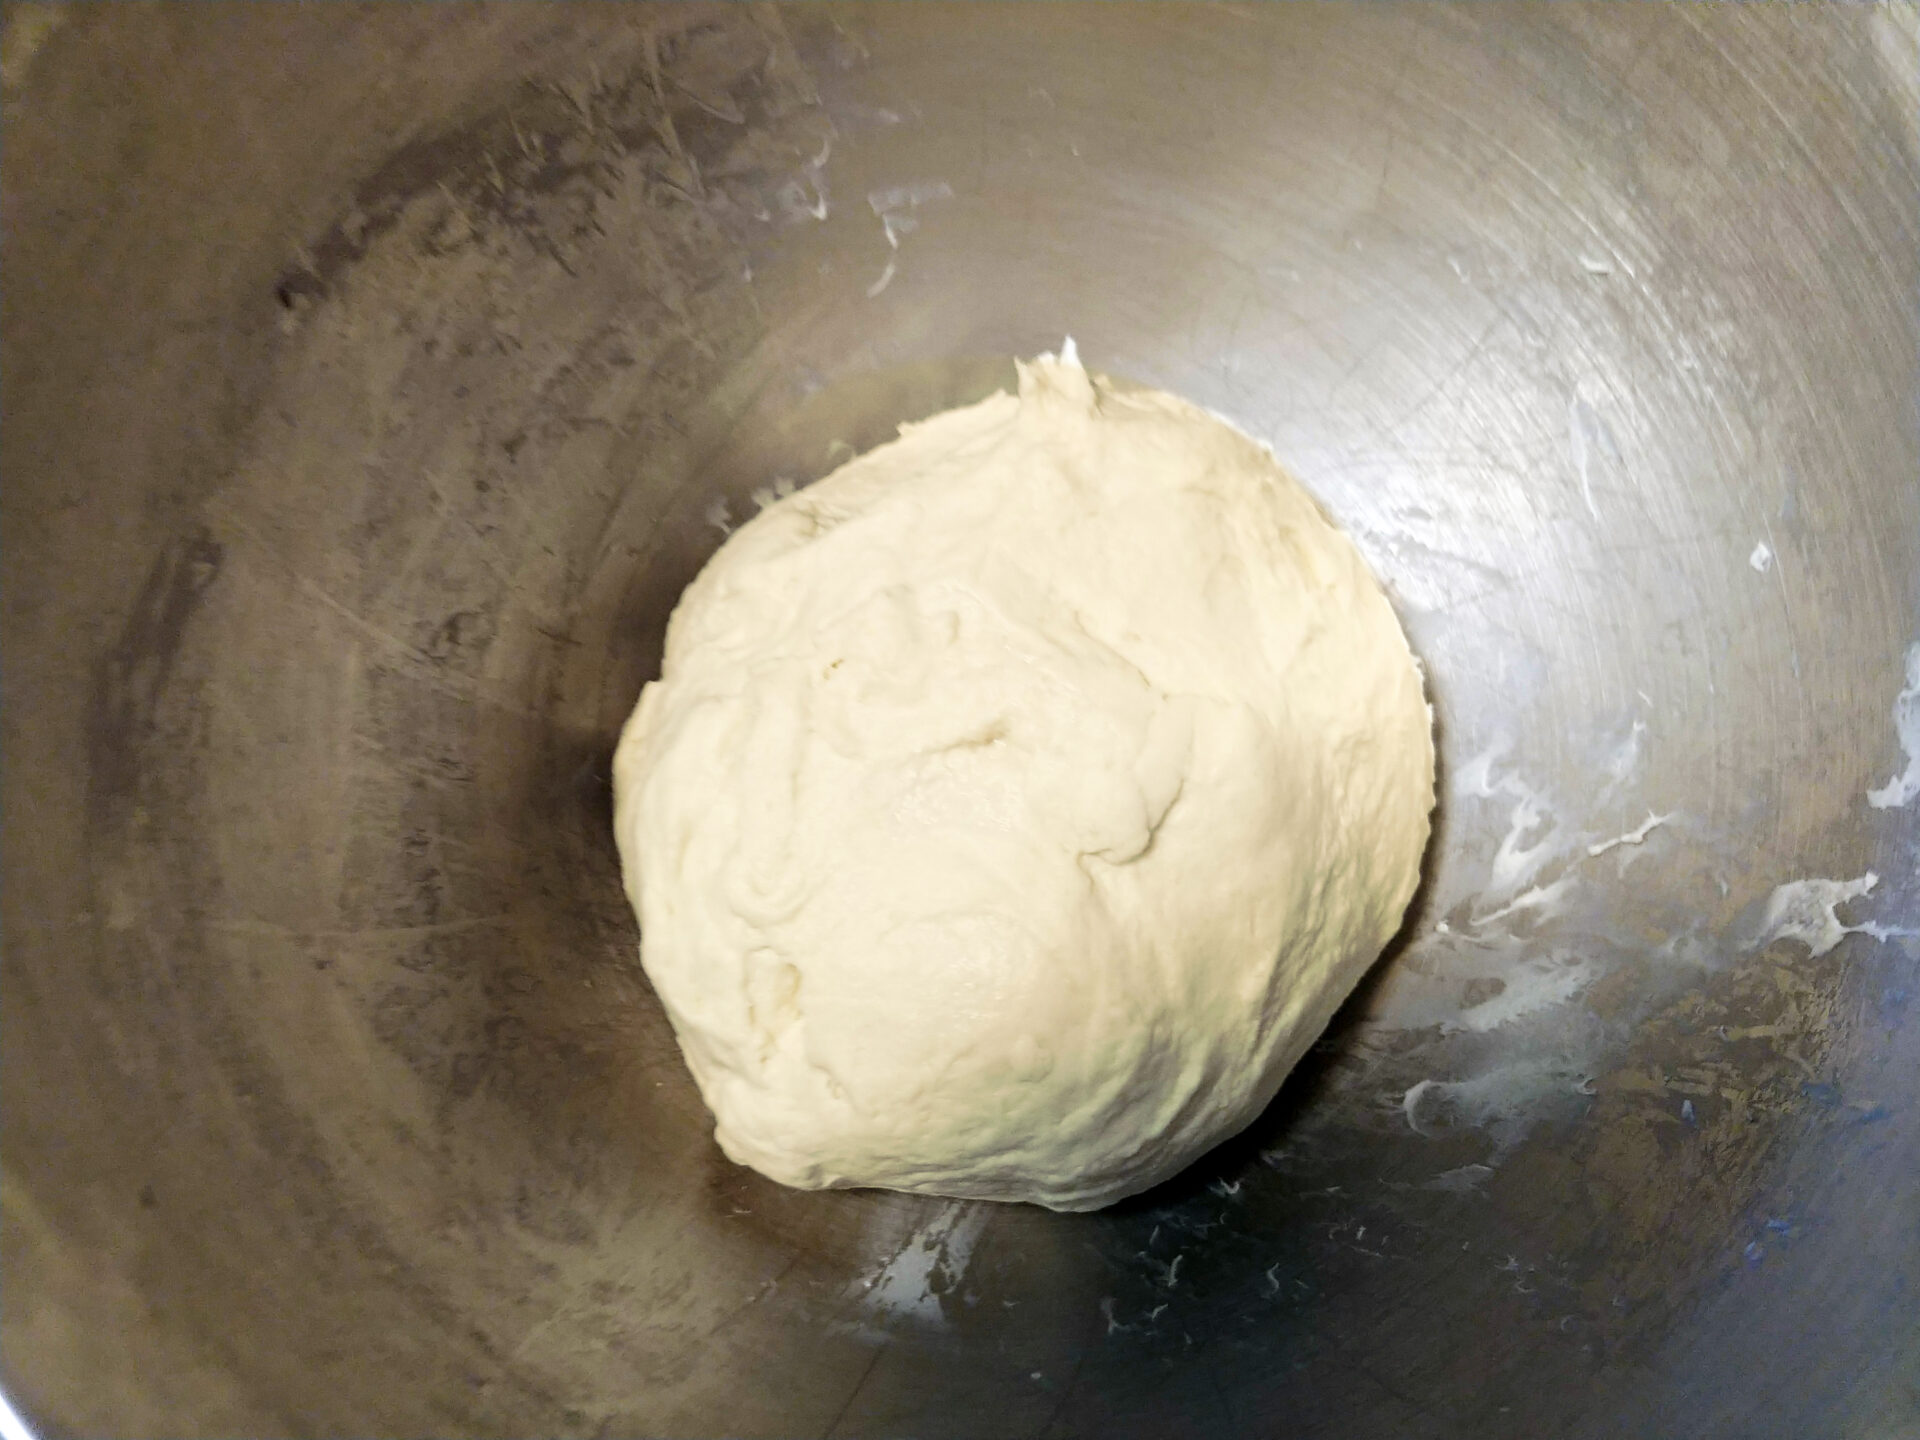
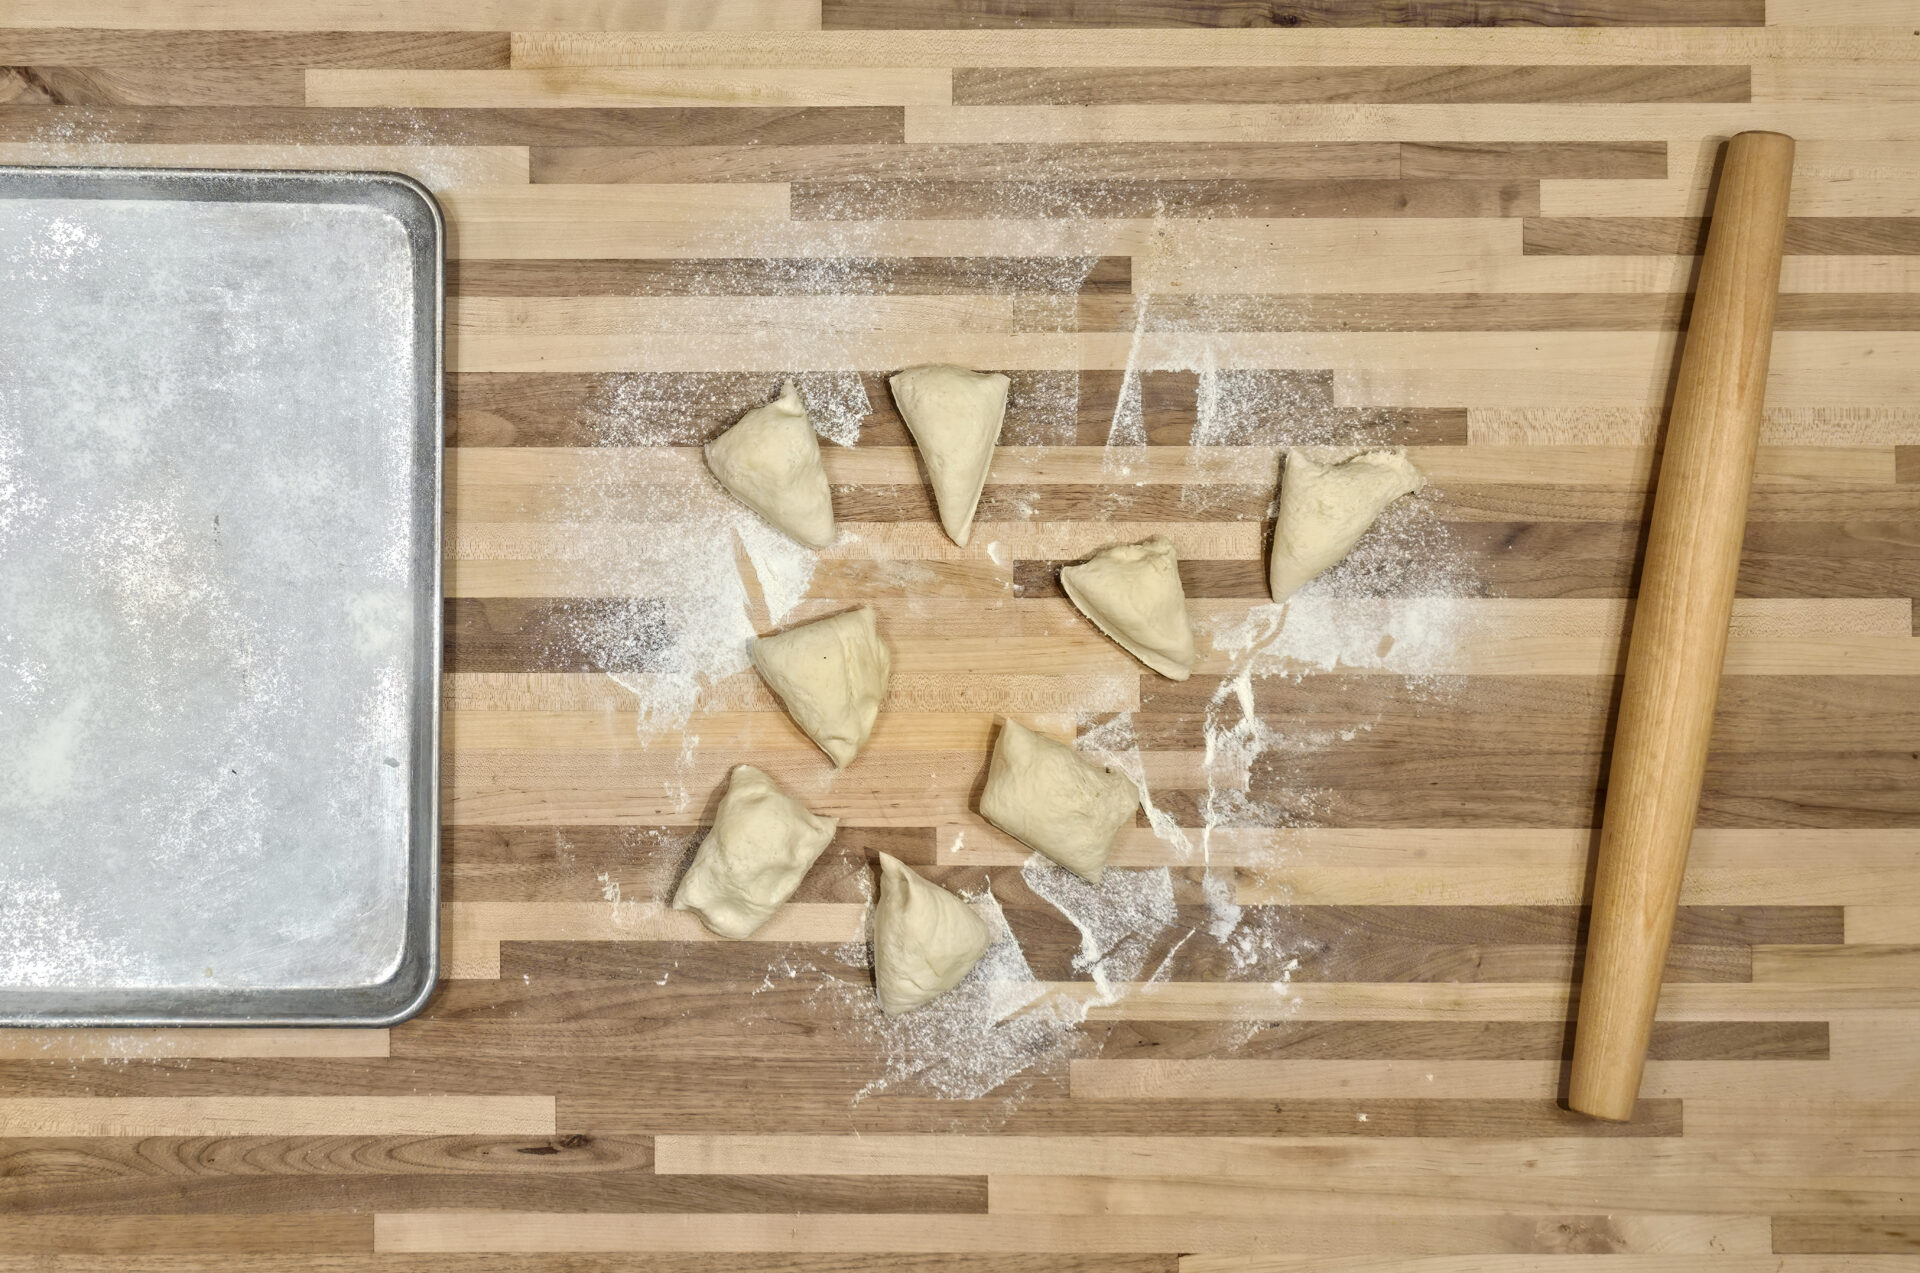
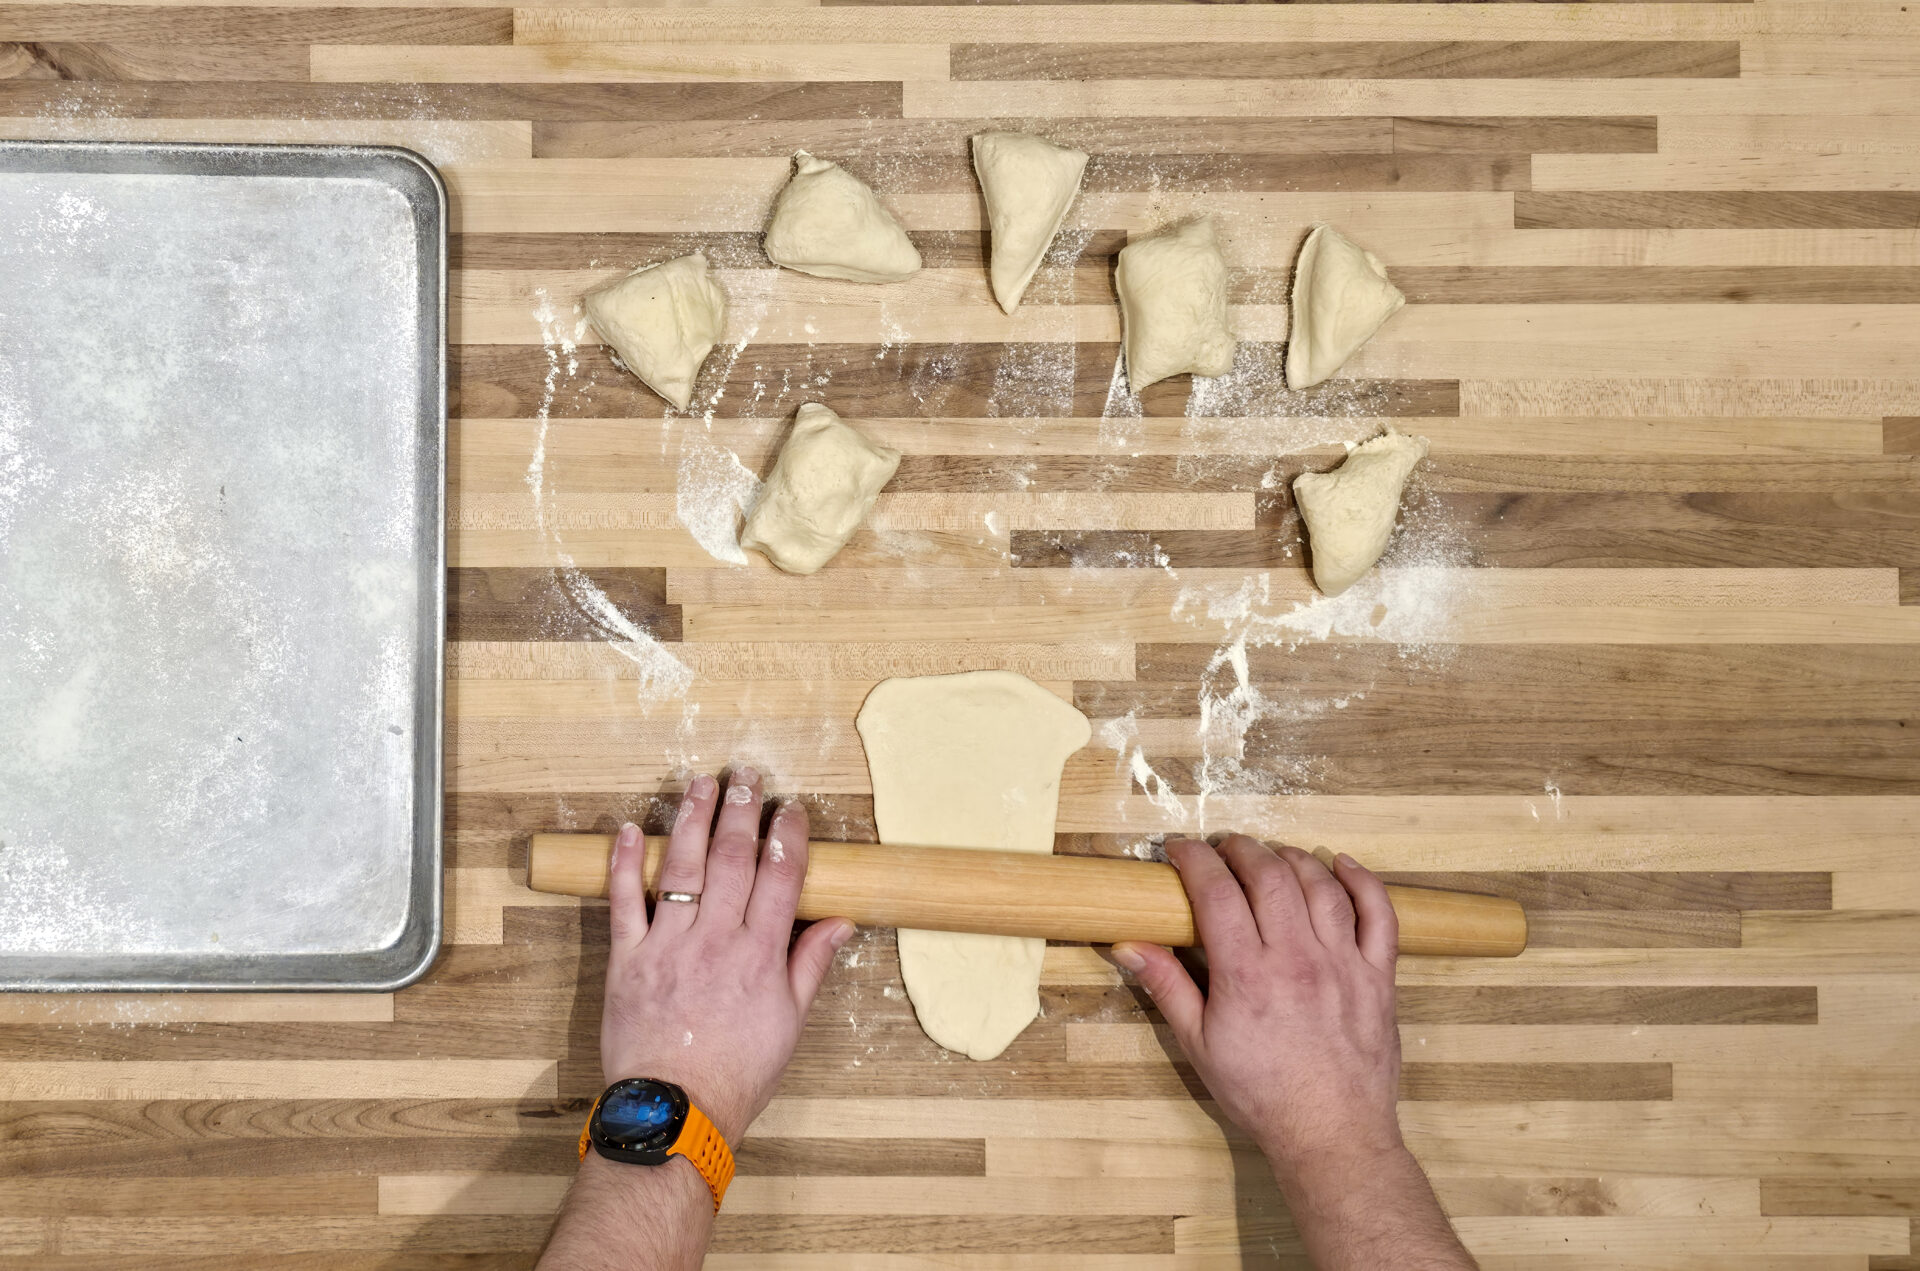
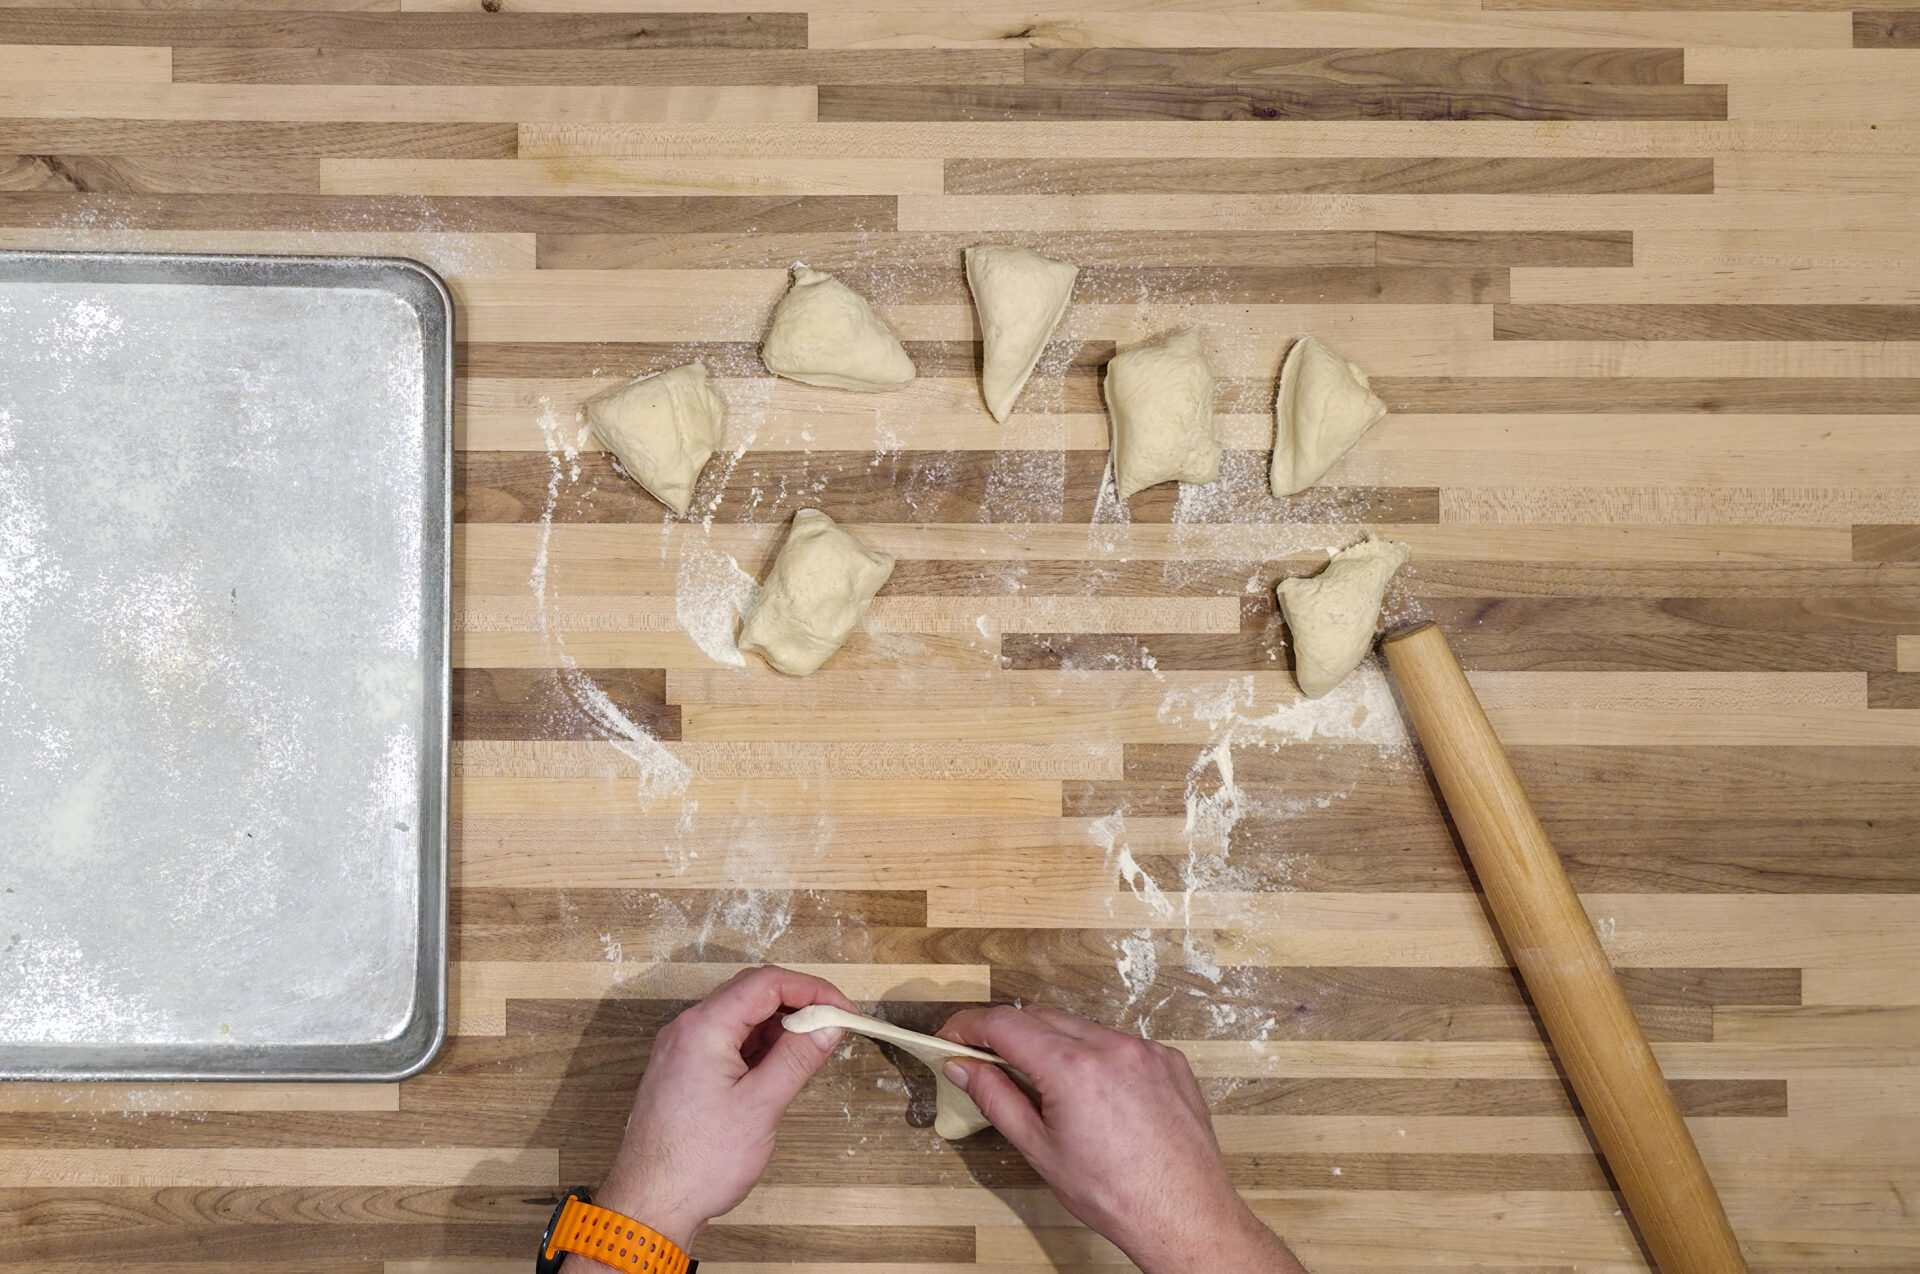
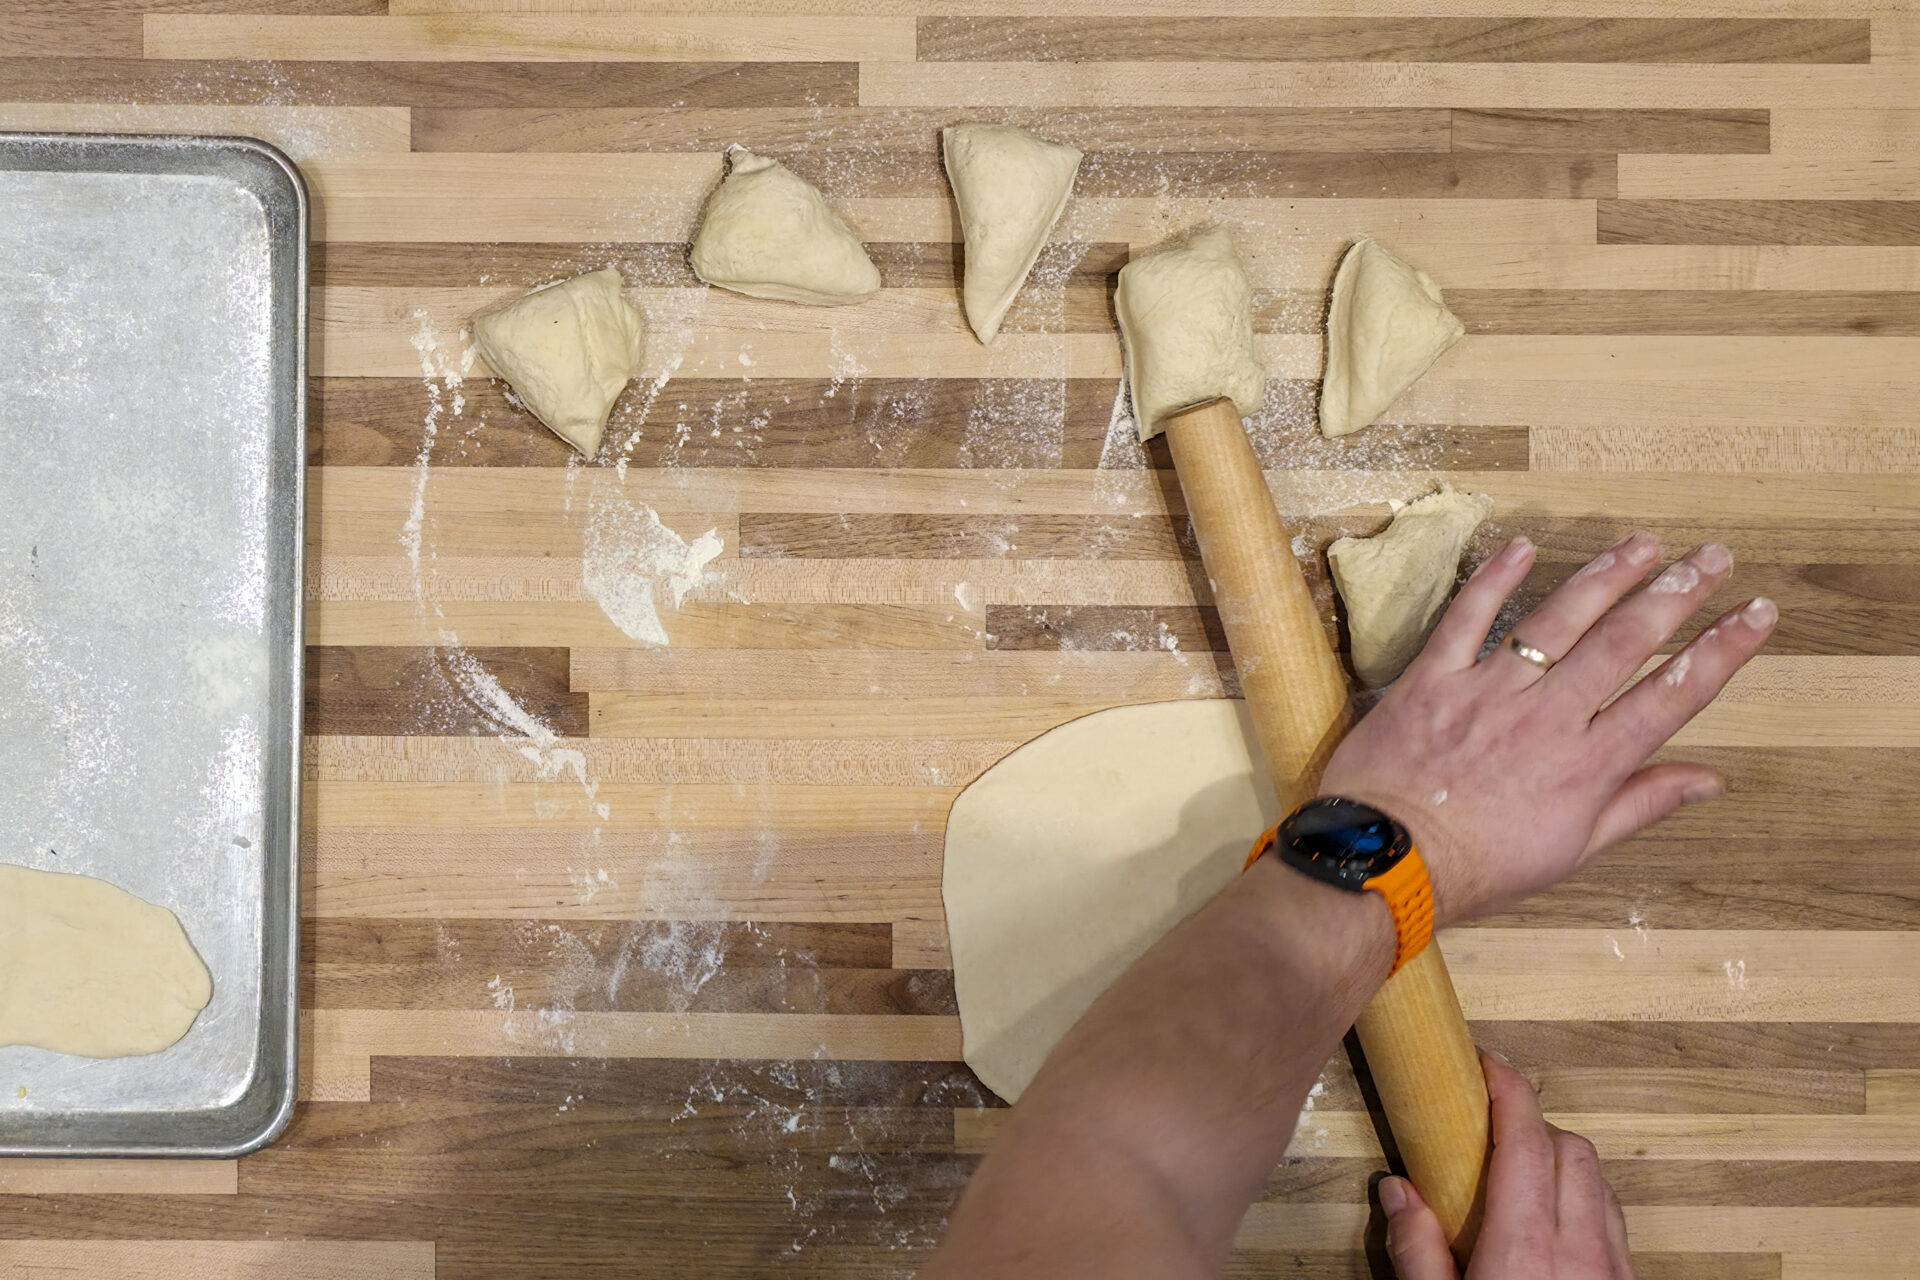
* If you are using high-quality, thick Greek yogurt, you might need to add an extra ¼ cup of water to compensate for its thickness. In either case, it’s best to start with the standard ½ cup of water. If the dough is difficult to form or crumbles too much during the dough forming process, then consider adding the additional ½ cup of water.
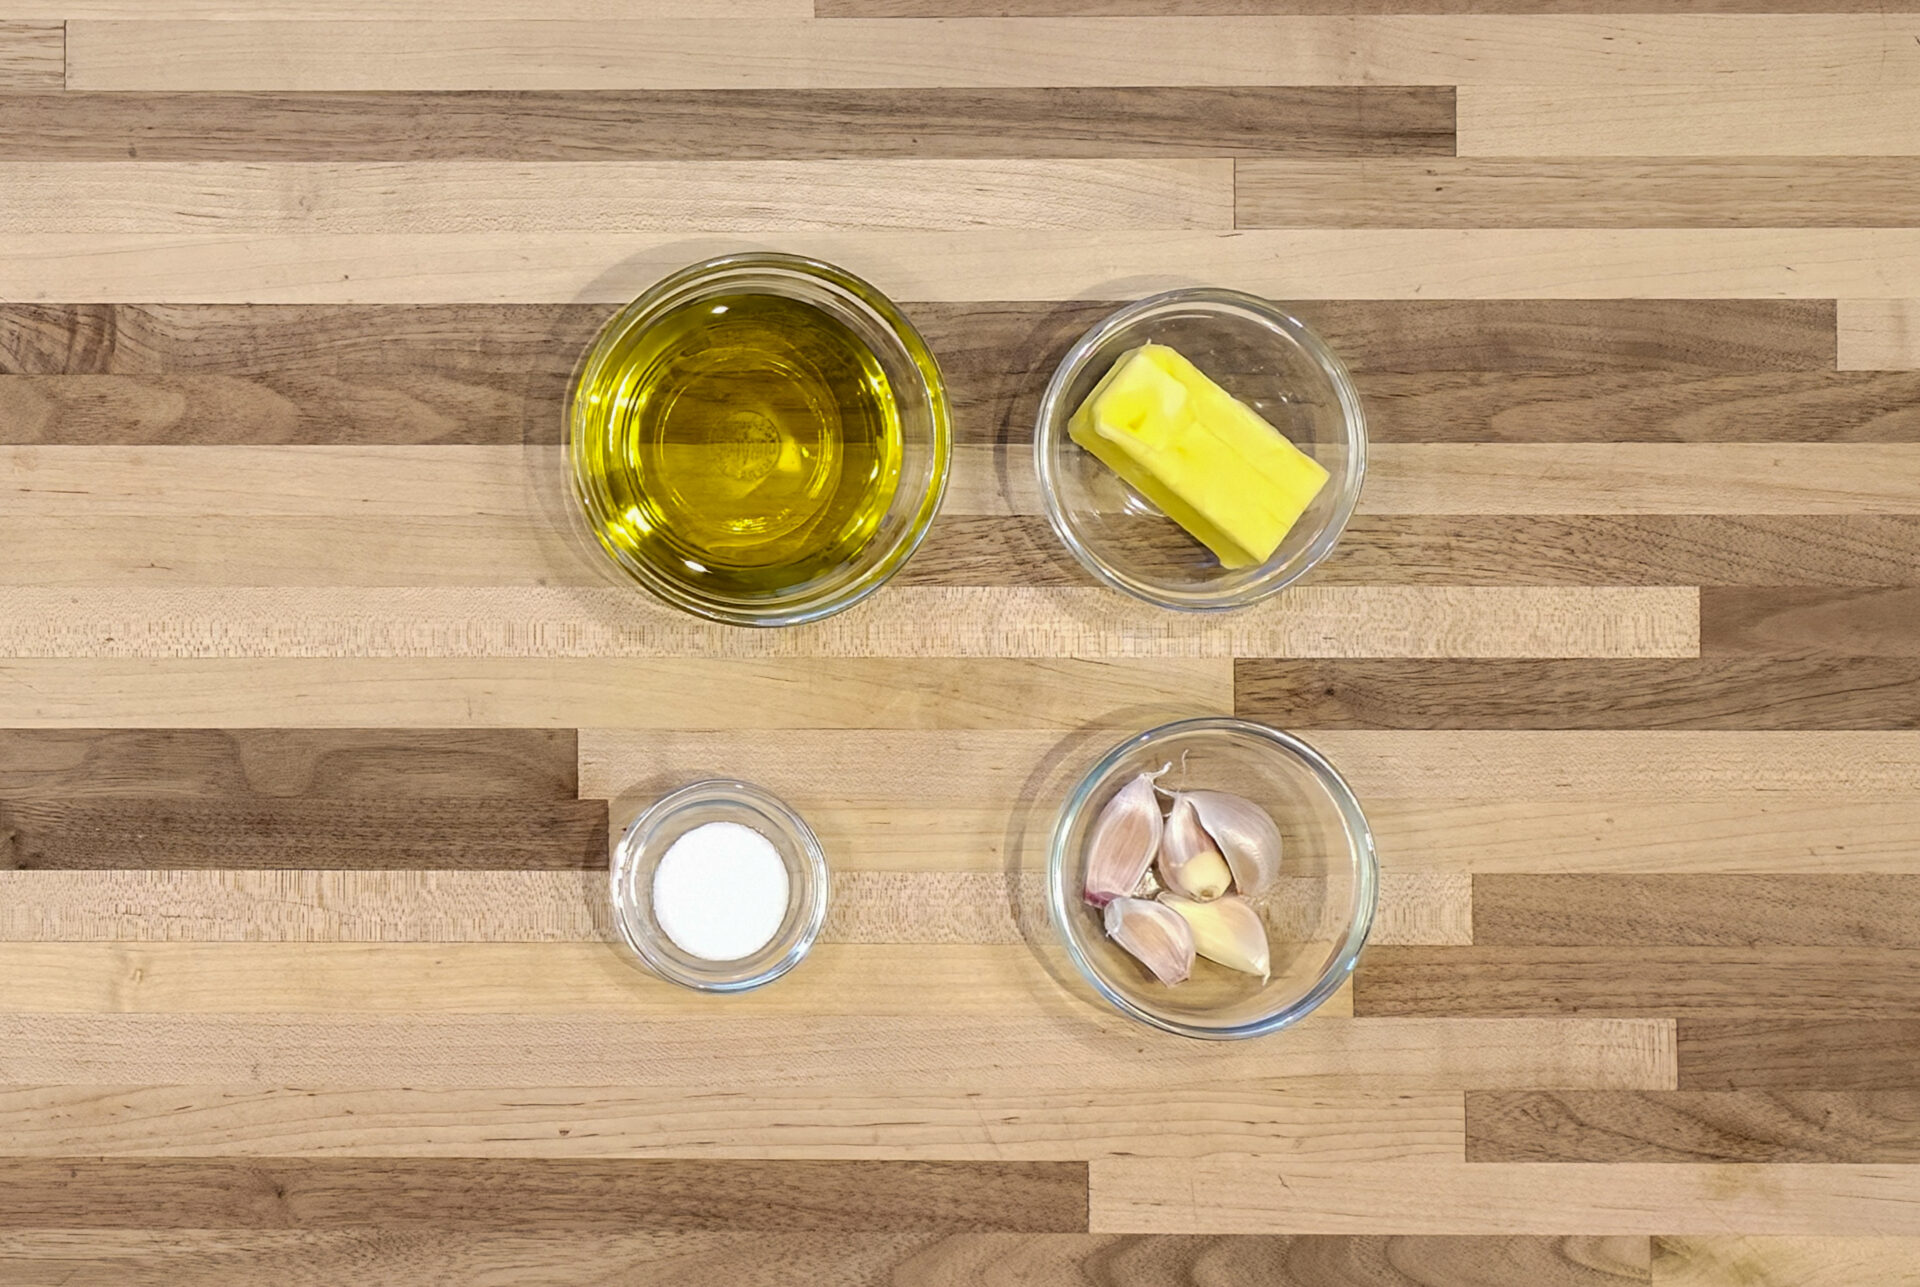
** Cut the butter into small pieces before melting and place into the measuring pitcher (or small microwavable mixing bowl). Then, microwave for a short time with a few seconds break between – to prevent little “explosions”. Optionally, melt the butter over low heat with occasional whisking.

Recipes

Best served with:

Directions:

Ingredients for Garlic Naan Bread Recipe

1. Dough:

Let’s start the preparation of the Garlic Naan Bread recipe by preparing the dough.

1.1. Place into a kitchen mixer with a hook attachment:

2 ¼ cups of bread flour
1 ½ TSP of active dry yeasts
1 TSP of confectioners’ sugar
1 TSP of salt

Briefly stir with a whisk just enough to combine all ingredients (about 1 minute).

Garlic Naan Bread Recipe - step 3Garlic Naan Bread Recipe - step 4Garlic Naan Bread Recipe - step 5

1.2. Add:

½ cup of water
½ cup of Greek yogurt
1 TBSP of Extra Virgin Olive Oil

Knead on low speed until all ingredients are partially incorporated (about 1 – 2 minutes).

Garlic Naan Bread Recipe Steps-06Garlic Naan Bread Recipe Steps-07Garlic Naan Bread Recipe Steps-09Garlic Naan Bread Recipe Steps-10

1.3.

Then increase speed to medium-high and knead until a sticky dough is formed (about 3 – 4 minutes).

Garlic Naan Bread Recipe Steps-11Garlic Naan Bread Recipe Steps-12

2. Raising the Dough:

2.1.

Remove the bowl from the mixer and cover it with plate or plastic wrap.

Garlic Naan Bread Recipe Steps-13

2.2.

Let it rise in a warm place until it has at least doubled in size (about 2 – 3 hours).

Garlic Naan Bread Recipe step 13Naan Bread Steps-14

3. Brushing Mixture:

Garlic Naan Bread Recipe Steps-02

3.1. Meanwhile, fully melt butter:

½ stick of butter

3.2. Add:

¼ cup of Extra Virgin Olive Oil
¼ cup of frying oil
1 TSP of salt
Optional: 5 cloves of garlic

Thoroughly stir with a whisk until fully incorporated (about 1 minute).

4. Shaping:

Note:
Working on a lightly floured surface (countertop)

4.1.

Aeparate the dough into eight even parts (the size doesn’t need to be exactly even) using a bowl scraper.

Garlic Naan Bread Recipe Steps-15Garlic Naan Bread Recipe Steps-16Garlic Naan Bread RecipeSteps-17

4.2. Then flatten with a rolling pin to the desired thickness about 1/4″ thickness (or thinner if you prefer crispy naan).

Tip:

If the dough is too sticky, consider lightly flouring the top of each piece before flattening.

Naan Bread Steps-18Naan Bread Steps-19Naan Bread Steps-20Naan Bread Steps-21

5. Bake:

5.1. Bake the Naan bread:

Notes:

  • You can bake on a non-stick fry pan on medium-high heat (with no extra oil added) or grill on medium heat (right on the grill – no pizza stone needed).
  • Grilling is a little better option since it partially simulates a tandoori oven, which is usually used to prepare this traditional Indian bread.
  • Another advantage of the grill is that you can make more at the same time.

5.2.

Right before baking, brush one side of the bread with the brushing mixture (prepared in step 3), and place the brushed side down. Bake until done– the bottom side will have little brown spots (about 1 – 2 minutes).

5.3.

While baking, brush the second side with the brushing mixture.

5.4.

Flip and bake until done. The other side will start having little brown spots (about 1 – 2 minutes).

6. Serve Garlic Naan Bread Recipe:

6.1.

Serve warm or cold.

6.2.

It goes great as a side dish with any Indian meal or as a small snack.

Tips:

  • You can increase the raising time to 10 hours based on your convenience.
  • If your Naan bread is no longer fresh, consider heating it briefly in the microwave right before serving.

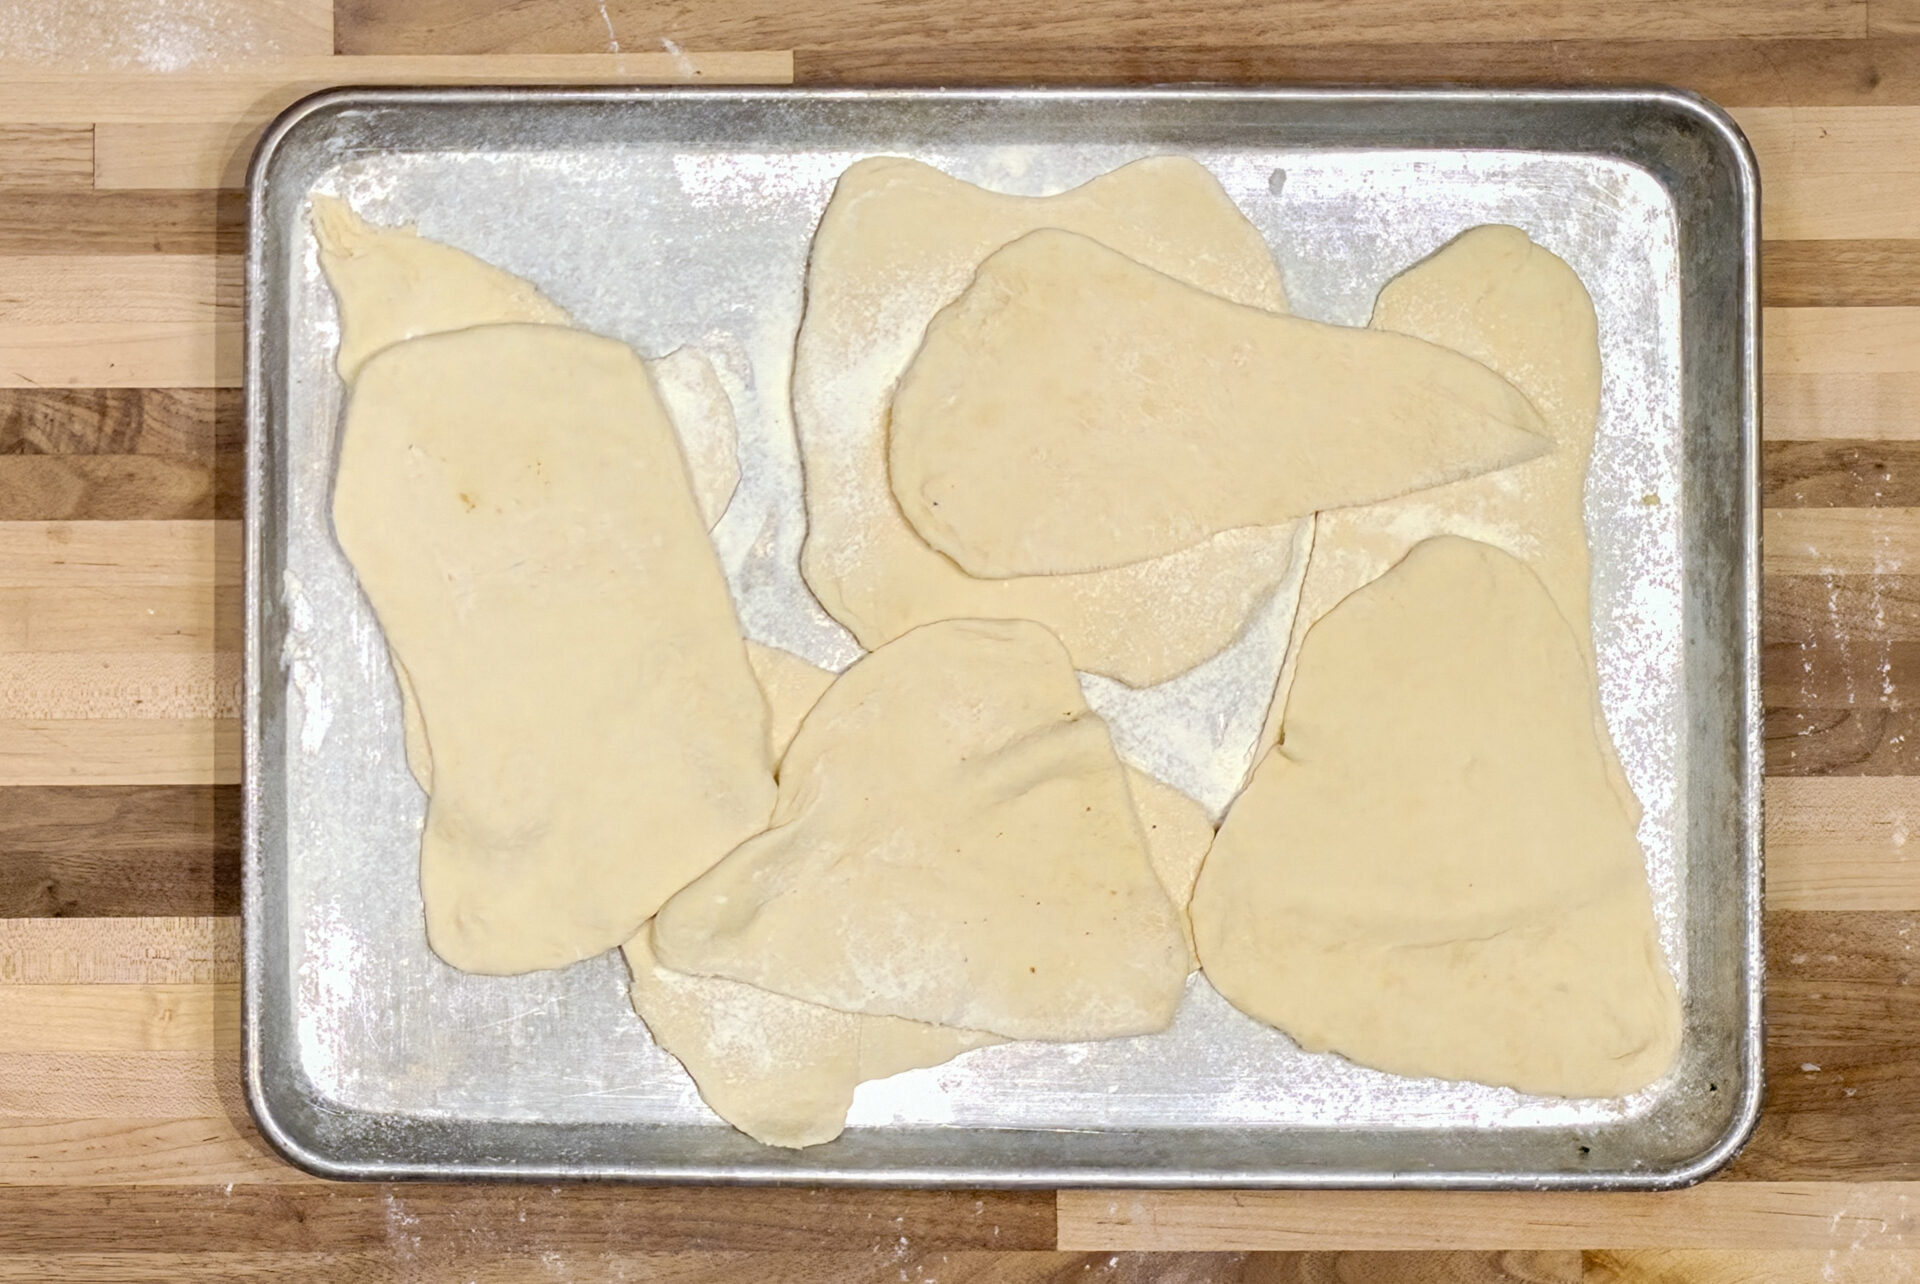
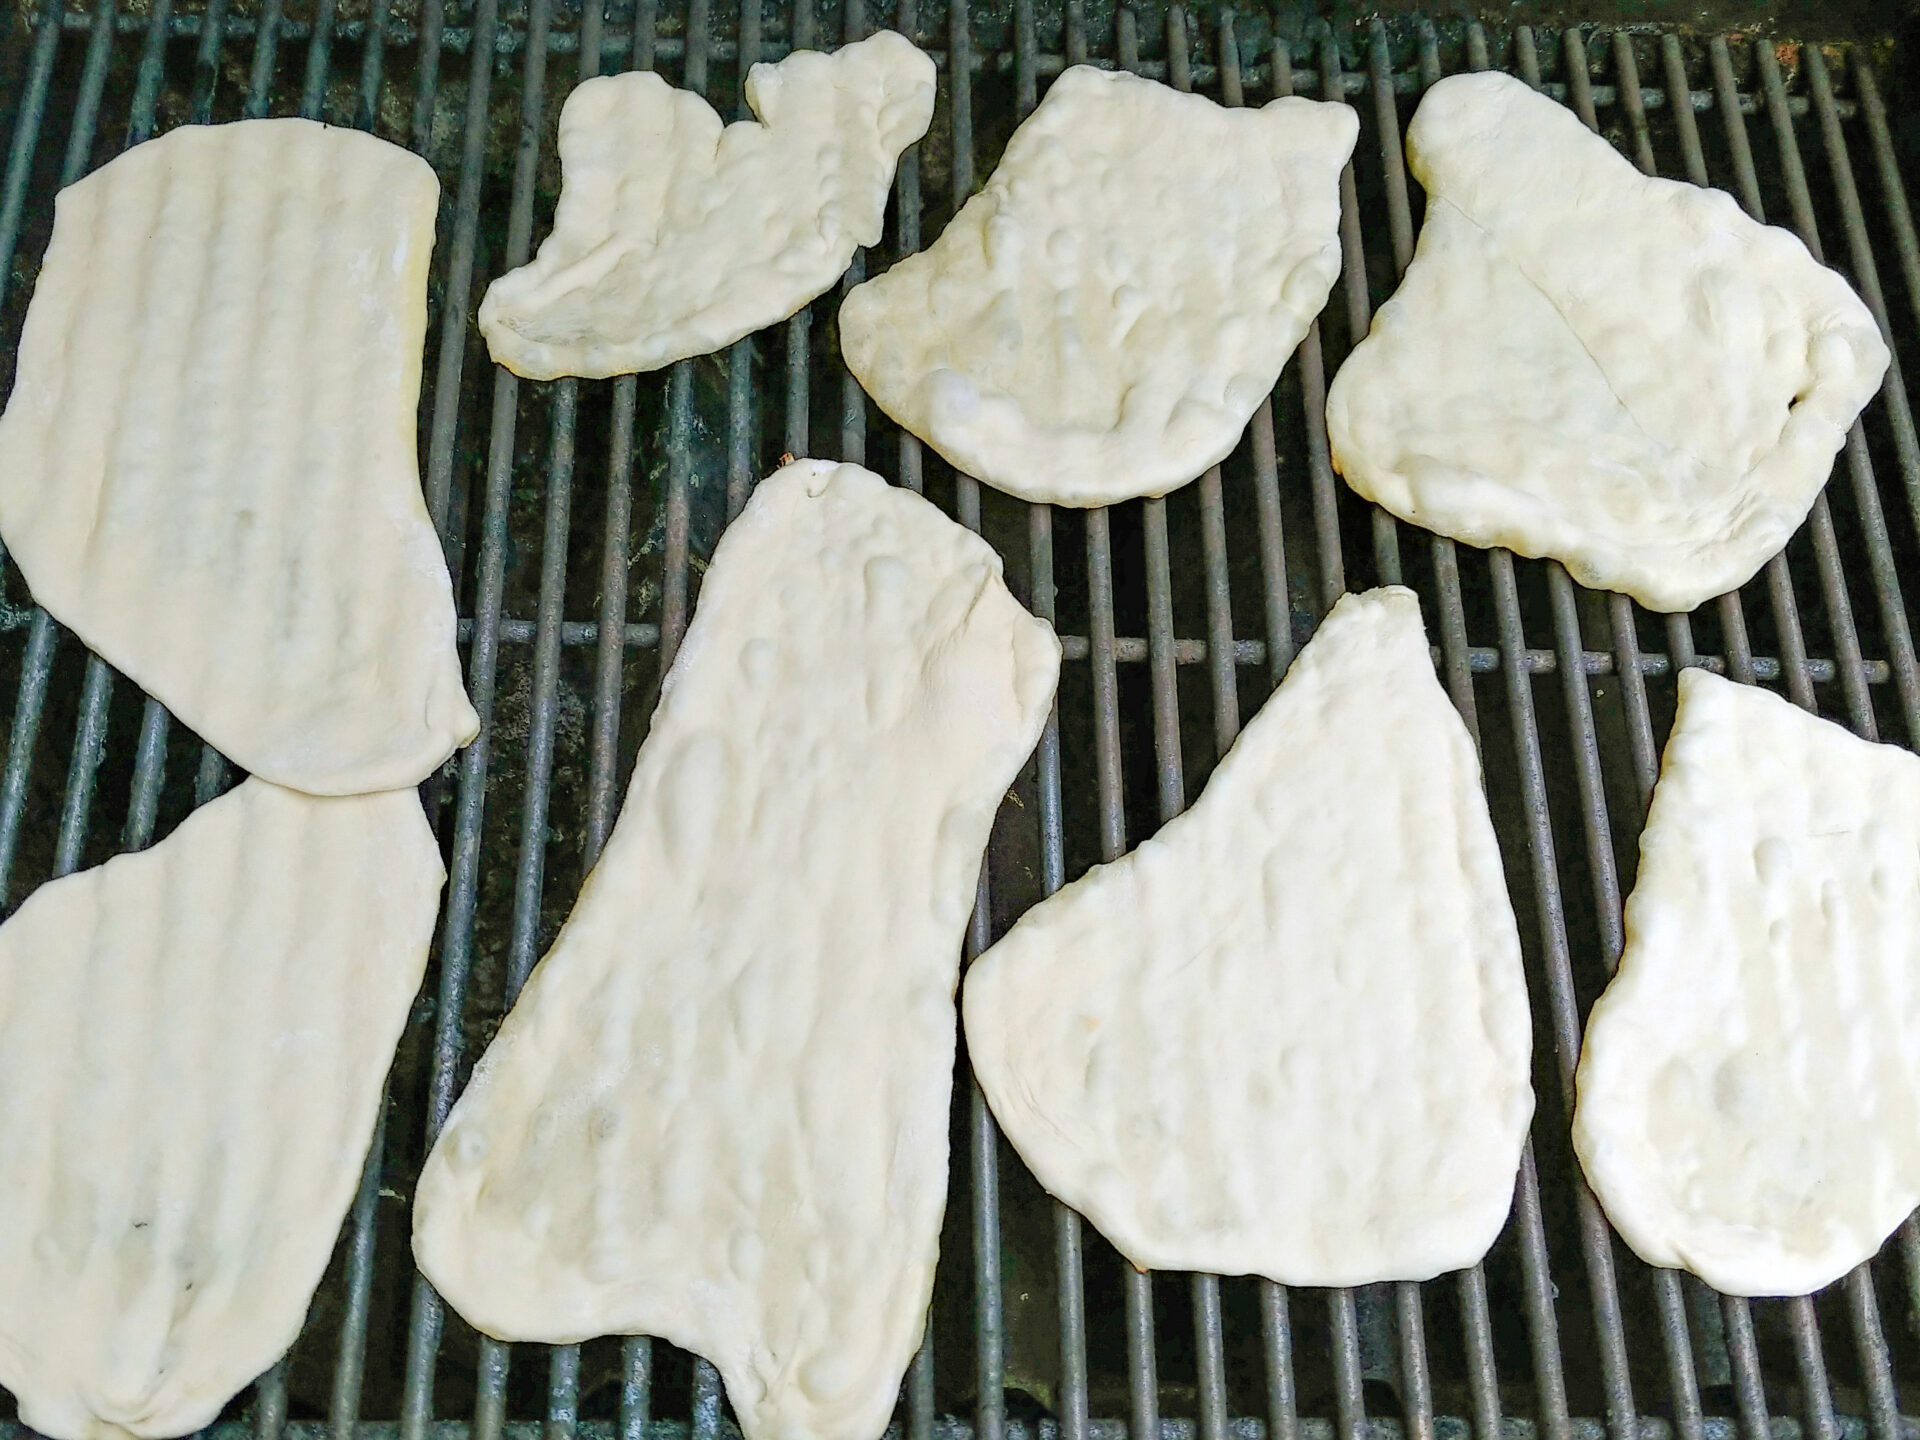
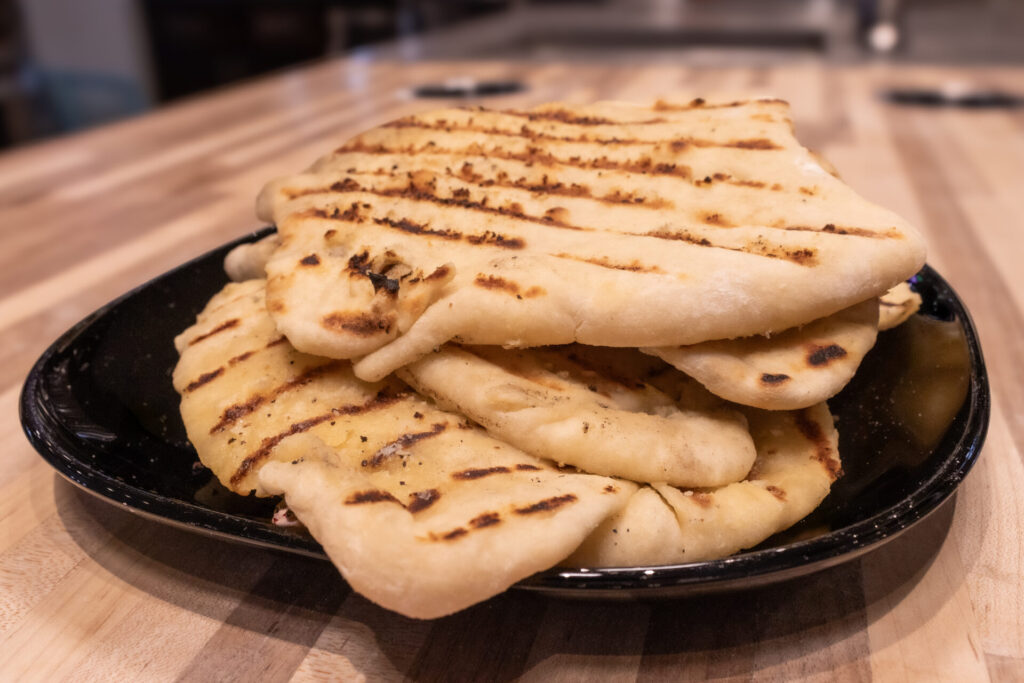
Naan bread, a staple in Indian cuisine, has captured the hearts and palates of food enthusiasts around the world. Its pillowy softness, slightly charred edges, and delicate smoky flavor make it an irresistible accompaniment to a wide array of dishes.

About the Author:
Tom the ChefFounder
# 1
  • Published Recipes: 269
  • Av. Recipe Evaluation:
  • Location: Iowa, USA
  • Member since: 2023-02-02

Disclaimer

  1. General Information Content on this page above, including the content provided on www.CookingHub.com, including all recipes, articles, and other materials, is for general informational purposes only. This content reflects the personal opinions and experiences of its authors and is not intended to provide professional dietary, medical, legal, or political advice. Please consult a qualified professional before making any decisions based on the information presented here.
  2. Content Ownership and Use Content on this page above, including content published on CookingHub.com is owned by the individual authors who created it. Only the authors can access, modify, or delete their content from the platform. Our content may be embedded on third-party websites and blogs without modification. No reimbursement will be provided for this use. If an author removes content from CookingHub.com, it will no longer be available through any embedded links.
  3. Limitation of Liability Neither www.CookingHub.com (operated by the CookingHub Foundation) nor content authors are responsible for any outcome or consequence resulting from the use of information on this site. This includes, but is not limited to:
    • Food Safety: Any health risk related to food handling, food quality, or failure to follow USDA recommendations (including minimum safe cooking temperatures).
    • Preparation Safety: The proper and safe handling of cooking equipment or its suitability for any given task.
    • Recipe Outcomes: The final look, taste, or success of following a recipe.
    • Ingredients and Equipment: The sourcing of ingredients, tools, equipment, or anything else related to the preparation and consumption of food.
    • Nutritional and Dietary Information: The accuracy of nutritional data. This information is provided as a courtesy and should not replace advice from a medical provider. You are responsible for verifying that a diet is suitable for your personal health needs.
    • Errors and Omissions: Any potential errors, typos, or unclear directions in articles and recipes.
  4. User Responsibility All readers, visitors, and users of embedded content are solely responsible for evaluating recipes and articles. You must make your own decisions about whether to follow the steps and recommendations provided. It is your responsibility to ensure that ingredients and preparation methods are safe and appropriate for your personal dietary restrictions and health conditions.