Cook, Learn, and Share to Fight Hunger.
Sliced Multigrain Bread on the white cutting board, with the entire loaf in the background.
  • 30 min.
  • 3 ½ h +
  • 3/5

Ingredients:

*Optionally, substitute with your favorite grains or nuts.
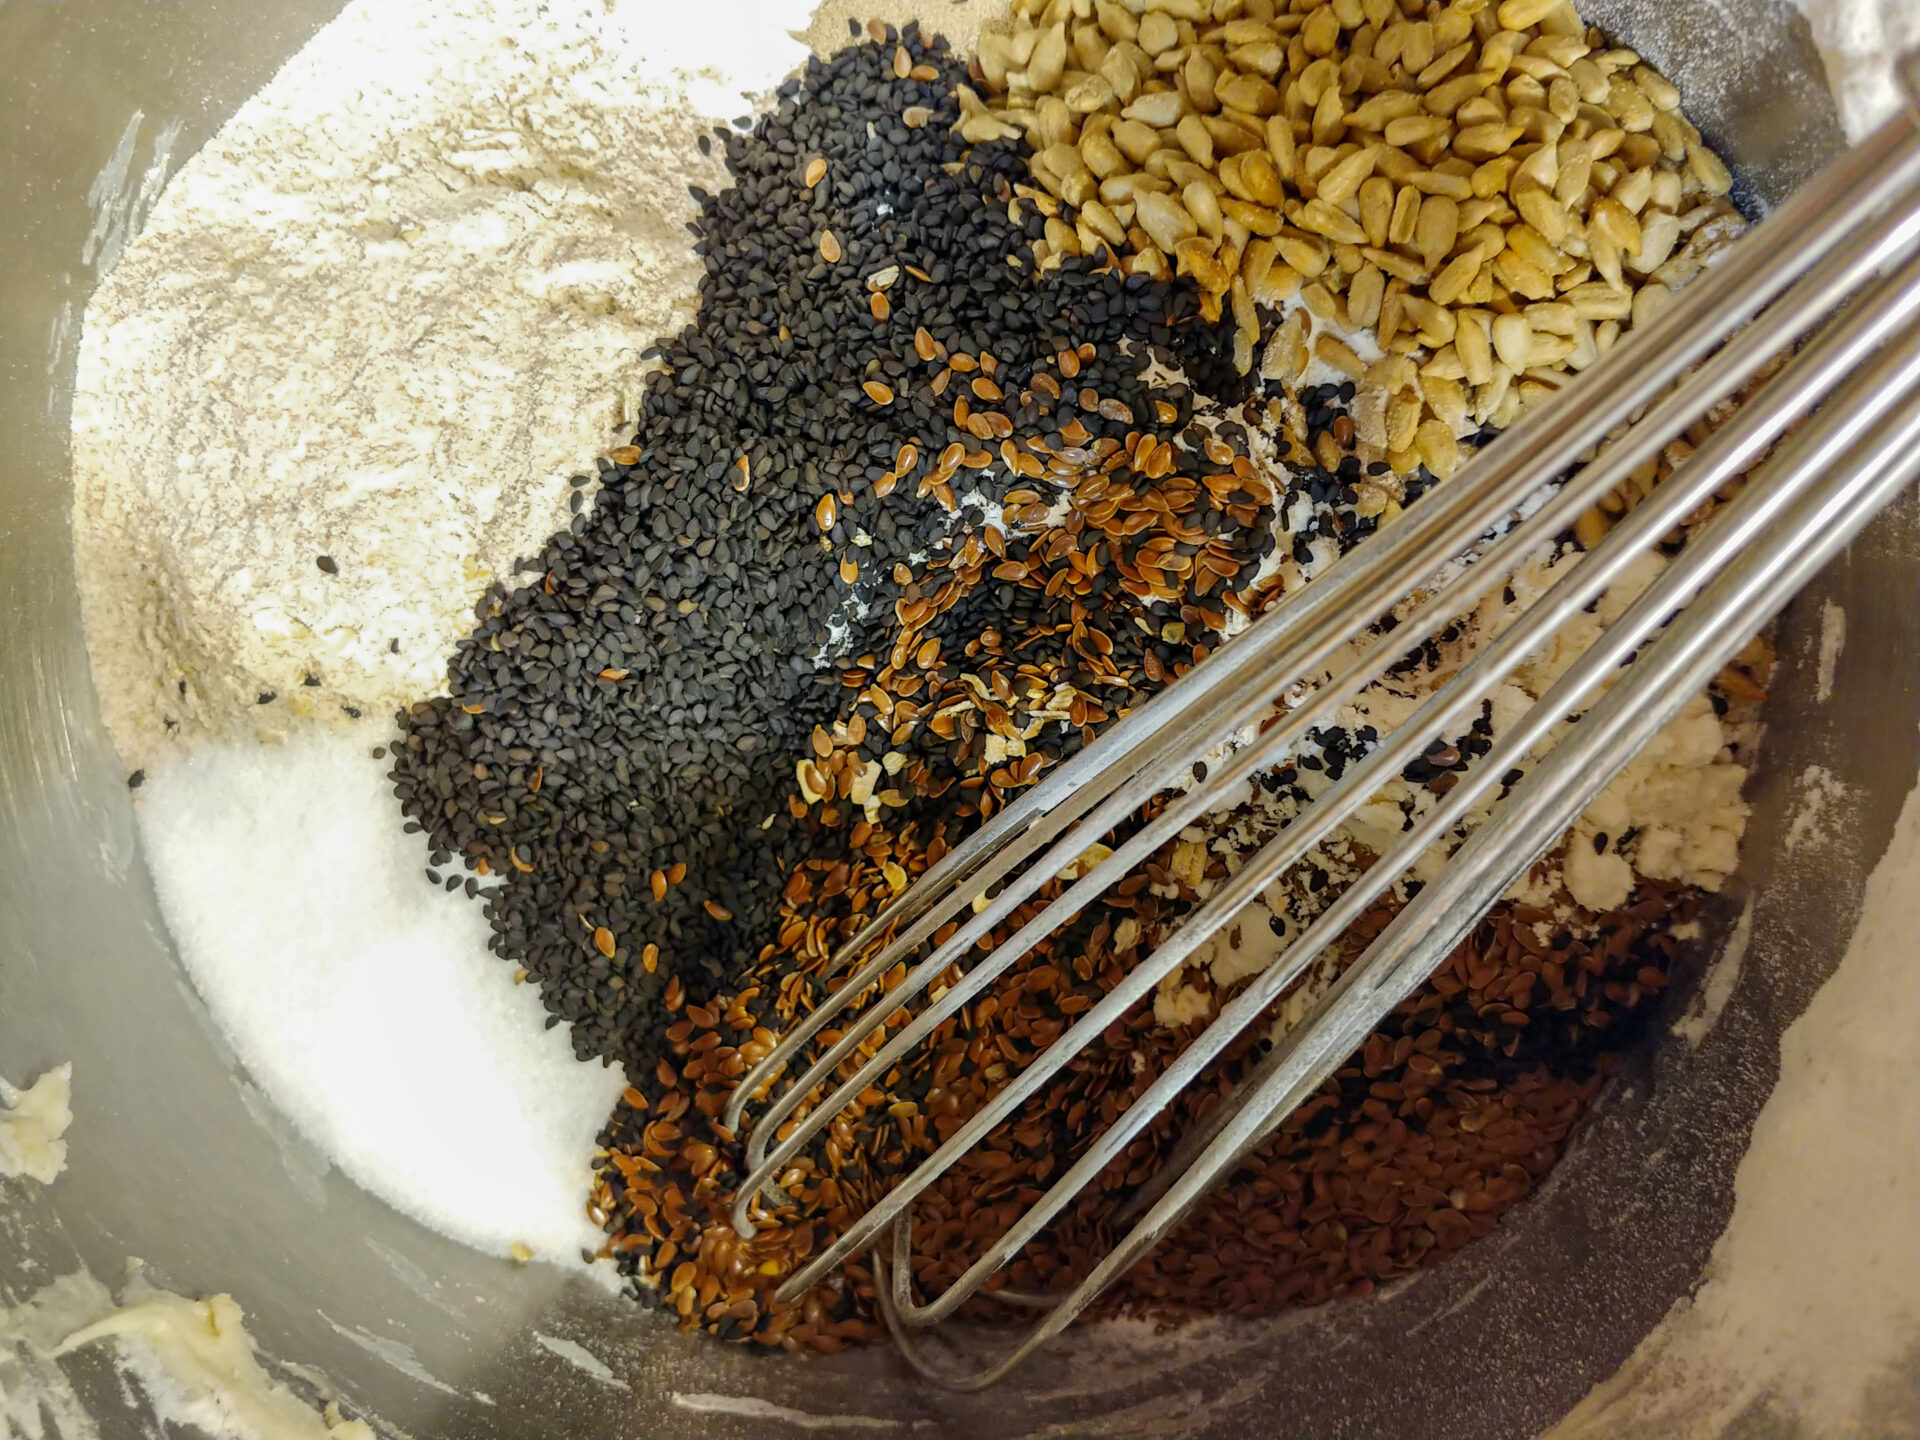
Recipes

Best served with:

Directions:

1. Dough for Multigrain Bread:

Let’s start preparing the multigrain bread.

1.1. Place into the kitchen mixer with a hook attachment:

3 cups of bread flour
1 cup of whole wheat flour
1 TSP of confectioners’ sugar
2 TSP of active dry yeasts
¼ cup of instant oats
¼ cup of sunflower seats
¼ cup of flaxseed
¼ cup of sesame seeds
1 TBSP of salt

Briefly stir with a whisk just enough to combine all ingredients (about 1 minute).

1.2. Add:

2 ¼ cups of water

Knead on a low speed until all ingredients are partially incorporated (about 1 – 2 minutes).

1.3. Then, increase the speed to medium-high and knead until a compact dough is formed (about 1 – 2 minutes).

Notes:

  • The dough should not be too sticky (at least not too much).
  • If it sticks to the mixing bowl after 2 to 3 minutes of processing, add 2 TBSP of flour and process for 1 – 2 minutes. That should solve the problem. If not, add a little more flour.

Multigrain BreadMultigrain BreadMultigrain BreadMultigrain Bread

2. Rising the Dough:

2.1.

Remove the bowl with the dough from the mixer and cover the bowl with plate or plastic wrap.

2.2.

Let it rise in a warm place until it doubles in size (about 2 – 3 hours).

Multigrain BreadMultigrain Bread

2.3. Deflate the dough right in the bowl using a dough scraper, folding the dough from one side, then over the other side of the dough, and finally press it down. Repeat this process a few times from all sides of the dough. After deflating, let the dough rise until it doubles in size before another deflation (about 1 – 2 hours). The deflation process is best to repeat at least 3 times, but more would be even better.

Note:
Intervals between deflating can be longer (even overnight), so it’s better to make it fit your schedule. If you want to rise your bread longer, keep it at room temperature (not in a warm place) and use a significantly larger bowl to provide the dough enough space while it’s rising. Make sure that the total rising time (including all deflations) won’t be longer than 24 hours. 

Multigrain BreadMultigrain Bread - steps-07Multigrain Bread - steps-08Multigrain Bread - steps-09Multigrain Bread - steps-10Multigrain Bread - steps-11Multigrain Bread - steps-12

3. Shape the Multigrain Bread:

3.1.

Place the dough on a surface and form the bread loaf by stretching the dough. To stretch the dough, place the bowl scraper at a slight angle against the bottom part of the dough while making sure that the bottom of the bowl scraper is touching the table.

3.2.

Then, keeping one hand on the top of the dough, push the scraper to move the dough slightly. The dough will roll slightly and stretch at the same time.

3.3.

Repeat this step a few times until a loaf of bread is shaped. Each time, turn the dough about 90° to the right (usually about 2 times from each of the four sides).

3.4.

Generously flour the proofing basket and place the shaped loaf in it.

3.5.

Flour the top of the loaf.

Multigrain Bread - steps-14Multigrain Bread - steps-15Multigrain Bread - steps-16Multigrain Bread - steps-16Multigrain Bread - steps-17Multigrain Bread - steps-18

4. Proofing:

4.1.

Let your bread loaf proof in a proofing basket in a warm place for about 20 – 30 minutes before baking (do not go much longer than that).

5. Baking Multigrain Bread:

Bake in an oven or on a grill with a pizza stone and pizza paddle.

A.

Oven baking:

1.

Preheat your oven to 450°F with the first upside-down baking sheet in the center of your oven (without parchment paper) and a small heatproof bowl with water (in the bottom of the oven).

2.

Flip the raised bread from the basket onto a second upside-down baking sheet that is covered with parchment paper.

3.

Score the top of the bread with a razor/knife (4 – 6 cuts on the top of the bread).

4.

Carefully slide the parchment paper with the bread from the baking sheet to another baking sheet located in the oven.

5.

Add ice cubes to a small heatproof bowl with water. Optionally, add other ice cubes during baking for a crispier crust.

6.

Bake until done (about 20 – 40 minutes depending on the thickness and shape of the bread). Test with a toothpick.

B.

Grill baking:

1.

Preheat the grill to 500°F. While preheating keep a pizza stone on one side and a small heatproof bowl with water on the other side. Keep the temperature about 500°F and if possible, focus on less direct heat with the fire preferably on the side of pizza stone.

2.

Flip the raised bread from the basket onto a lightly floured pizza paddle.

3.

Score the top of the bread with a razor (4 – 6 cuts on the top of the bread).

4.

Carefully slide the bread from the pizza paddle onto the pizza stone on the grill.

5.

Add ice cubes into a small heatproof bowl with water. Optionally, add other ice cubes during baking for a crispier crust.

6.

Bake until done (about 20 – 40 minutes, depending on the thickness). Test with a toothpick.

Multigrain Bread

You can freeze bread for later usage (it stays great in a freezer for up to a half year). Defrost in only 3 – 4 hours.

Ingredients

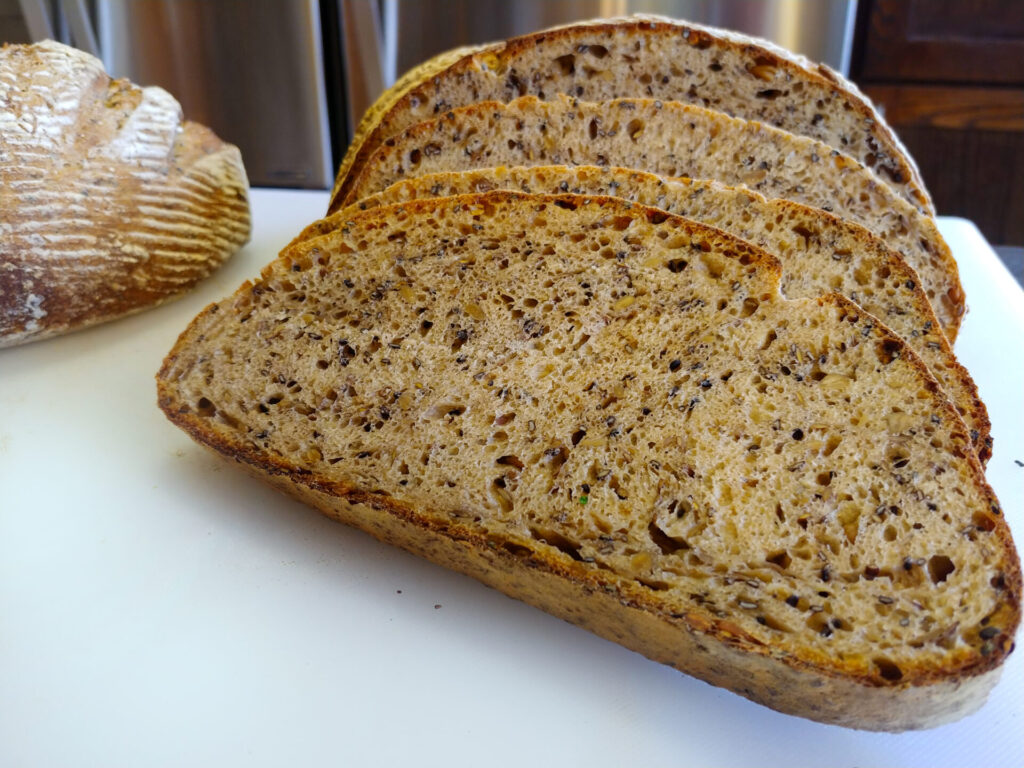
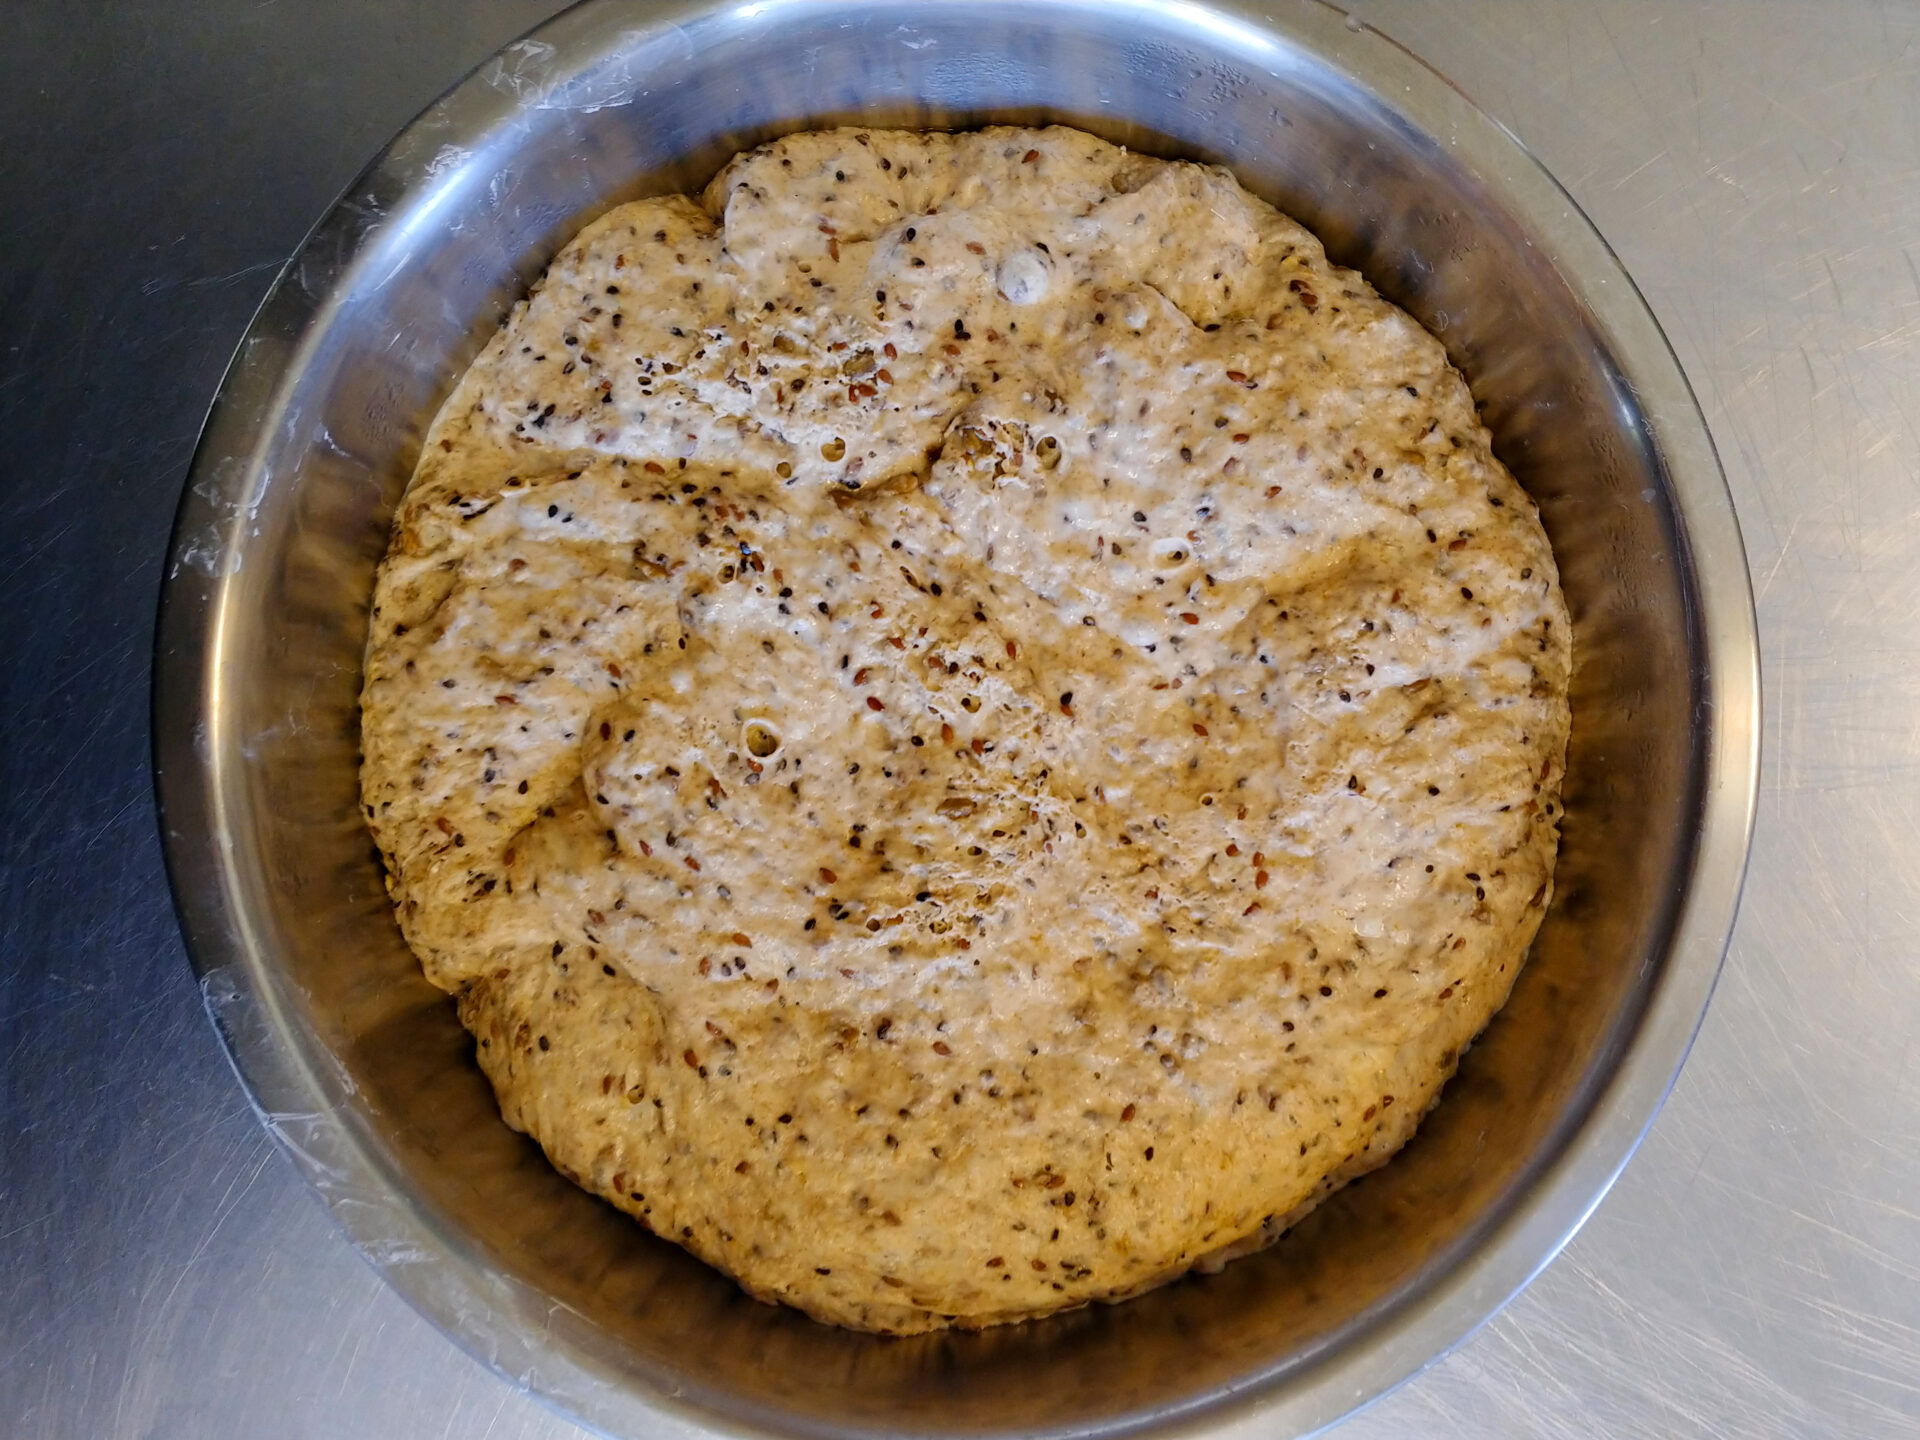
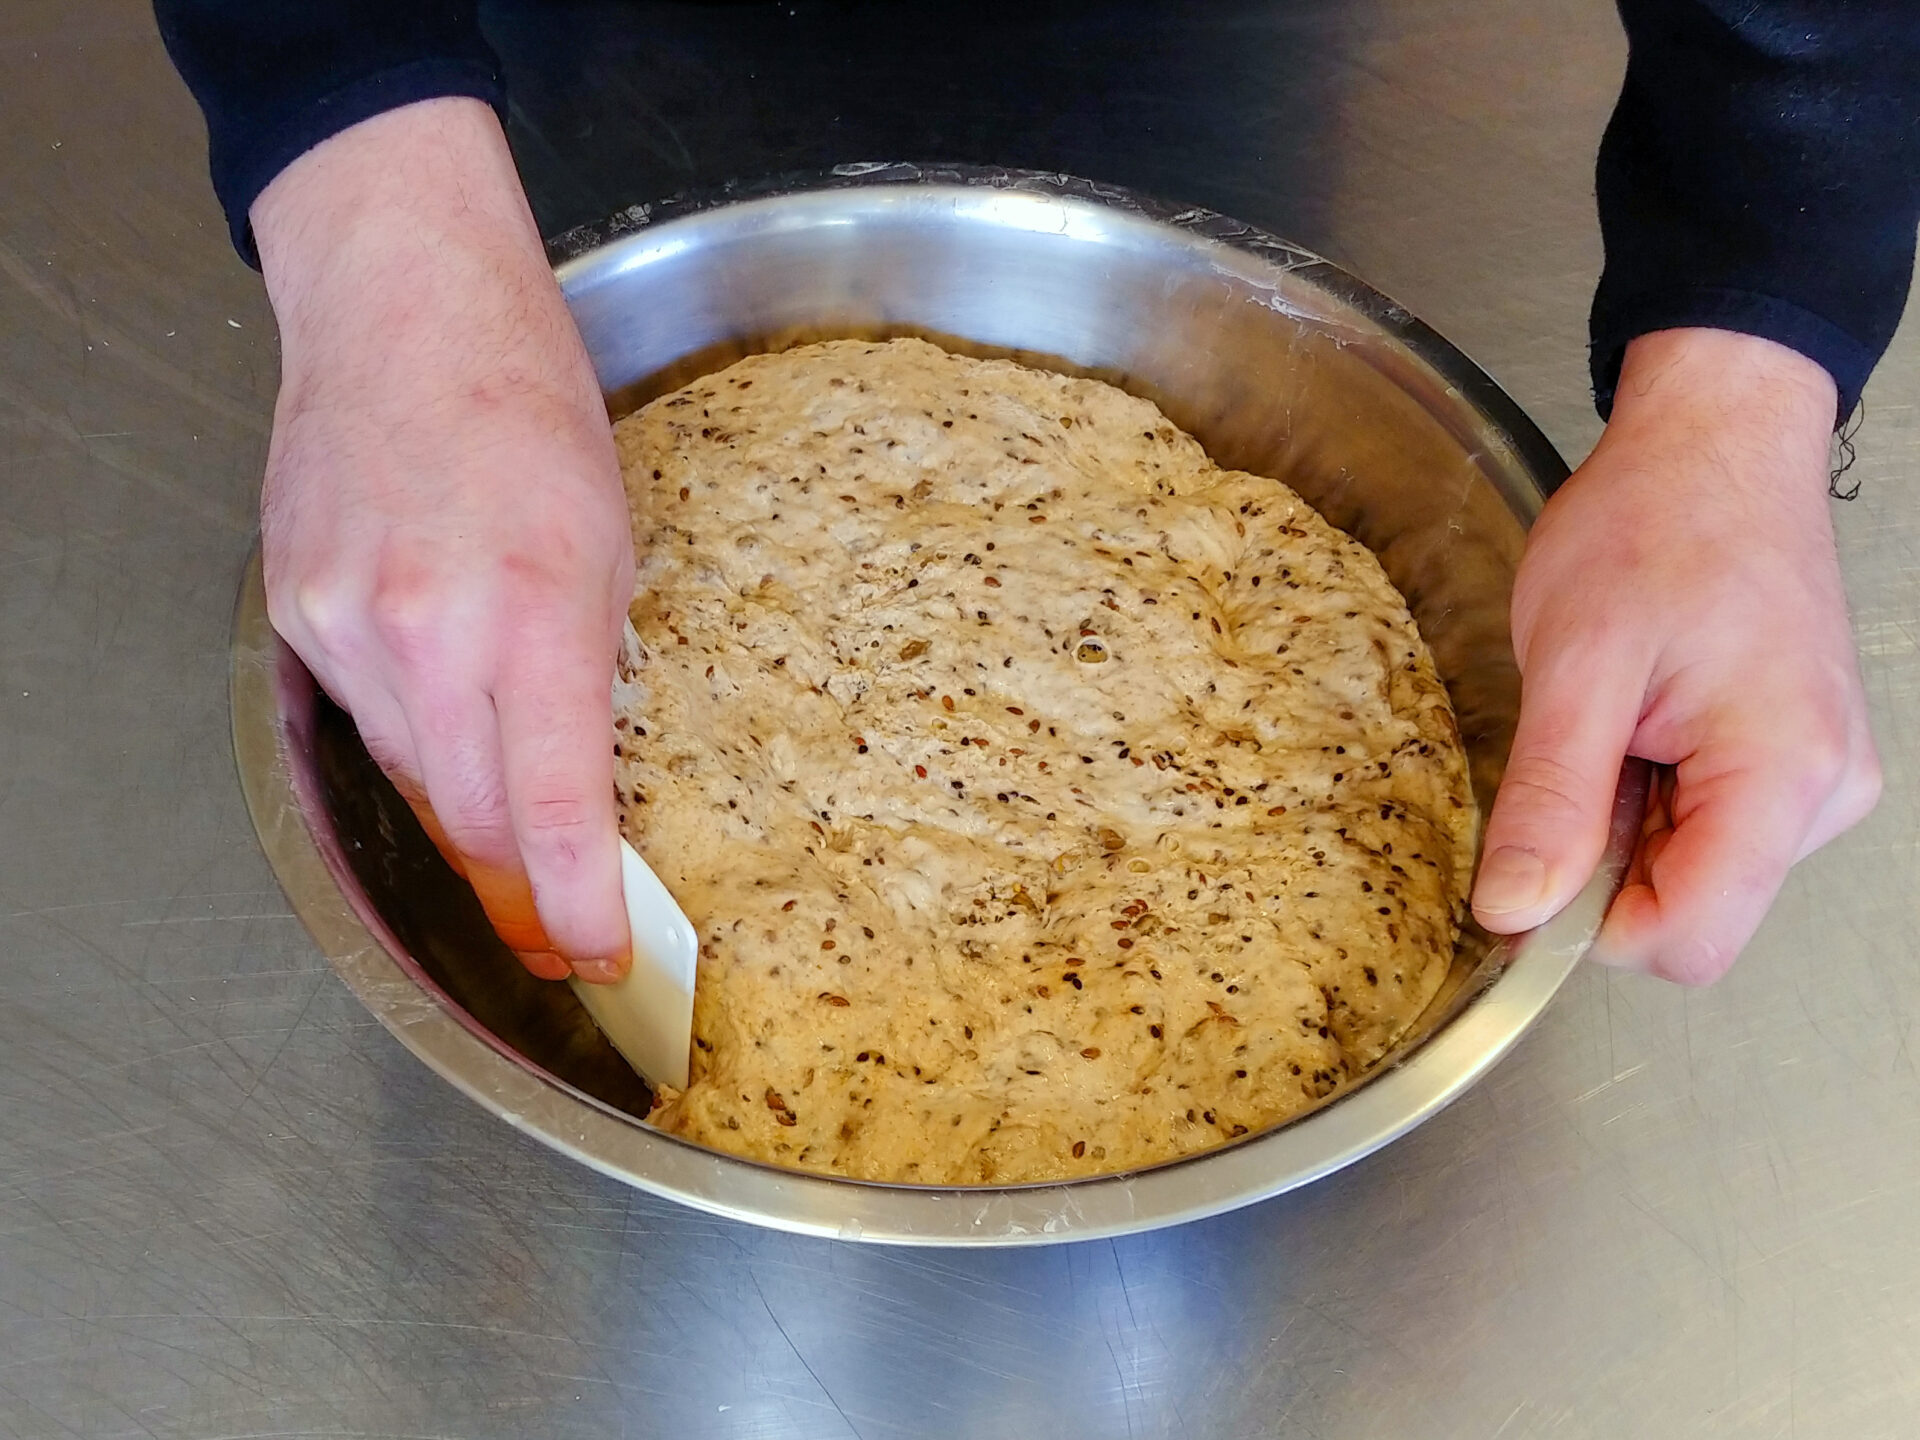
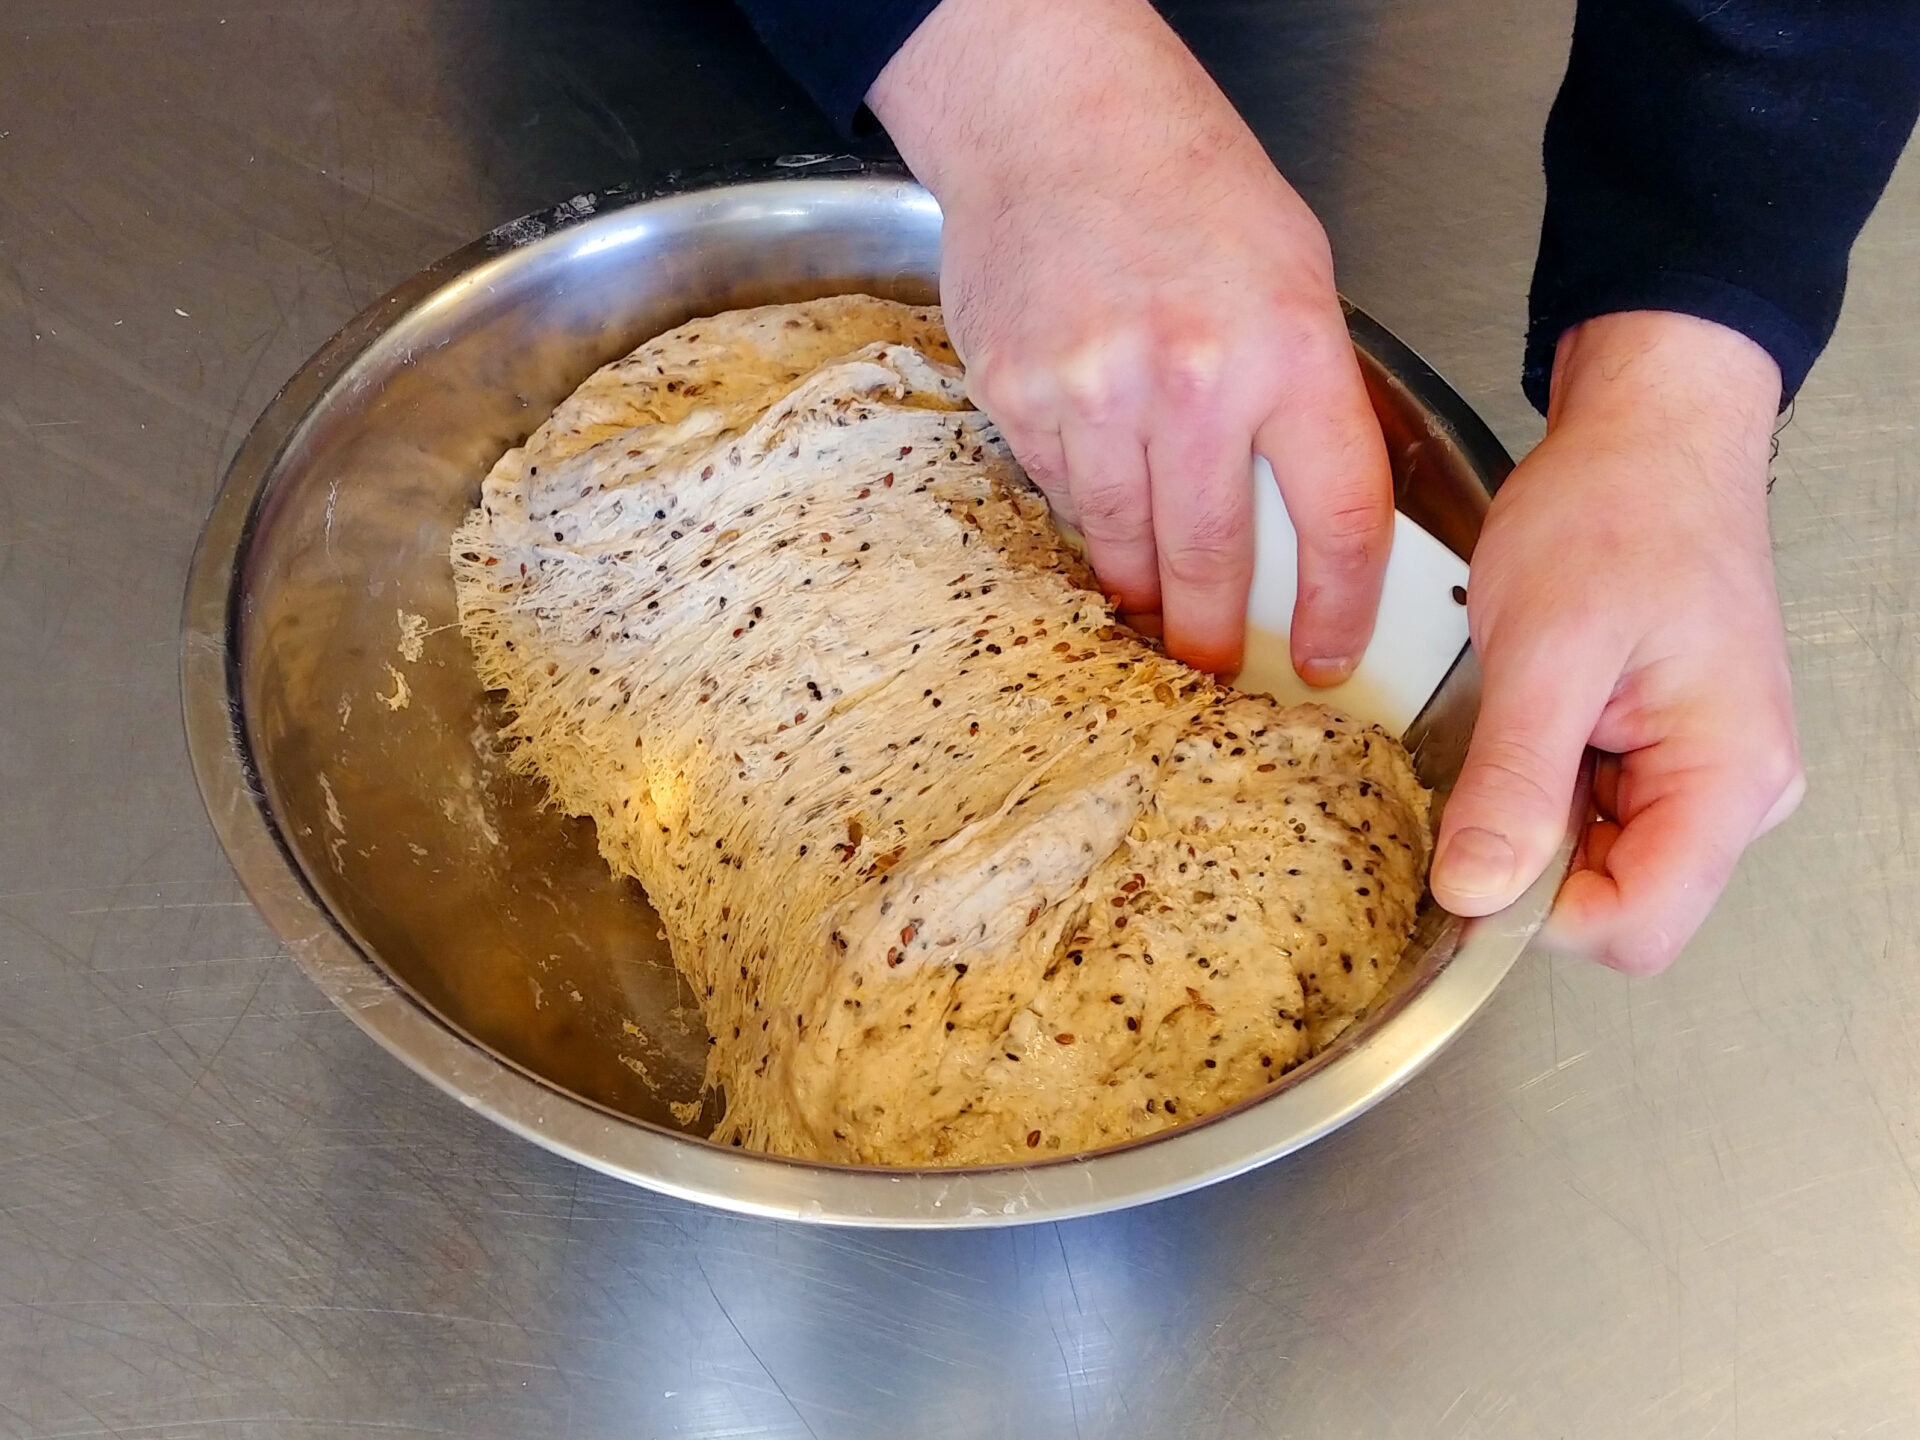
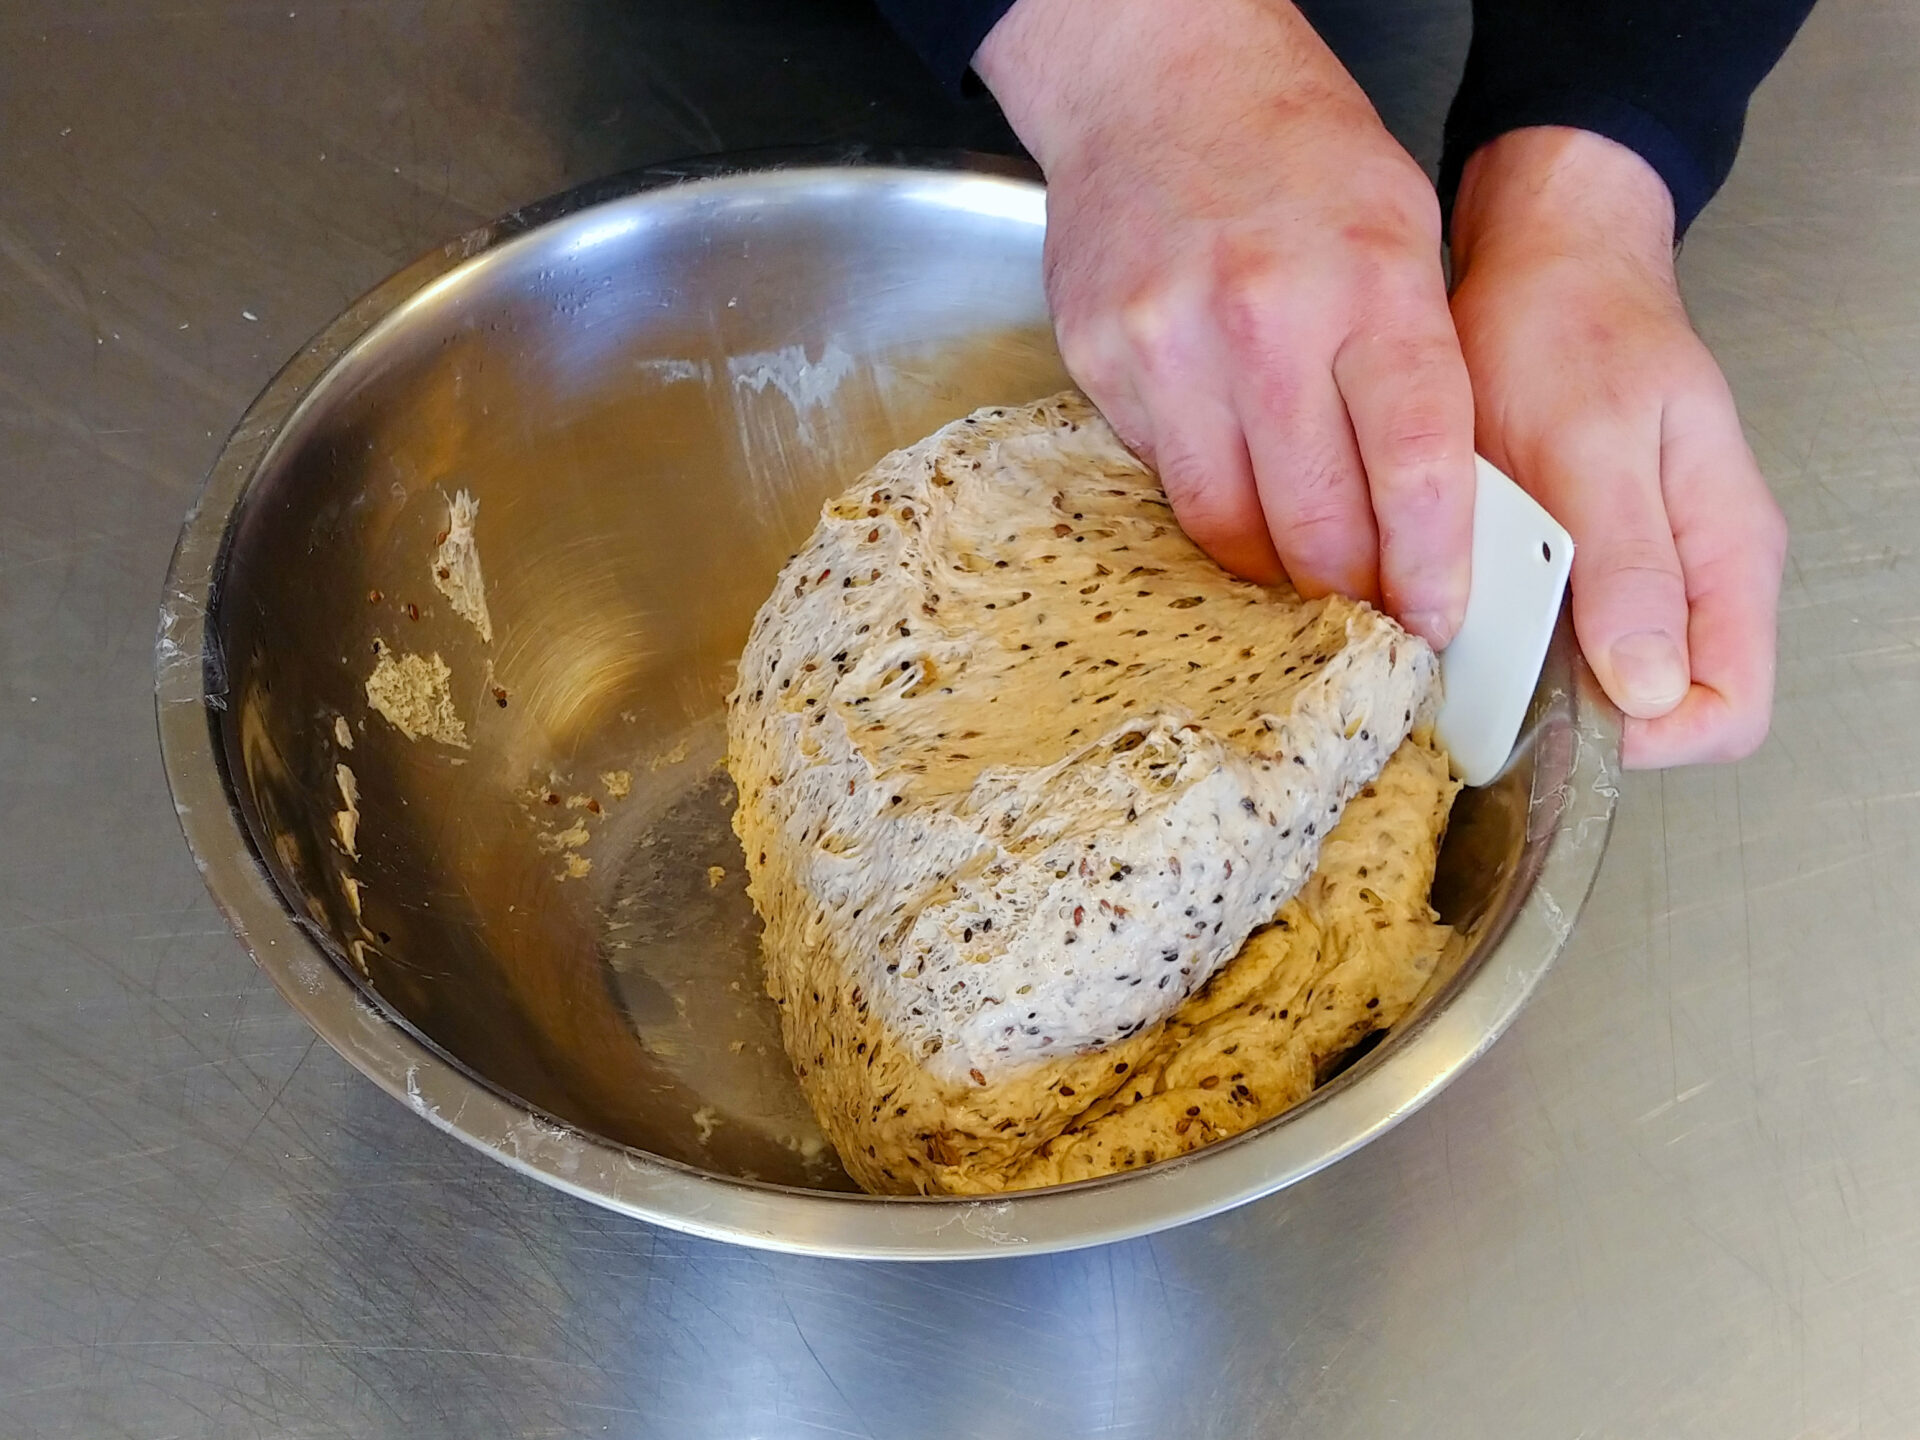
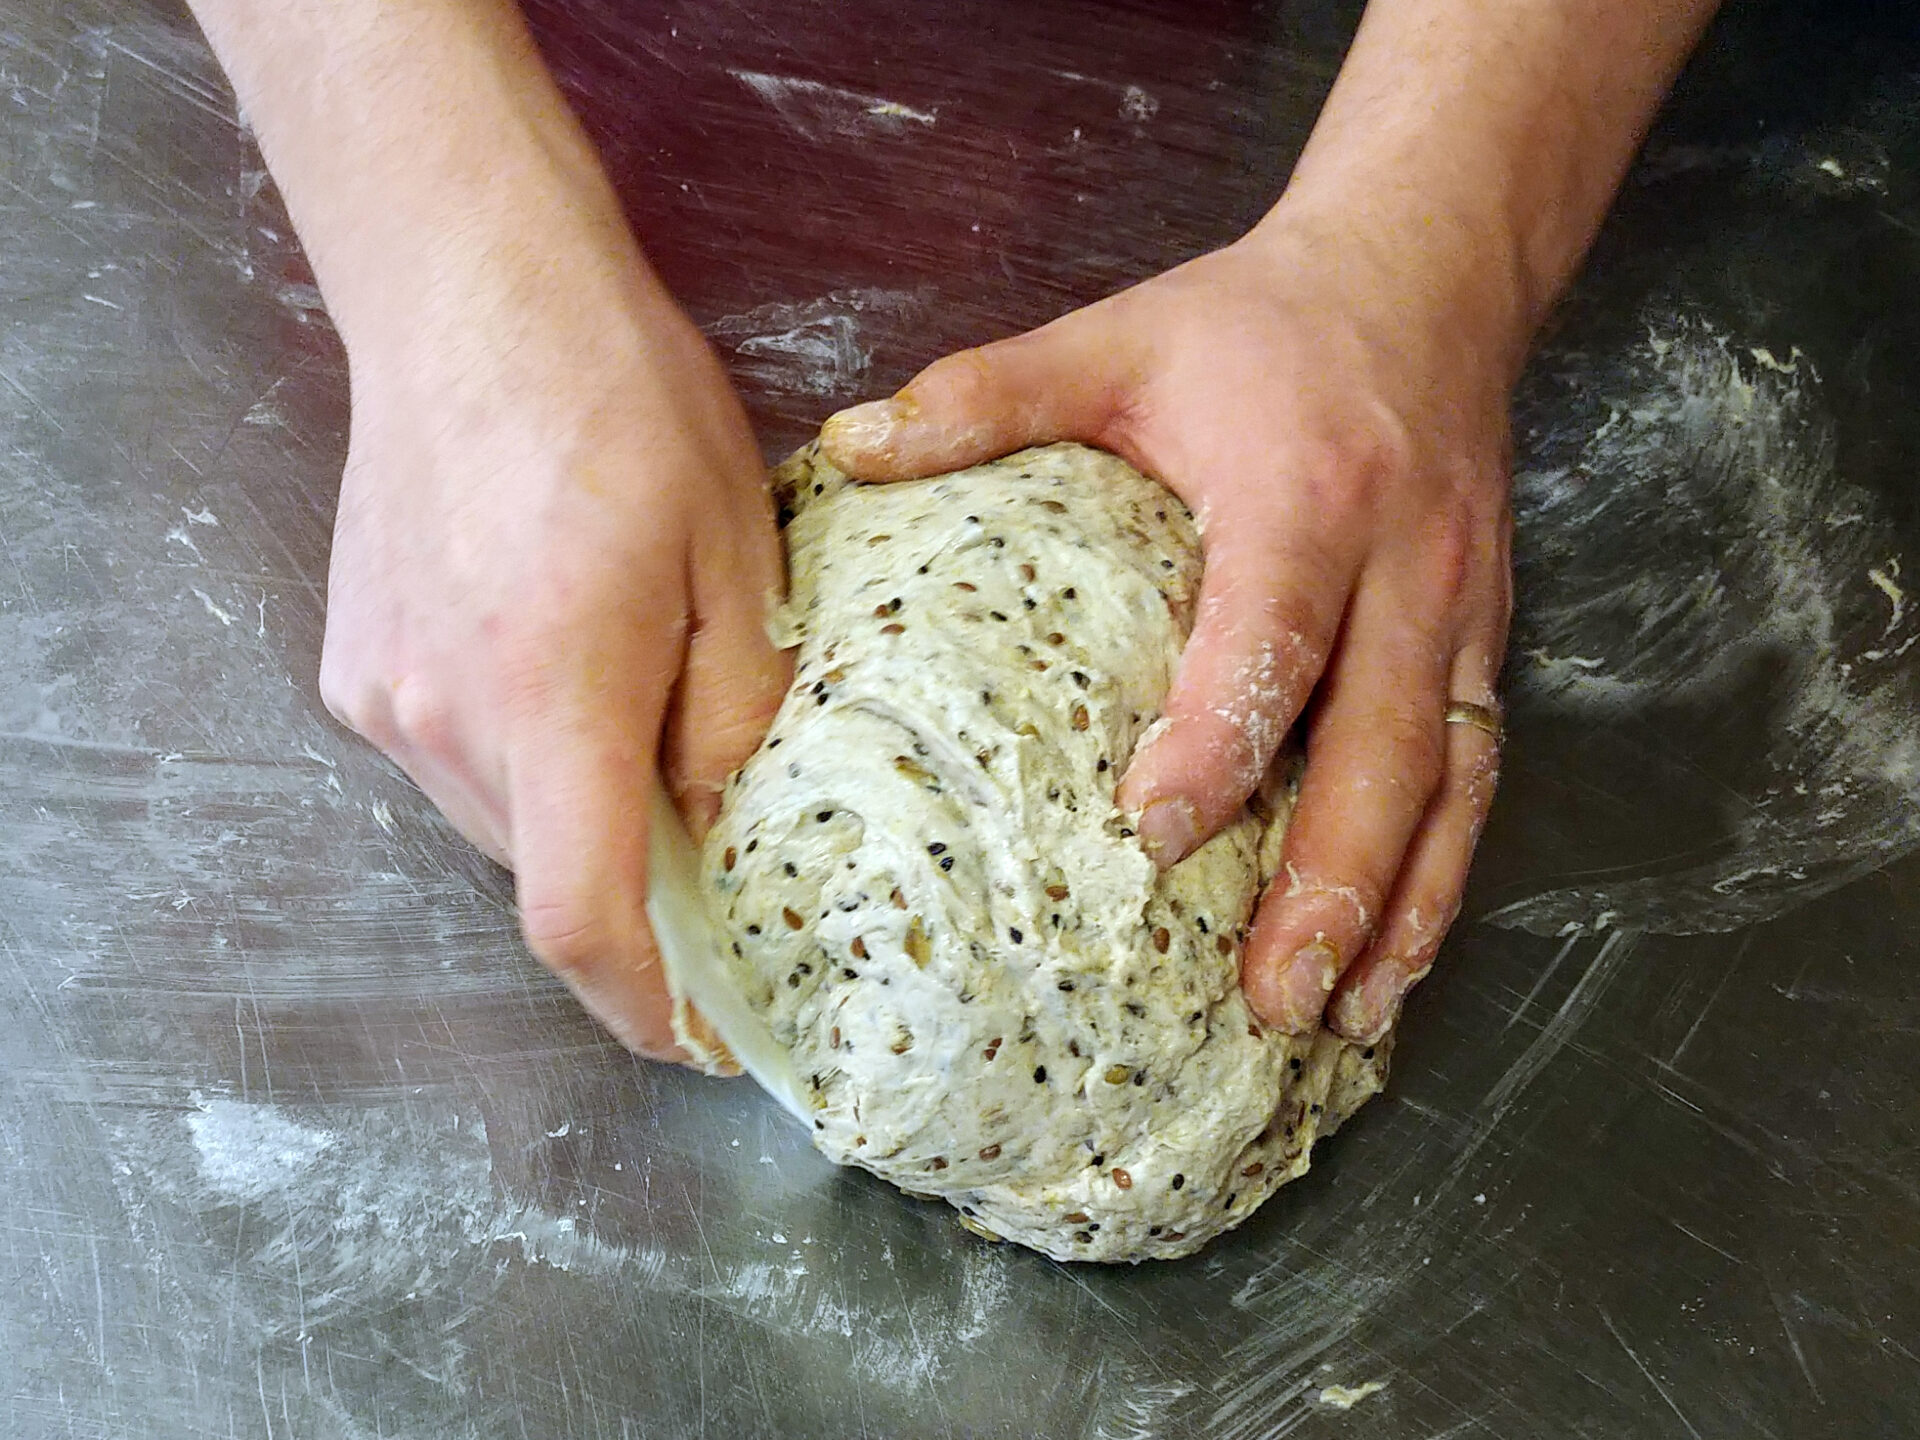
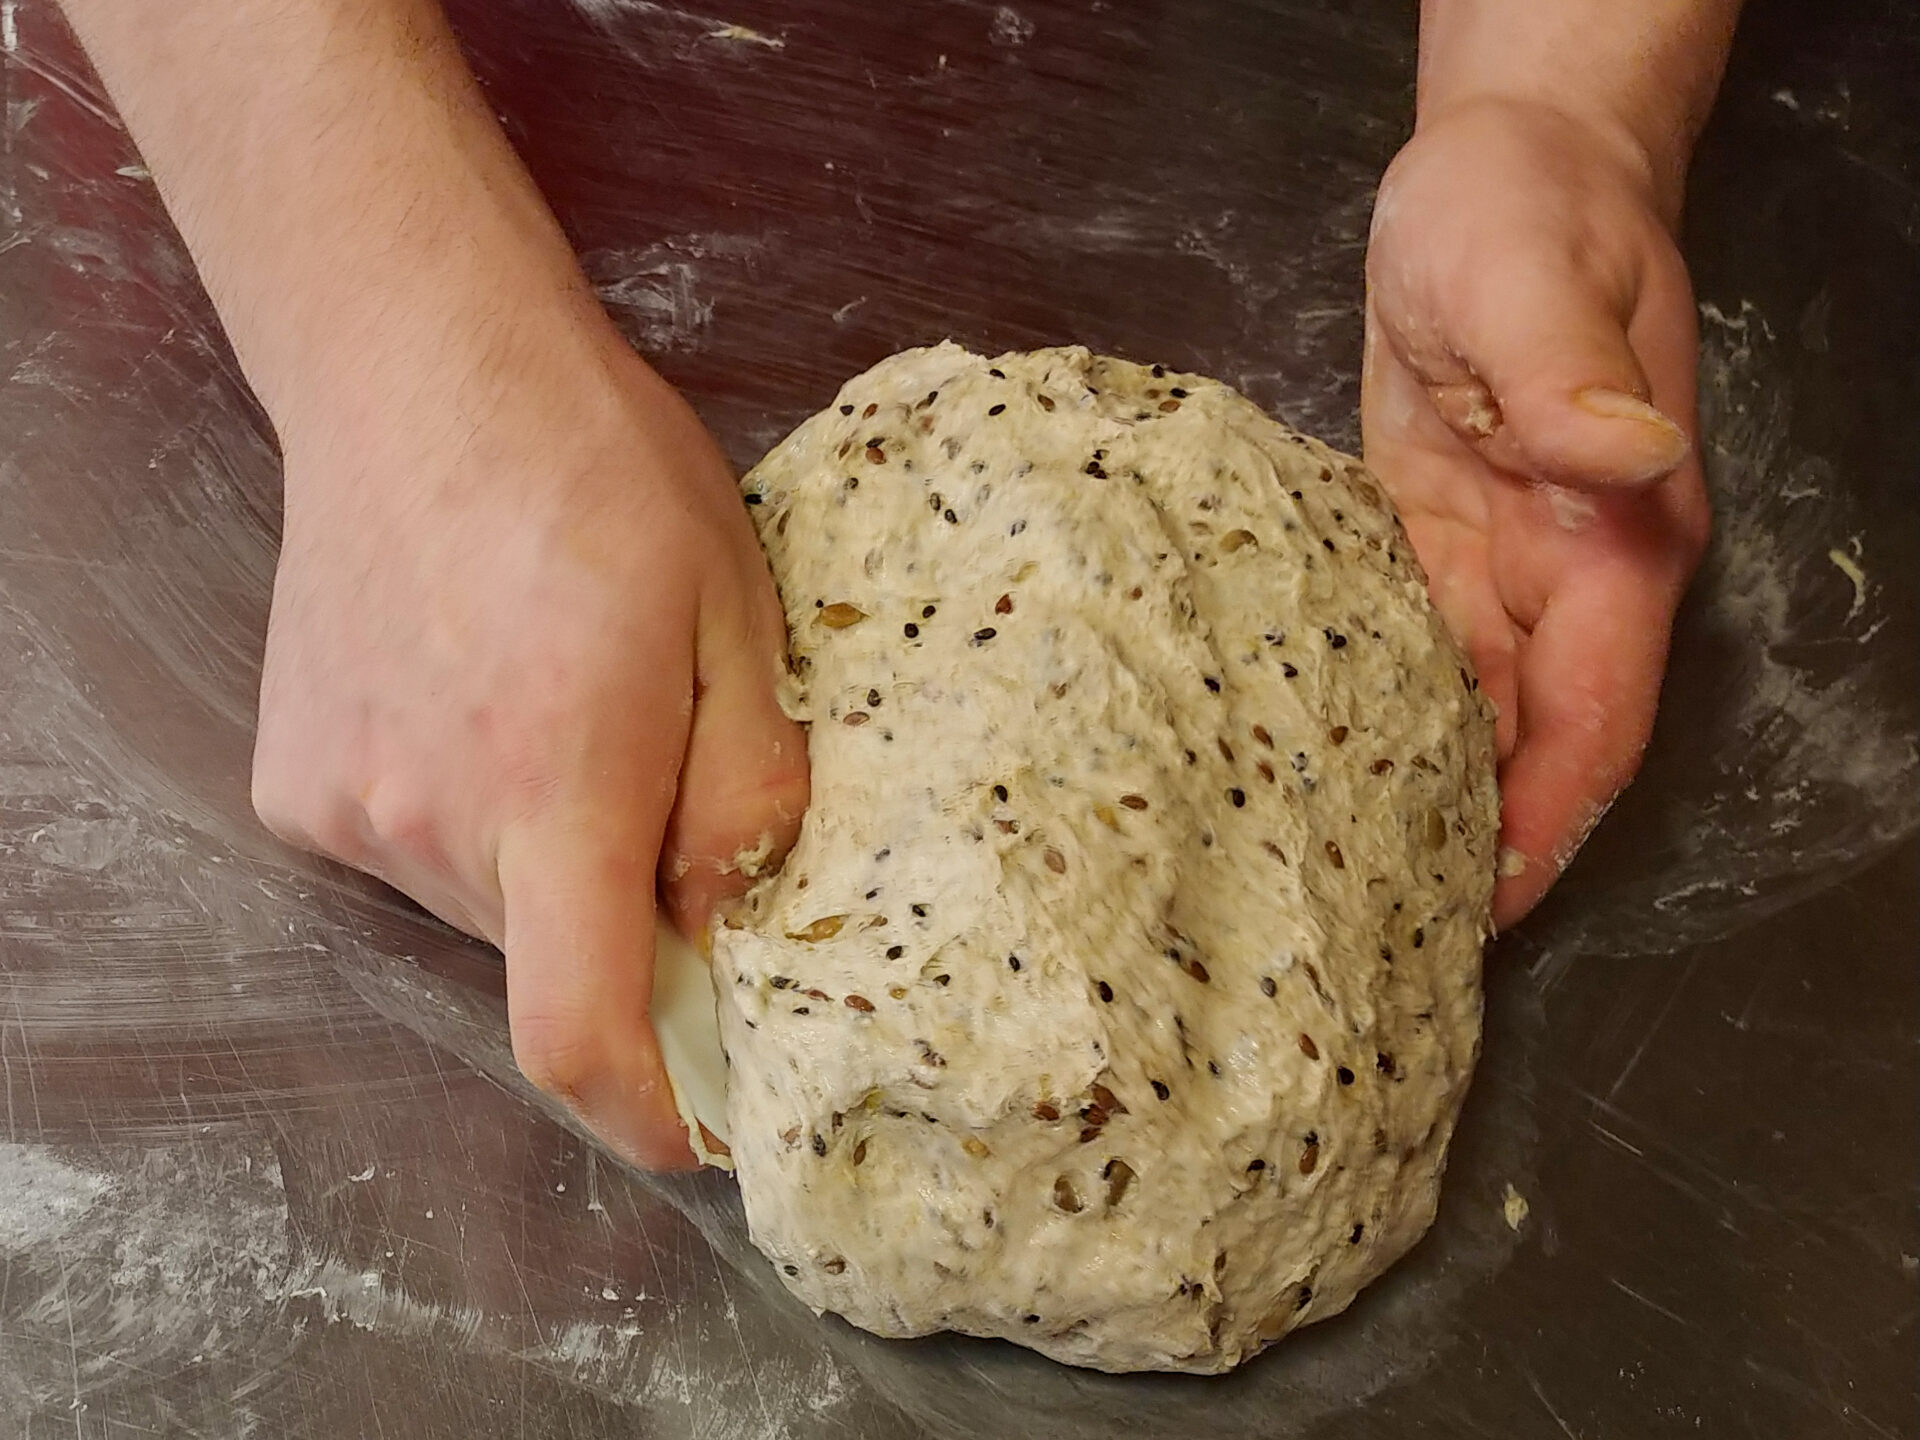
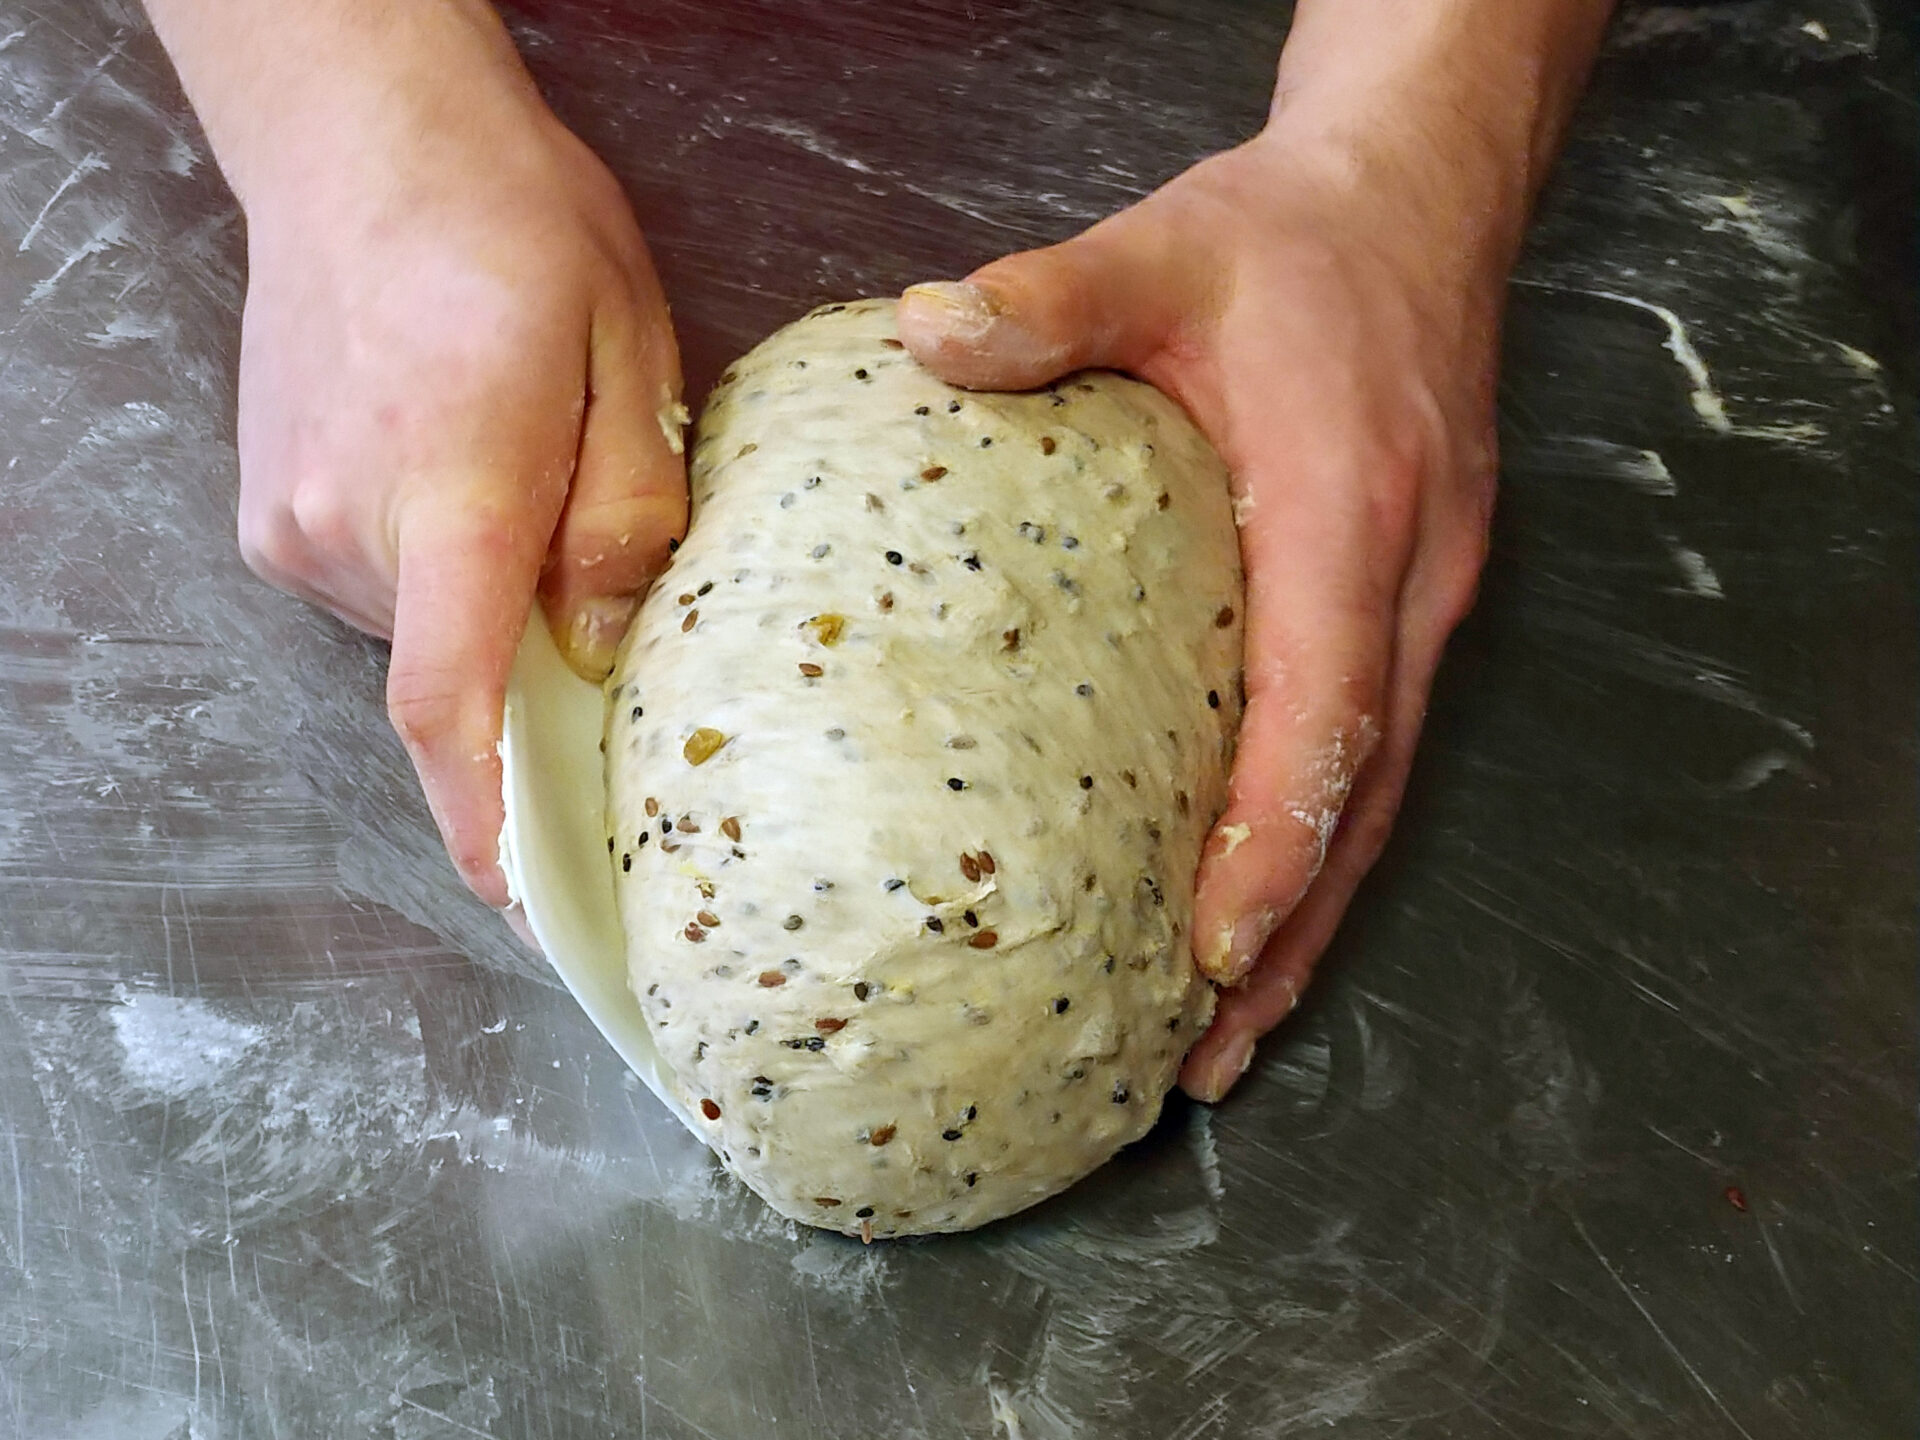
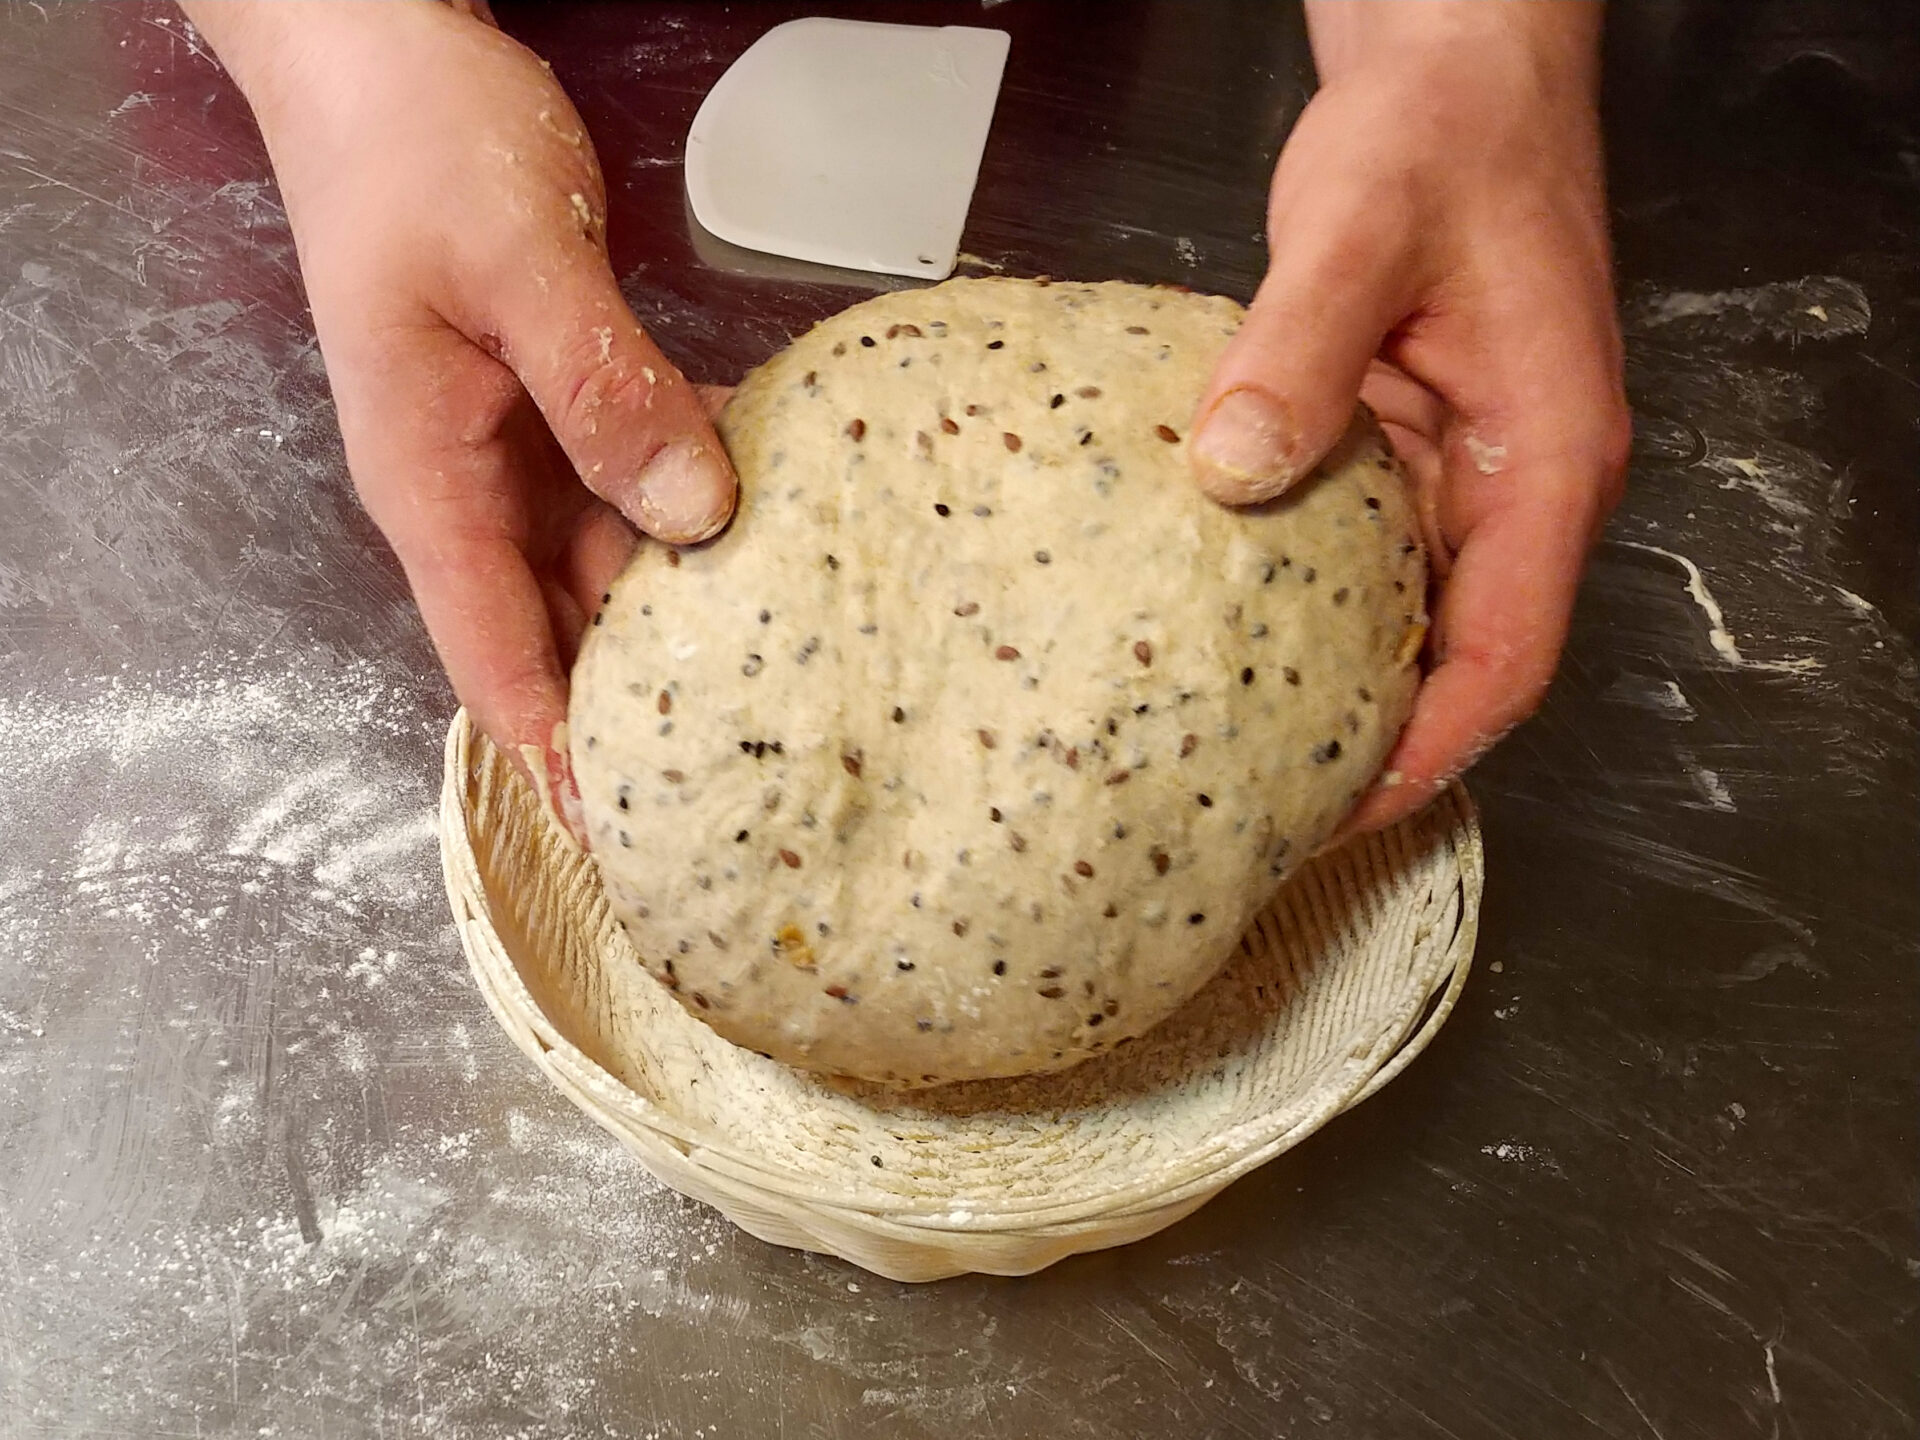
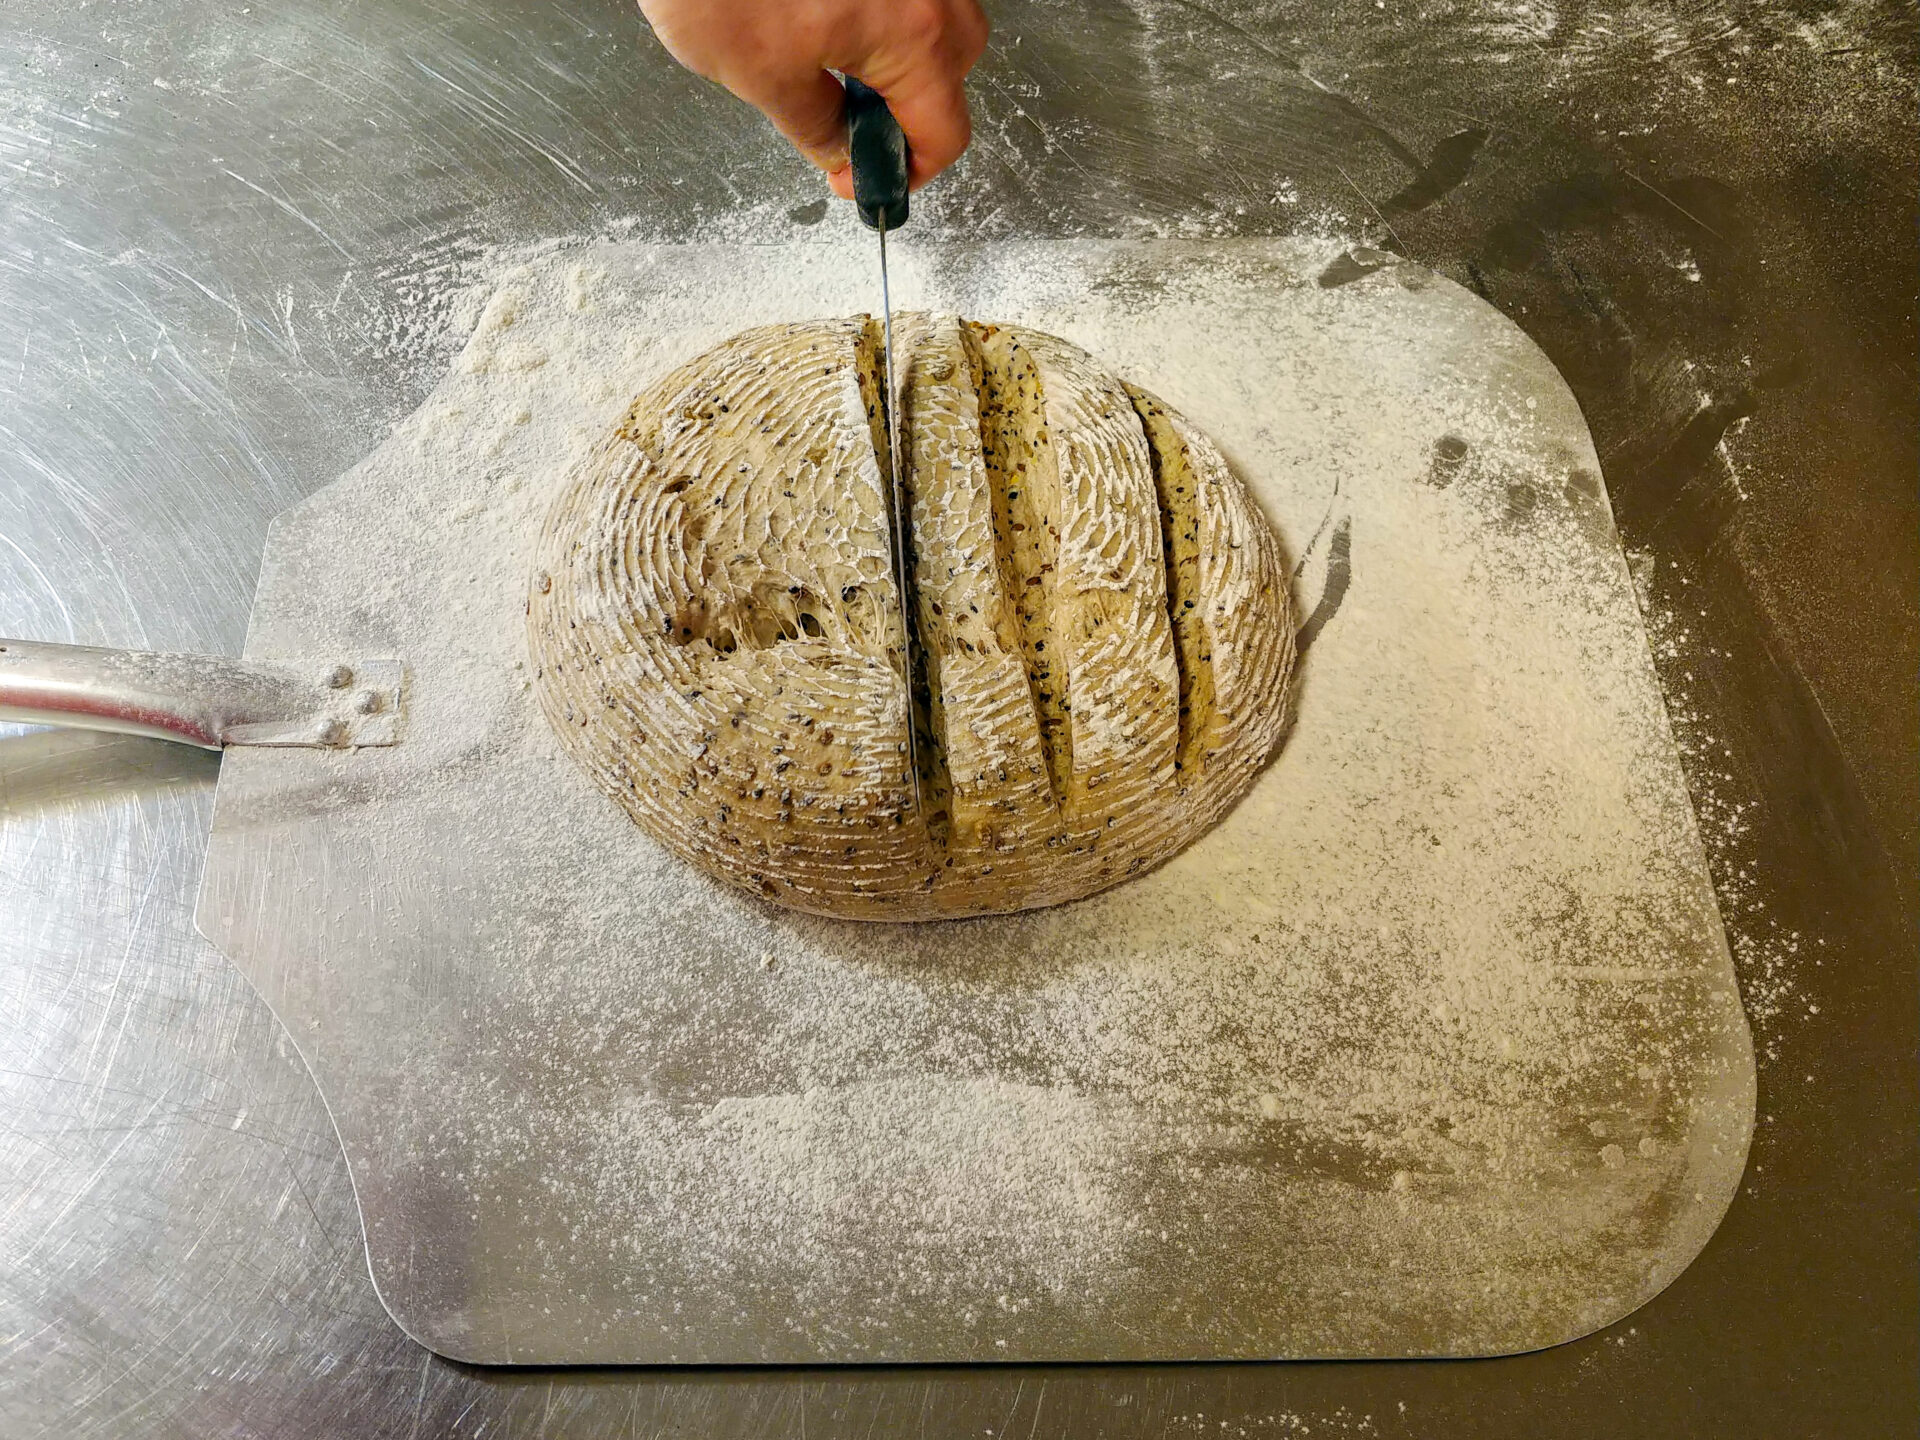
Whole wheat bread, a hearty and wholesome alternative to its refined white counterpart, has gained immense popularity in recent years as people become more health-conscious. Made from whole wheat flour, which contains the entire wheat kernel—bran, germ, and endosperm—this bread offers a wealth of nutrients, fiber, and a robust flavor that complements a variety of culinary creations.

About the Author:
Tom the ChefFounder
# 1
  • Published Recipes: 269
  • Av. Recipe Evaluation:
  • Location: Iowa, USA
  • Member since: 2023-02-02

Disclaimer

  1. General Information Content on this page above, including the content provided on www.CookingHub.com, including all recipes, articles, and other materials, is for general informational purposes only. This content reflects the personal opinions and experiences of its authors and is not intended to provide professional dietary, medical, legal, or political advice. Please consult a qualified professional before making any decisions based on the information presented here.
  2. Content Ownership and Use Content on this page above, including content published on CookingHub.com is owned by the individual authors who created it. Only the authors can access, modify, or delete their content from the platform. Our content may be embedded on third-party websites and blogs without modification. No reimbursement will be provided for this use. If an author removes content from CookingHub.com, it will no longer be available through any embedded links.
  3. Limitation of Liability Neither www.CookingHub.com (operated by the CookingHub Foundation) nor content authors are responsible for any outcome or consequence resulting from the use of information on this site. This includes, but is not limited to:
    • Food Safety: Any health risk related to food handling, food quality, or failure to follow USDA recommendations (including minimum safe cooking temperatures).
    • Preparation Safety: The proper and safe handling of cooking equipment or its suitability for any given task.
    • Recipe Outcomes: The final look, taste, or success of following a recipe.
    • Ingredients and Equipment: The sourcing of ingredients, tools, equipment, or anything else related to the preparation and consumption of food.
    • Nutritional and Dietary Information: The accuracy of nutritional data. This information is provided as a courtesy and should not replace advice from a medical provider. You are responsible for verifying that a diet is suitable for your personal health needs.
    • Errors and Omissions: Any potential errors, typos, or unclear directions in articles and recipes.
  4. User Responsibility All readers, visitors, and users of embedded content are solely responsible for evaluating recipes and articles. You must make your own decisions about whether to follow the steps and recommendations provided. It is your responsibility to ensure that ingredients and preparation methods are safe and appropriate for your personal dietary restrictions and health conditions.