Cook, Learn, and Share to Fight Hunger.
Ischel’s Mini Cakes – Išelske Dortíčky on the wooden cutting board
  • 40 min.
  • 100
  • 1/5

Ingredients:

Cookies:

Filling:

Final Touch:

  • 20 PCS of almonds - peeled (adjust if needed, **)

Coating:

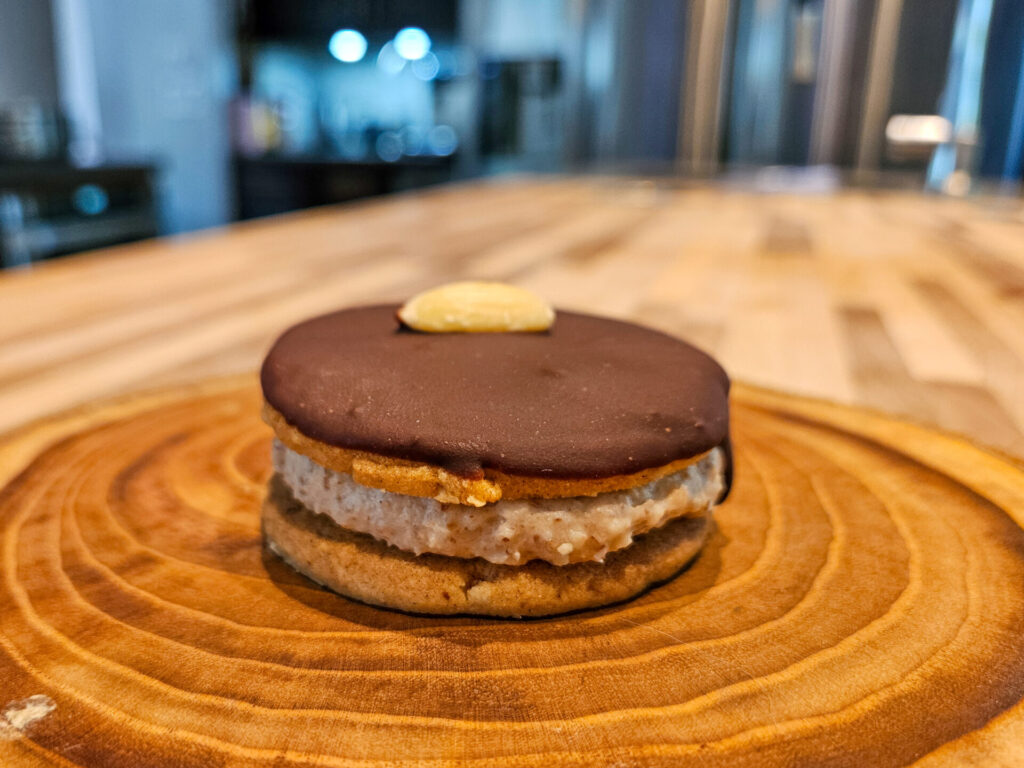
* You can purchase already peeled almonds, or you can peel it yourself:

  1. Fill a small pot with water and bring to a boil.
  2. Place in unpeeled almonds and cook in boiling water for about 60 seconds.
  3. Drain water from the almonds over a colander and then rinse with cold water.
  4. Place on a kitchen towel and peel each one by one by squeezing the skin off of the almonds – it will go easily, and each almond will squeeze out of the skin very quickly.

Directions:

1. Cookies for Ischel’s Mini Cakes – Išelske Dortíčky:

1.1.

Almond preparation:

1.1.1. Place into a small food processor:

¾ cups of almonds

Process at high speed until the fine texture is reached – no larger chunks are present (about 2 minutes).:

1.2.

Dough:

1.2.1. Place into a kitchen mixer with a flat beater attachment:

Processed almonds from the previous step
1 ½ cups of all-purpose flour
1 cup of confectioners’ sugar
½ TSP of ground cinnamon
¼ TSP of baking powder
Lemon zest from one lemon

Shortly stir together using a hand whisk until nicely combined (about 1 minute).

1.2.2. Add:

1 ½ sticks of butter – soft
1 large egg

Process at a slow speed until all ingredients are partially combined.

1.2.3. Then increase the speed to medium-high and process until the dough is formed (about 2 – 3 minutes).

Note: The cookie dough will be sticky after processing. It will harden during the following resting time in the fridge.

1.3.

Resting time:

1.3.1. Wrap the dough with plastic wrap (scoop it on the wrap and then cover it with the wrap).

Tip:
If you want to work with the dough soon, form it into a disk, not into a roll shape.

1.3.2. Let cool in the refrigerator until partially, but not totally, hardened (about 1 hour).

Important: If the dough in the refrigerator fully hardens (if left for a longer time, for example, overnight), remove it from the refrigerator about an hour before cookie cutting.

1.4.

Preheat the oven to 350°F.

1.5. Cut the cookies:

Notes:

  • Work one-by-one on a lightly floured surface. The dough needs to always sit on a floured surface during flattening to separate the cut cookies that are ready to bake.
  • It is essential to work fast with the dough.
  • If it becomes hard to work with the dough after a while (it will become too soft to form the crescents), place it back in the refrigerator for further processing to let it cool and harden.
  • Optionally, you can keep placing scraps from the dough into the fridge before further processing to prevent the dough from softening.

1.5.1.

Place the dough on a floured surface and lightly flour the top of the dough.

1.5.2.

Using a rolling pin, flatten the dough to about 3/16 to 1/4″ thickness (based on your preference).

1.5.3.

Cut the cookie using a round cookie cutter or glass.

1.5.4. Gently place cookies on the baking sheet with parchment paper.

Important:
Ensure they are not touching each other (about 15 on each baking sheet).

Tip:
Make manipulation of the vanilla bottoms easier by using an icing spatula.

1.5.5.

With the leftovers from the cut dough: quickly form the dough from them (with your hands) and roll them again with a rolling pin to cut more cookies.

1.6.

Bake:

1.6.1.

Bake in a preheated oven until fully baked. The surface turns from a doughy texture to a solid but slightly fluffy (about 12 minutes).

1.6.2. Rotate the baking sheets in the middle of baking.

Notes:

  • If flattened unevenly (even just slightly), each cookie can have a slightly different baking time, so closely watch when you get close to the end of baking and remove each, one by one if necessary.
  • Right after baking, the cookies have a soft texture, which can make some people confused and think it is a sign of underbaking; and is why some people tend to extend the baking time and overbake cookies. To ensure cookies are properly baked, watch the surface texture, and bake the cookies for at least 8 minutes to reach the best results.

1.6.3.

Let it cool totally on the baking sheet before assembly (or using an icing spatula, move to the cooling rack).

2. Filling for Ischel’s Mini Cakes – Išelske Dortíčky:

2.1.1. Place into a small food processor:

1 cup of almonds

Process quickly until the fine texture is reached – no larger chunks are present (about 2 minutes).

2.1.2. Place almonds into the kitchen mixer with a flat beater and add:

½ cup of confectioners’ sugar
2 TBSP of rum extract
1/3 cup of preserve
1 stick of butter

And process until the pastry cream is formed.

2.1.3.

Optionally place the filling into the pastry bag (for easier manipulation) or set it aside for later steps (by just spreading it with a spatula).

3. Assemble the Ischel’s Mini Cakes – Išelske Dortíčky:

3.1. Pipe or spread part of the filling onto the cookie.

Notes:

  • Pipe or spread it in the center, leaving about 1/4 inch or more space around the edge.
  • When covered and pressed with another cookie, the filling will be distributed closer to the edges.
  • Ideally, the final filling layer (after pressing with another cookie) will be 1/4 inch thick.

3.2.

Place into the refrigerator for at least 15 minutes before the next step.

4. Chocolate Coating:

4.1. Prepare ½ of the recipe for chocolate coating and then dip the top part of each cookie.

Recipe for chocolate coating here.

4.2.

Let the dipped cookies rest in the refrigerator for at least 15 minutes before serving.

Notes:

Refrigeration of the cookies is not necessary, but it is better to keep the chocolate coating hard (not melted).

Tips:

  • If parts of the ingredients stick to the side of the kitchen mixer during processing, stop the mixer, and use a spatula to mix it back in. Then, continue processing.
  • You can leave the dough to rest in the refrigerator longer (up to 3 days) – Remove and leave at room temperature for about 1 hour before processing.

Ischel’s Cookies (Išelske Kolačky) are great cookies to make! It is a little more work than a regular cookie, but it is totally worth it! The smooth taste of almonds, the undertone of cinnamon, the fruit texture from the preserve, and the final layer of chocolate coating all make this cookie irresistible.

Tom the Chef Tom the Chef Founder
About the Author:
Tom the ChefFounder
# 1
  • Published Recipes: 269
  • Av. Recipe Evaluation:
  • Location: Iowa, USA
  • Member since: 2023-02-02

Disclaimer

  1. General Information Content on this page above, including the content provided on www.CookingHub.com, including all recipes, articles, and other materials, is for general informational purposes only. This content reflects the personal opinions and experiences of its authors and is not intended to provide professional dietary, medical, legal, or political advice. Please consult a qualified professional before making any decisions based on the information presented here.
  2. Content Ownership and Use Content on this page above, including content published on CookingHub.com is owned by the individual authors who created it. Only the authors can access, modify, or delete their content from the platform. Our content may be embedded on third-party websites and blogs without modification. No reimbursement will be provided for this use. If an author removes content from CookingHub.com, it will no longer be available through any embedded links.
  3. Limitation of Liability Neither www.CookingHub.com (operated by the CookingHub Foundation) nor content authors are responsible for any outcome or consequence resulting from the use of information on this site. This includes, but is not limited to:
    • Food Safety: Any health risk related to food handling, food quality, or failure to follow USDA recommendations (including minimum safe cooking temperatures).
    • Preparation Safety: The proper and safe handling of cooking equipment or its suitability for any given task.
    • Recipe Outcomes: The final look, taste, or success of following a recipe.
    • Ingredients and Equipment: The sourcing of ingredients, tools, equipment, or anything else related to the preparation and consumption of food.
    • Nutritional and Dietary Information: The accuracy of nutritional data. This information is provided as a courtesy and should not replace advice from a medical provider. You are responsible for verifying that a diet is suitable for your personal health needs.
    • Errors and Omissions: Any potential errors, typos, or unclear directions in articles and recipes.
  4. User Responsibility All readers, visitors, and users of embedded content are solely responsible for evaluating recipes and articles. You must make your own decisions about whether to follow the steps and recommendations provided. It is your responsibility to ensure that ingredients and preparation methods are safe and appropriate for your personal dietary restrictions and health conditions.