
* Note: Optionally, you can simplify the process by using store-bought preserves or marmalade (no need to add any ingredients or heat it up). Each frgal should have at least 1 cup of filling, preferably about 1 ½ cups, and optionally up to 2 cups.
Frgal Kolach with Pear Filling
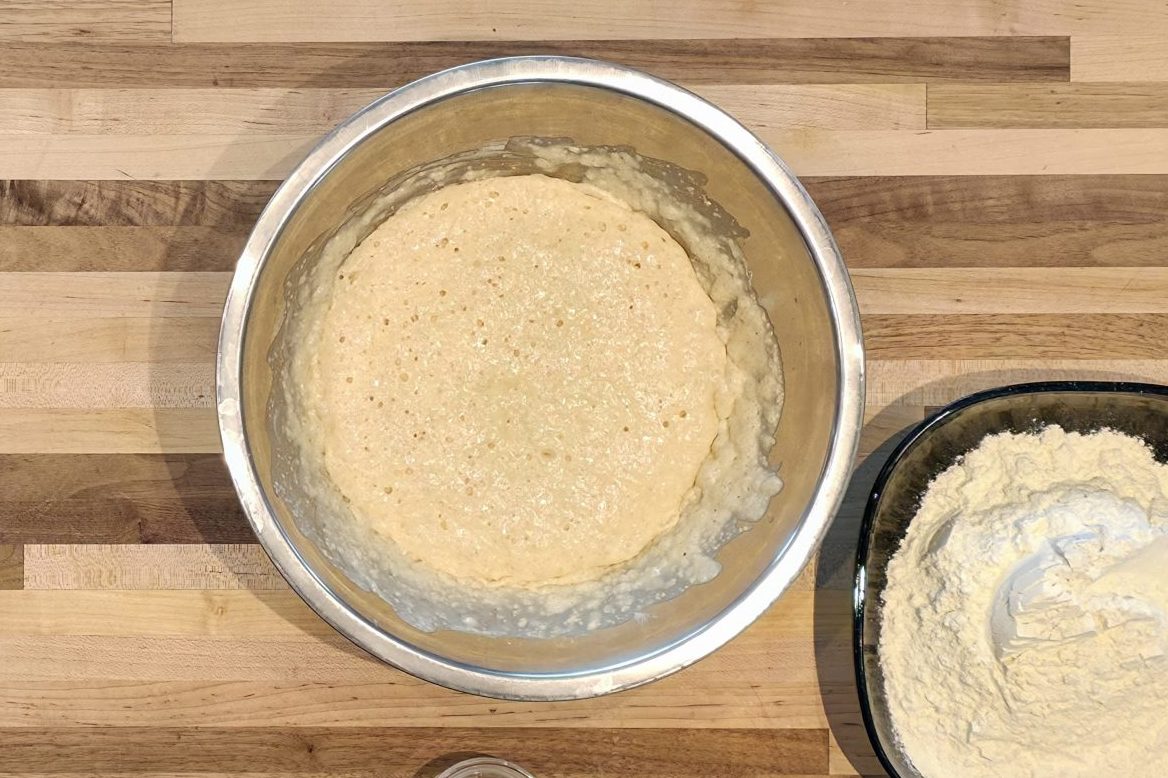
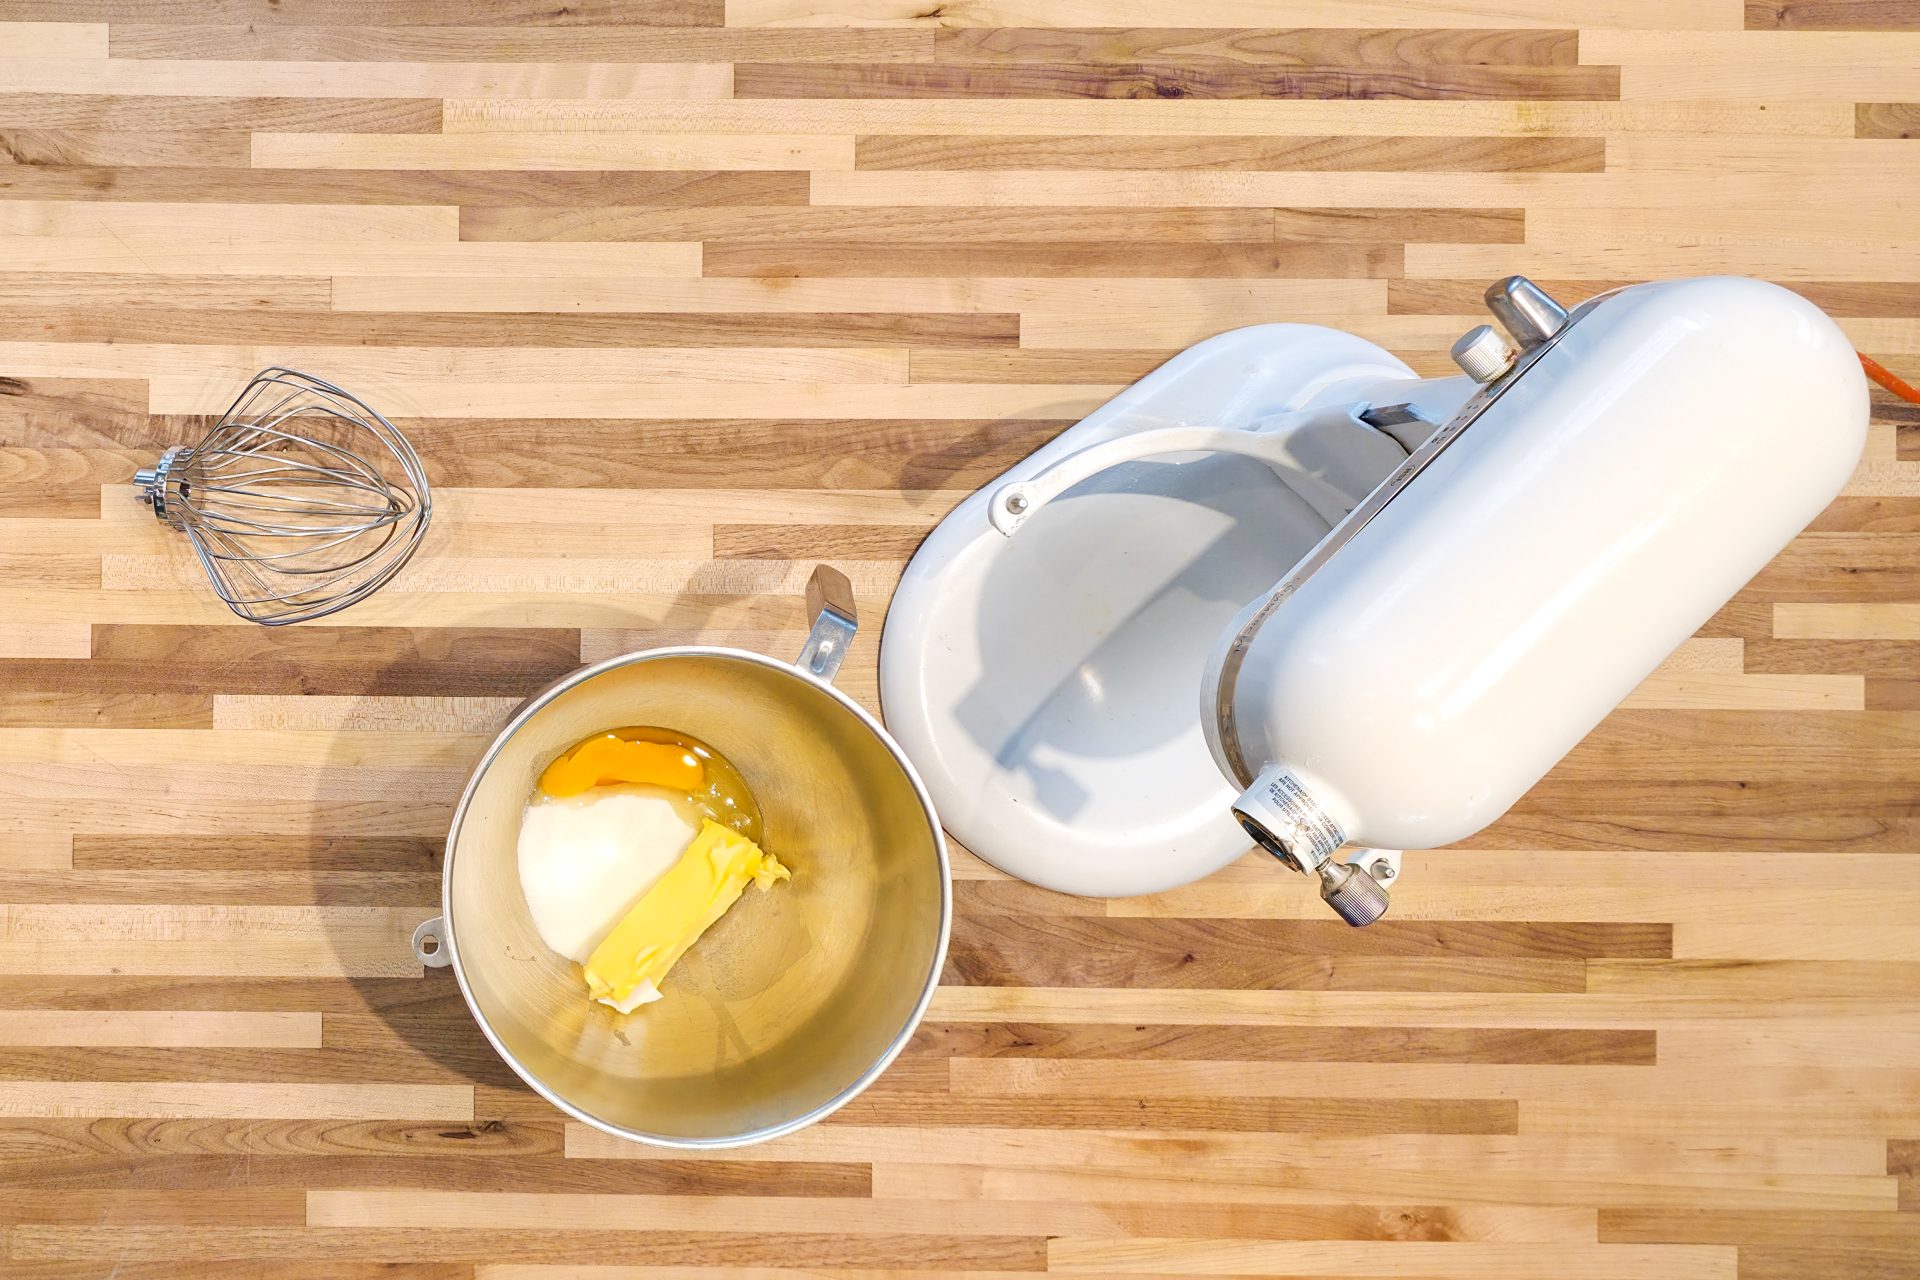
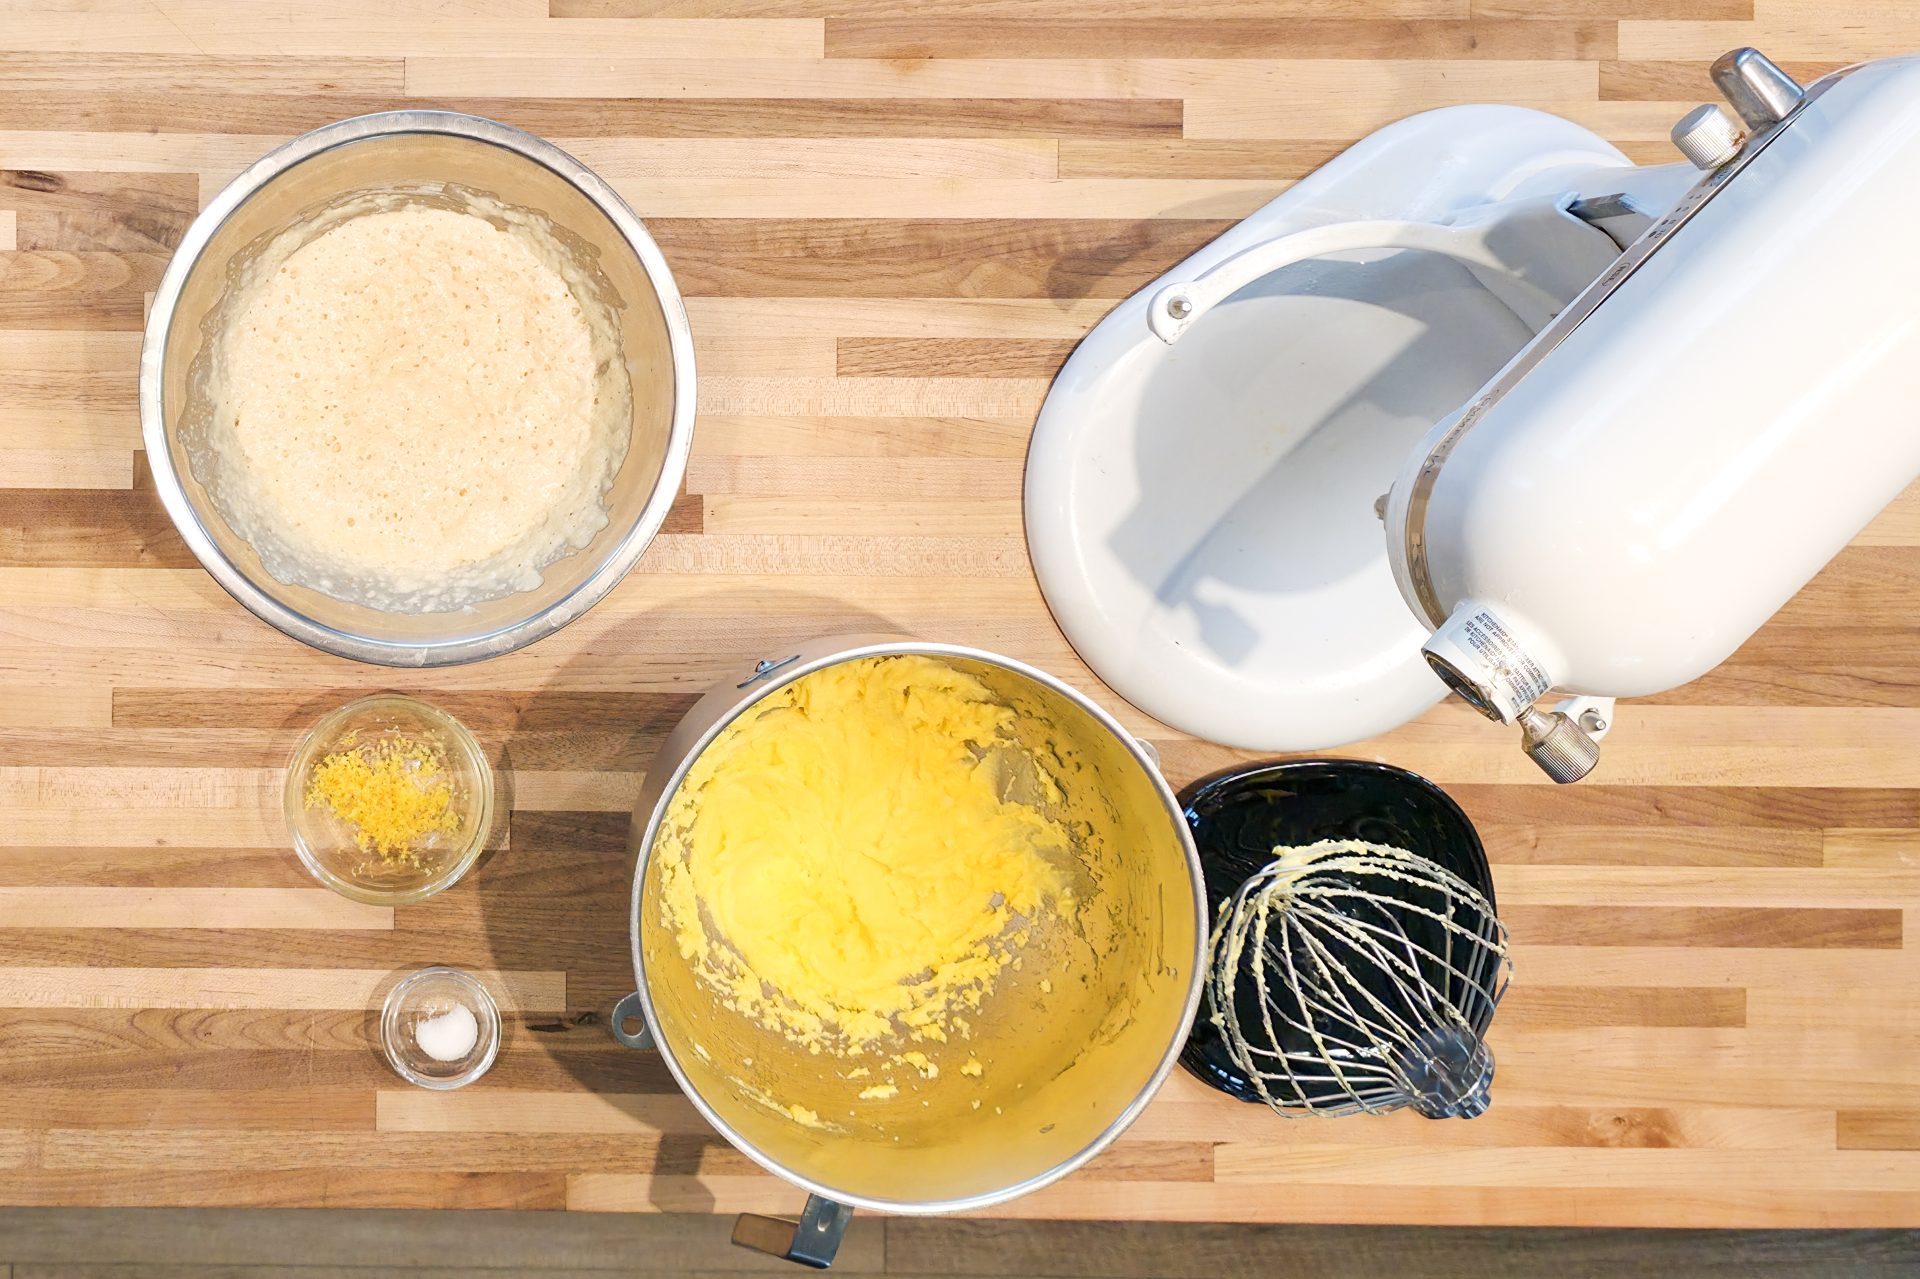
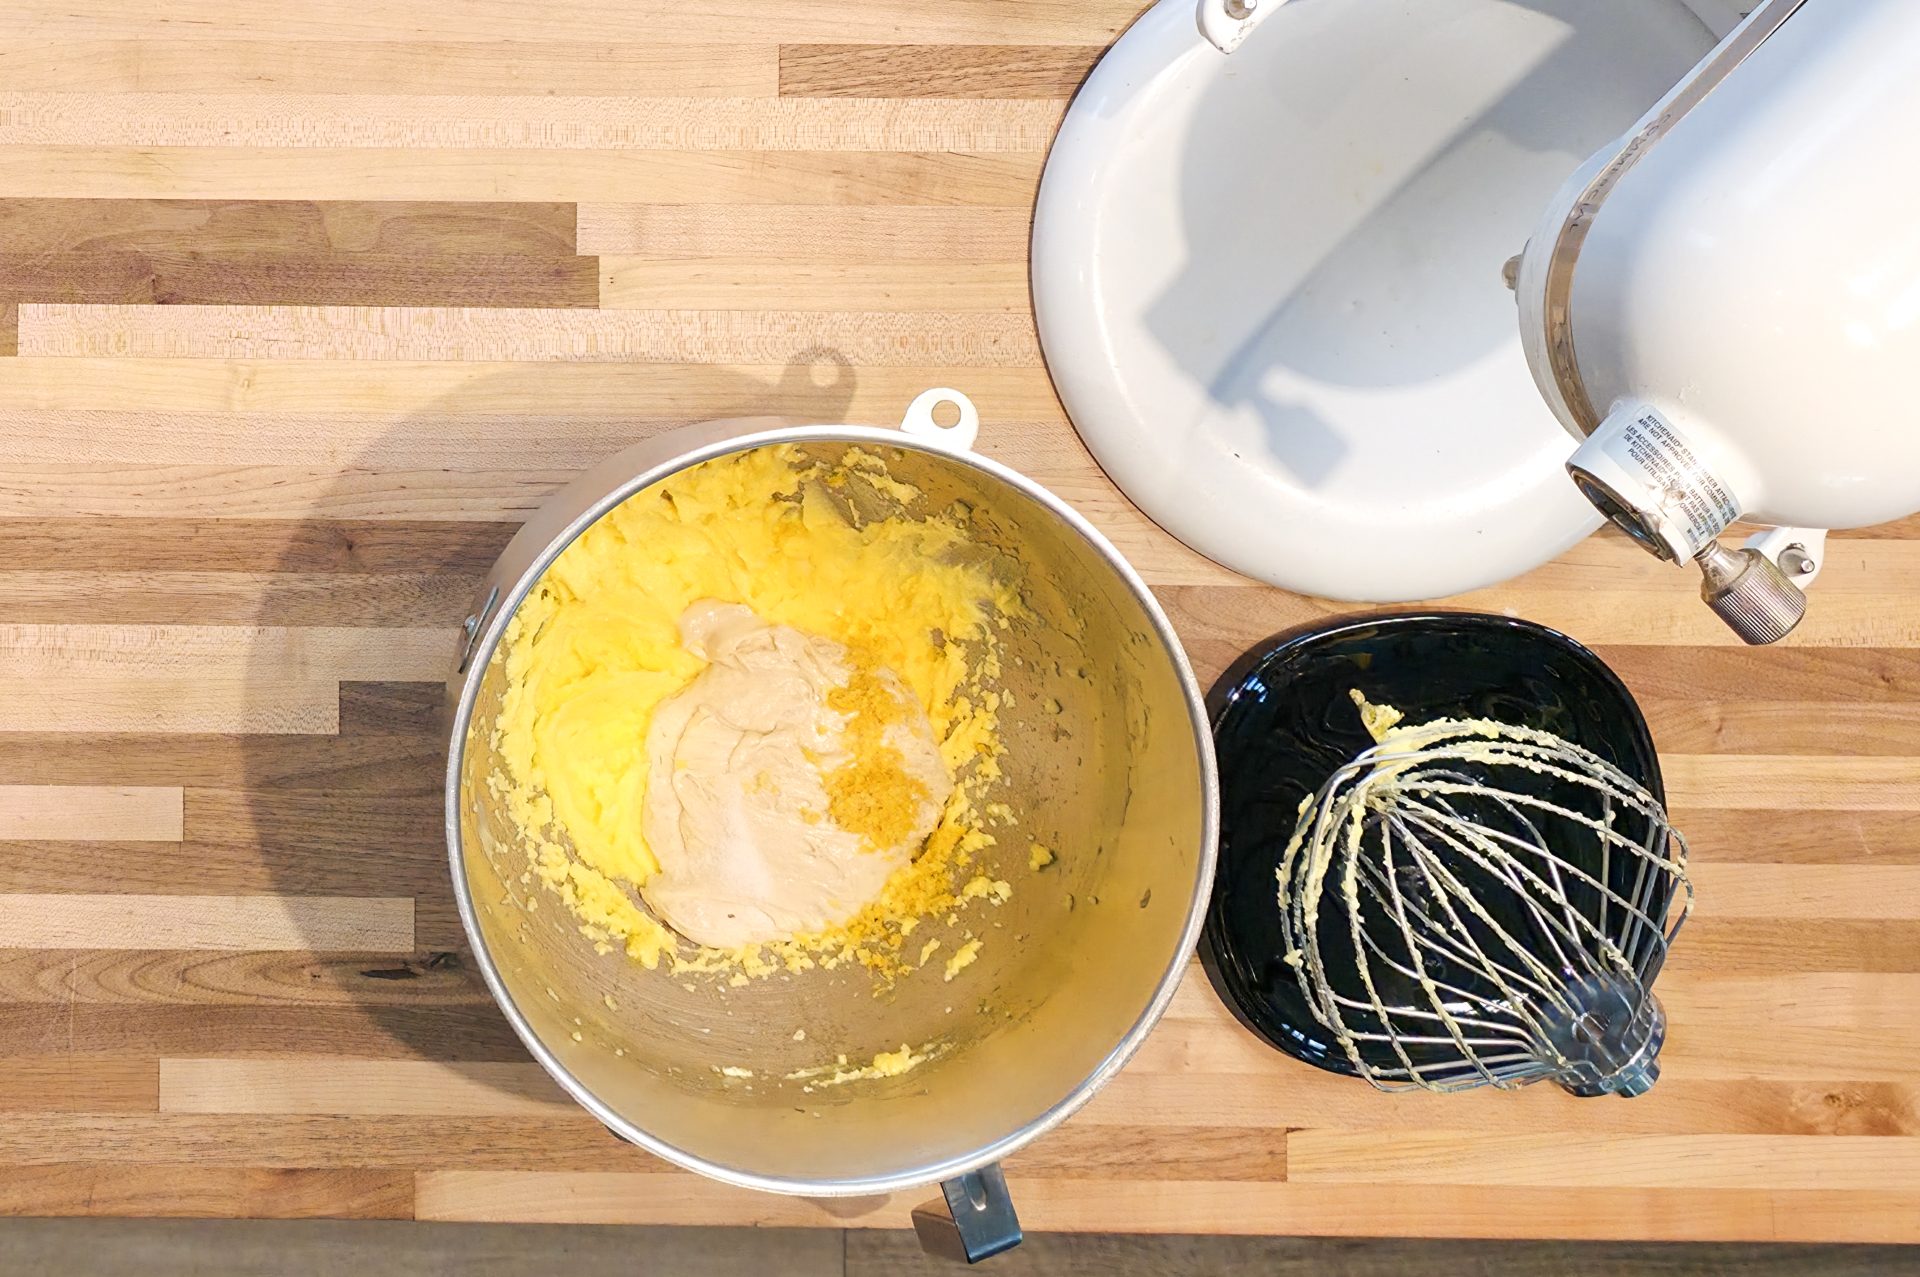
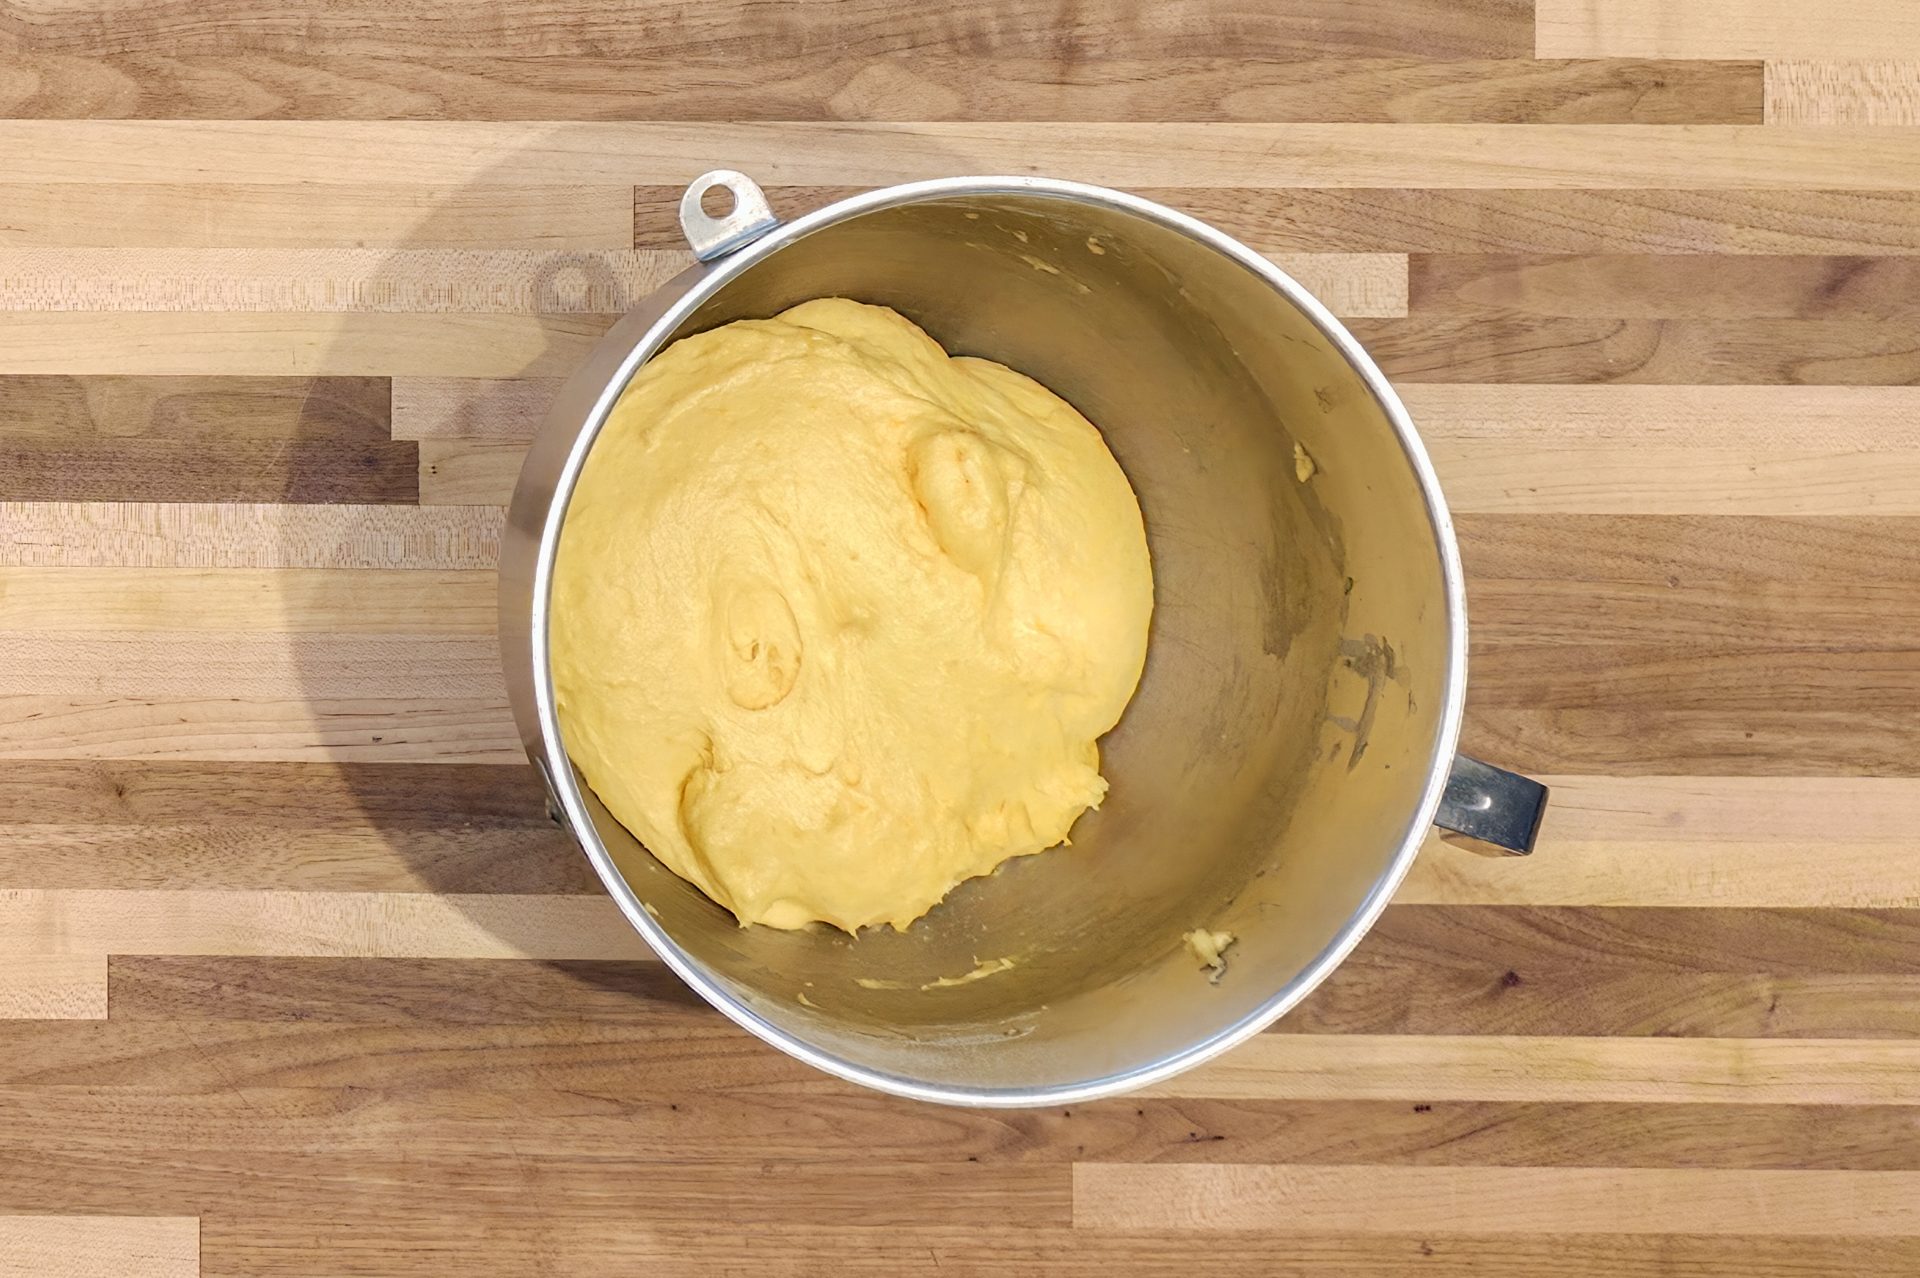
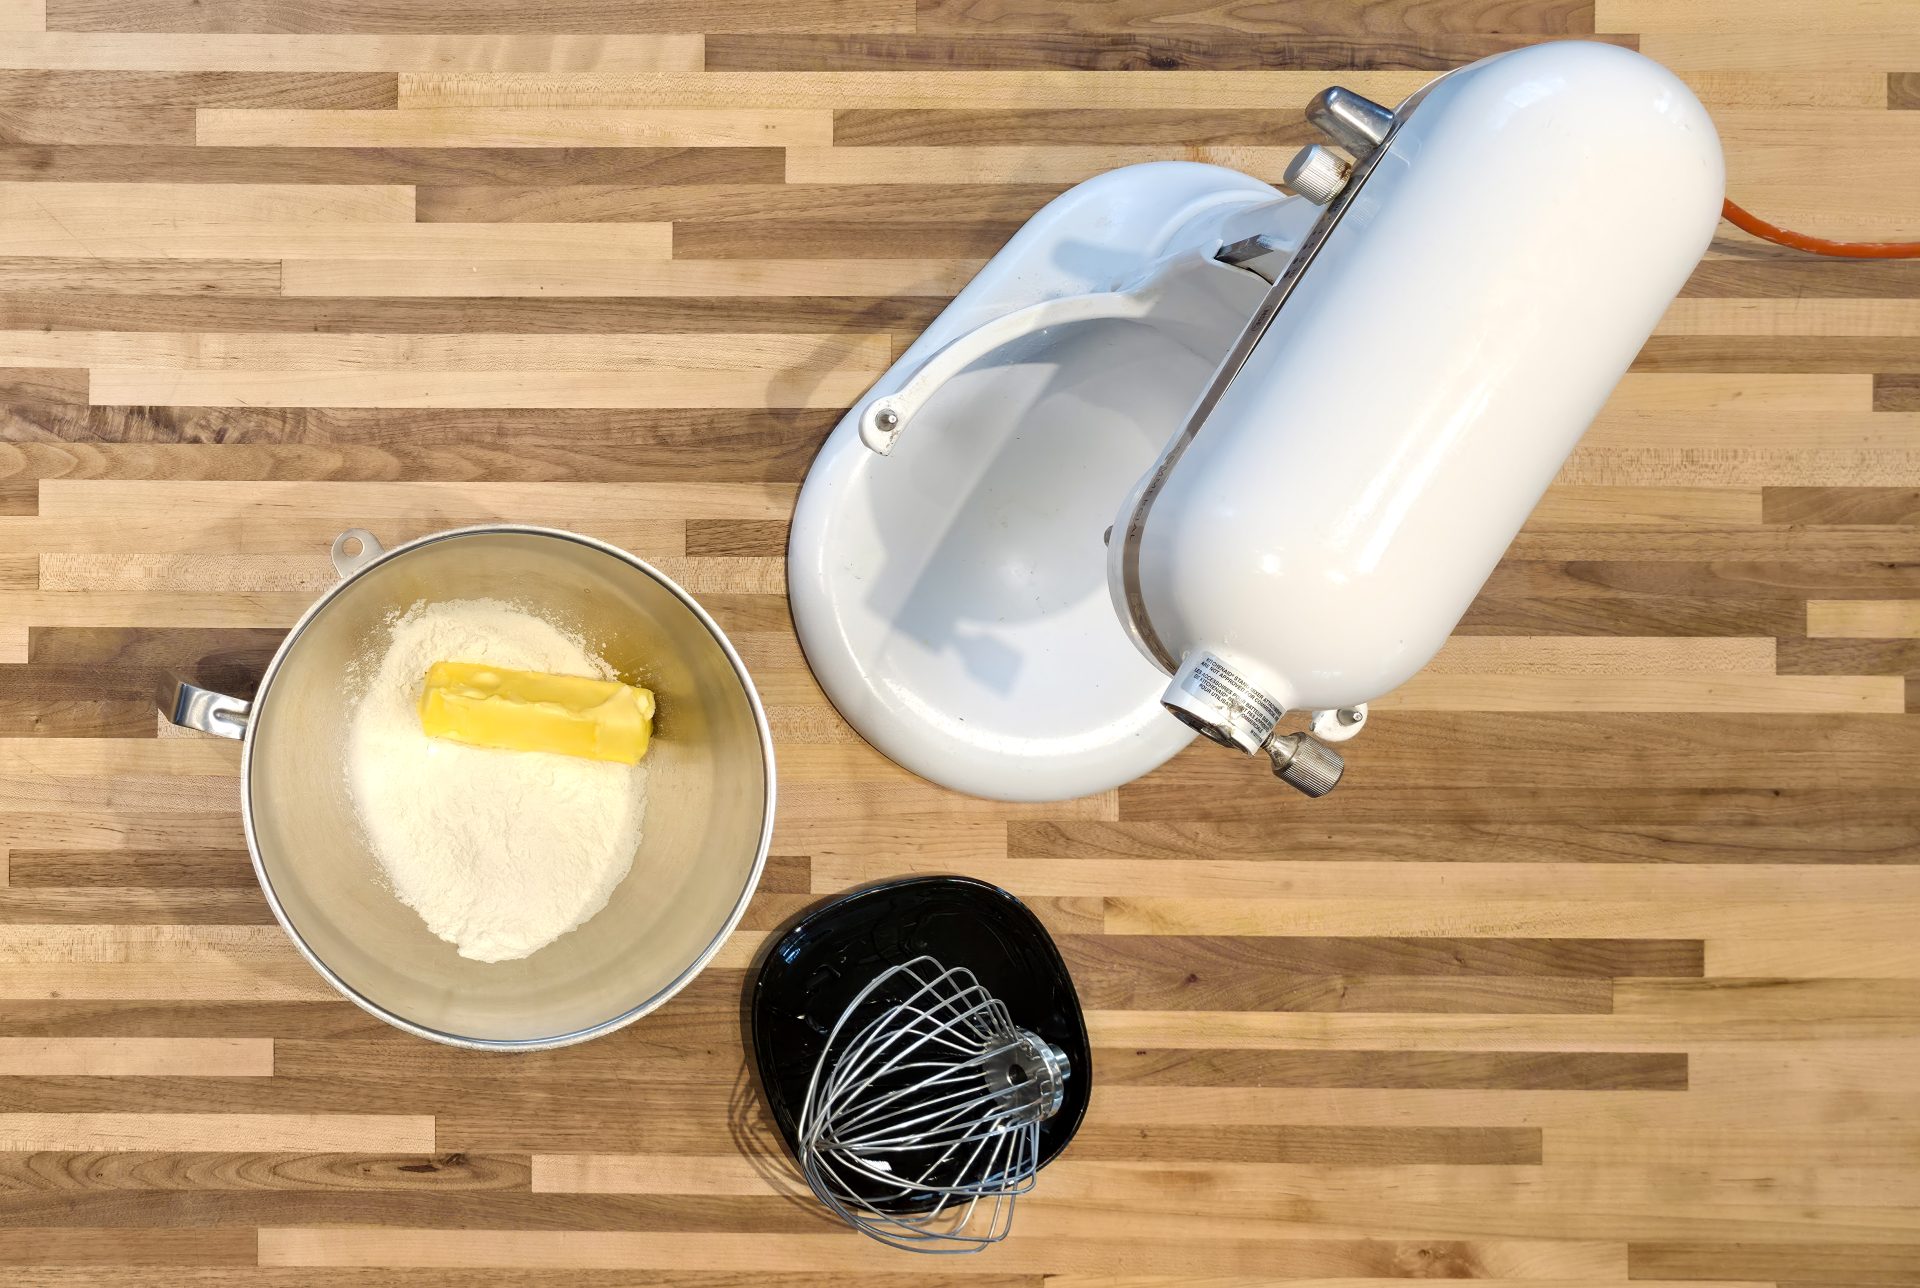
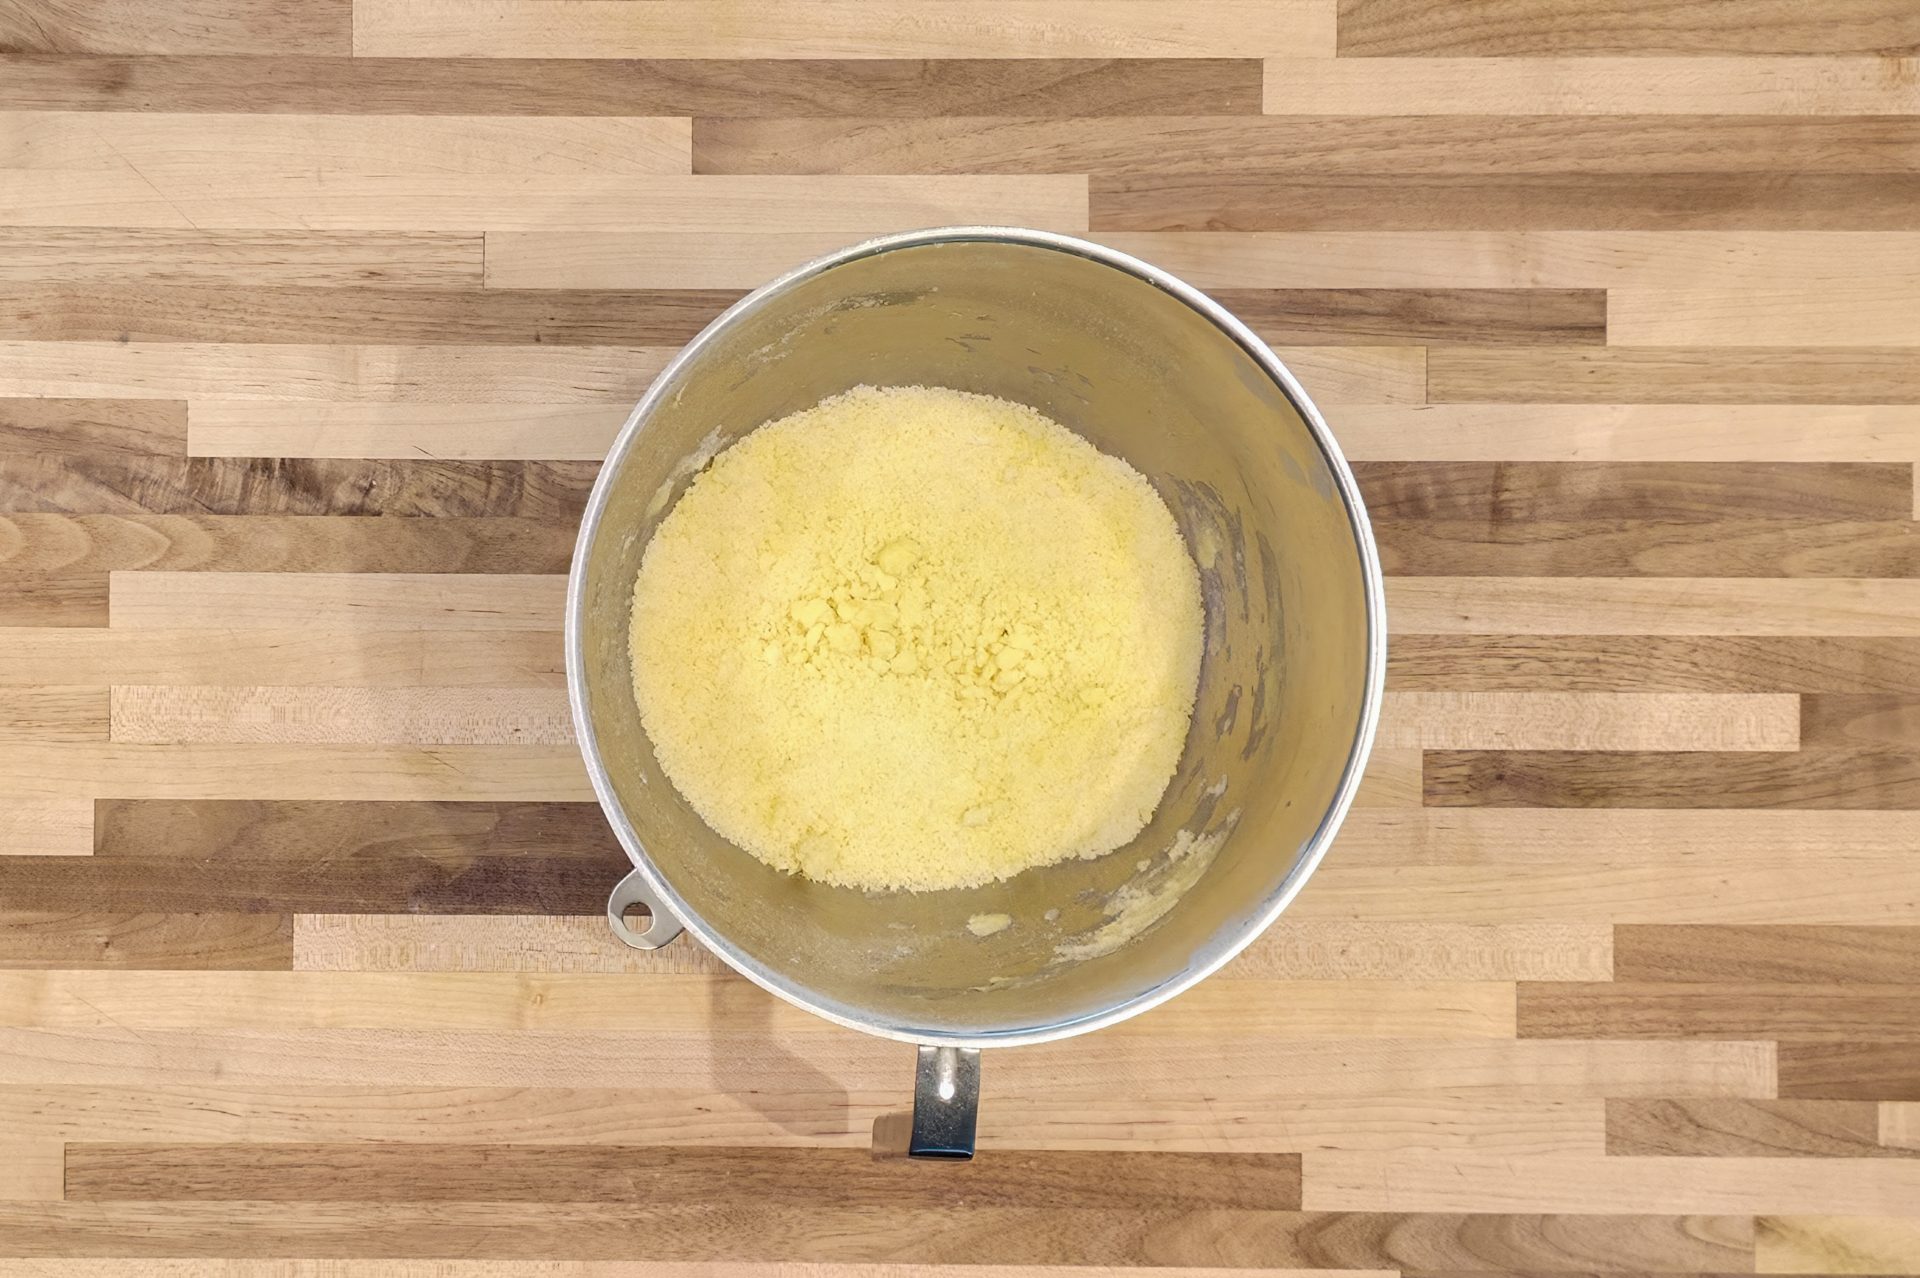
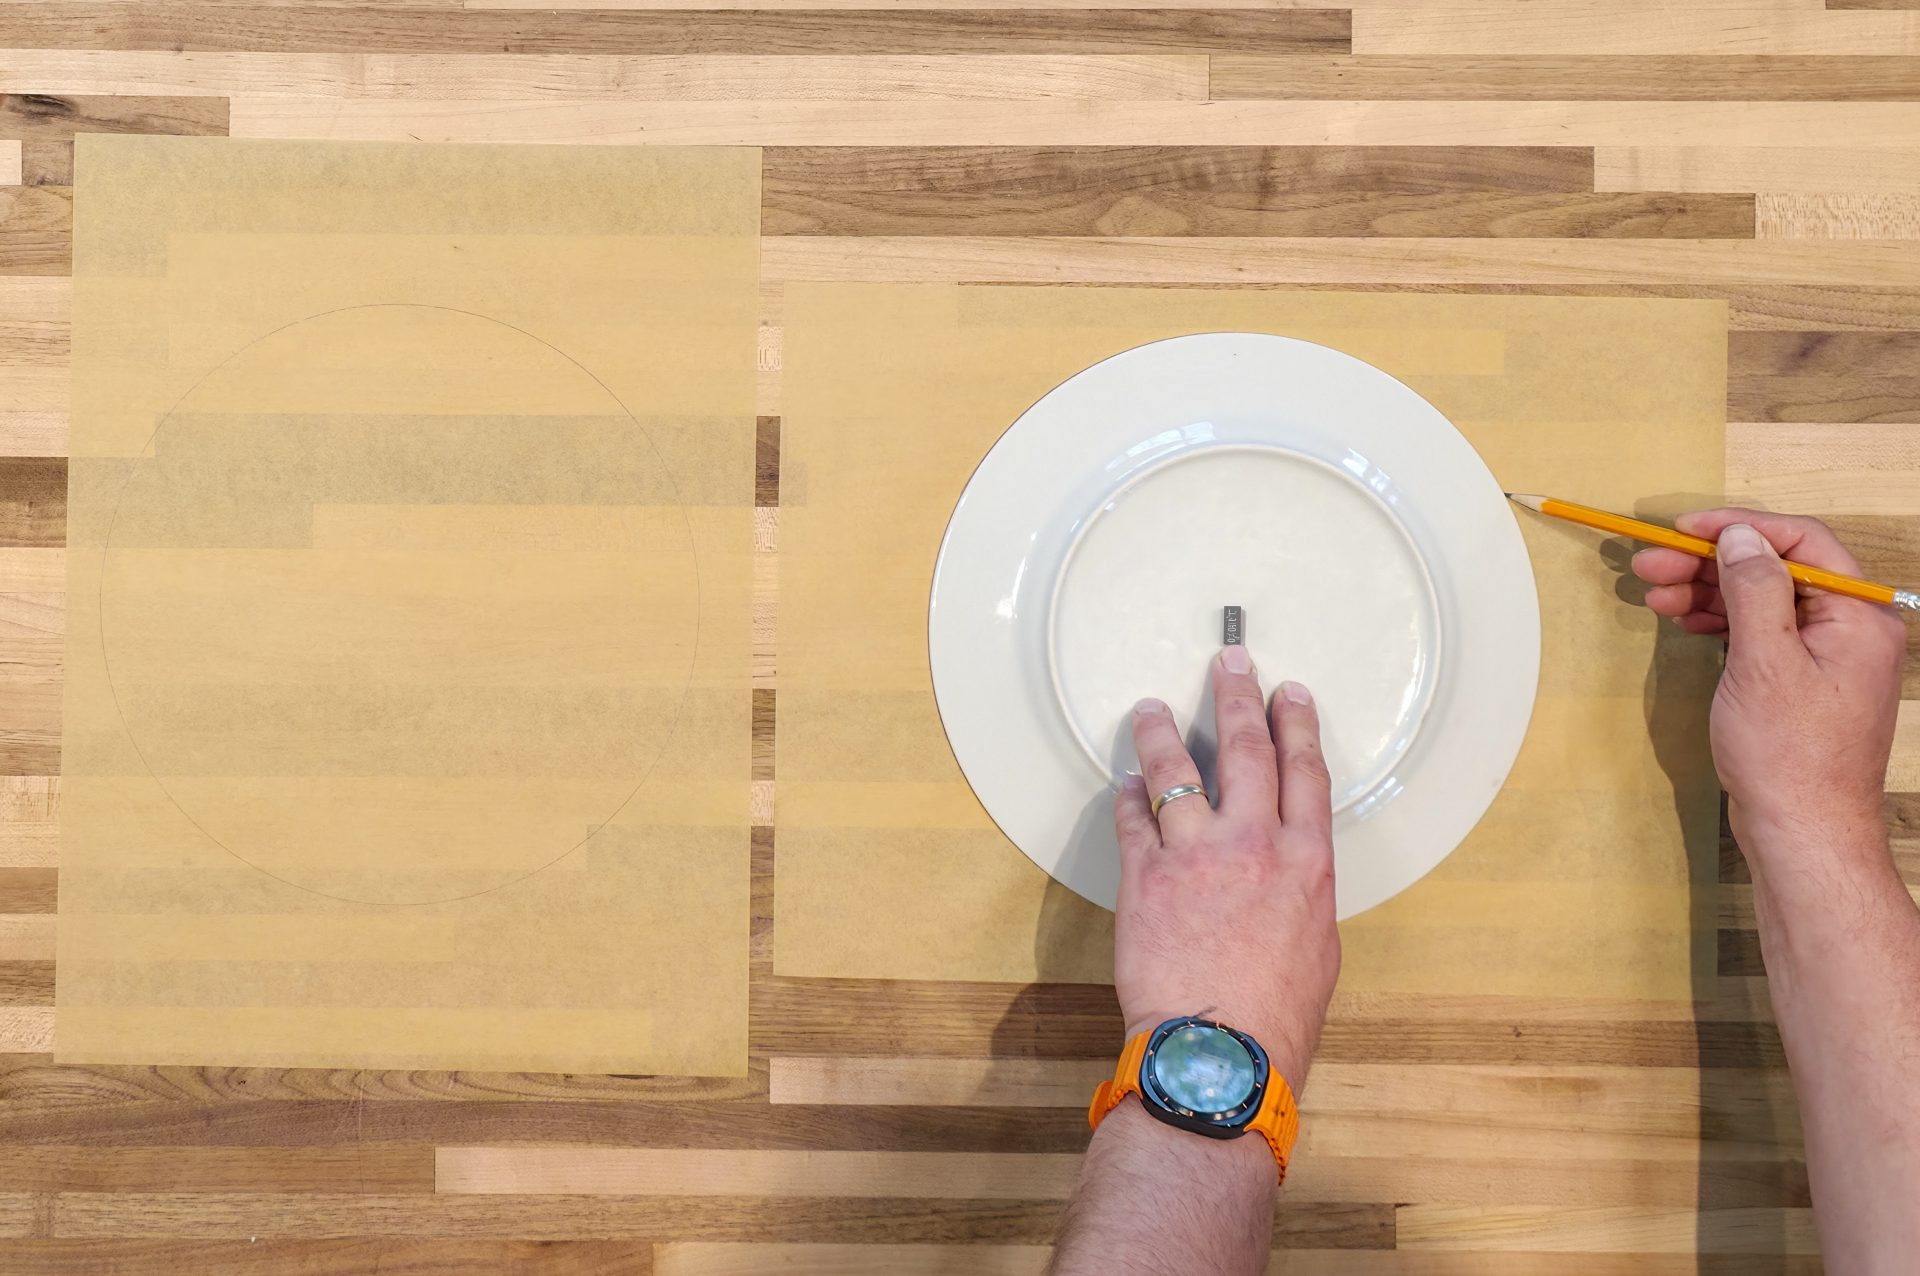
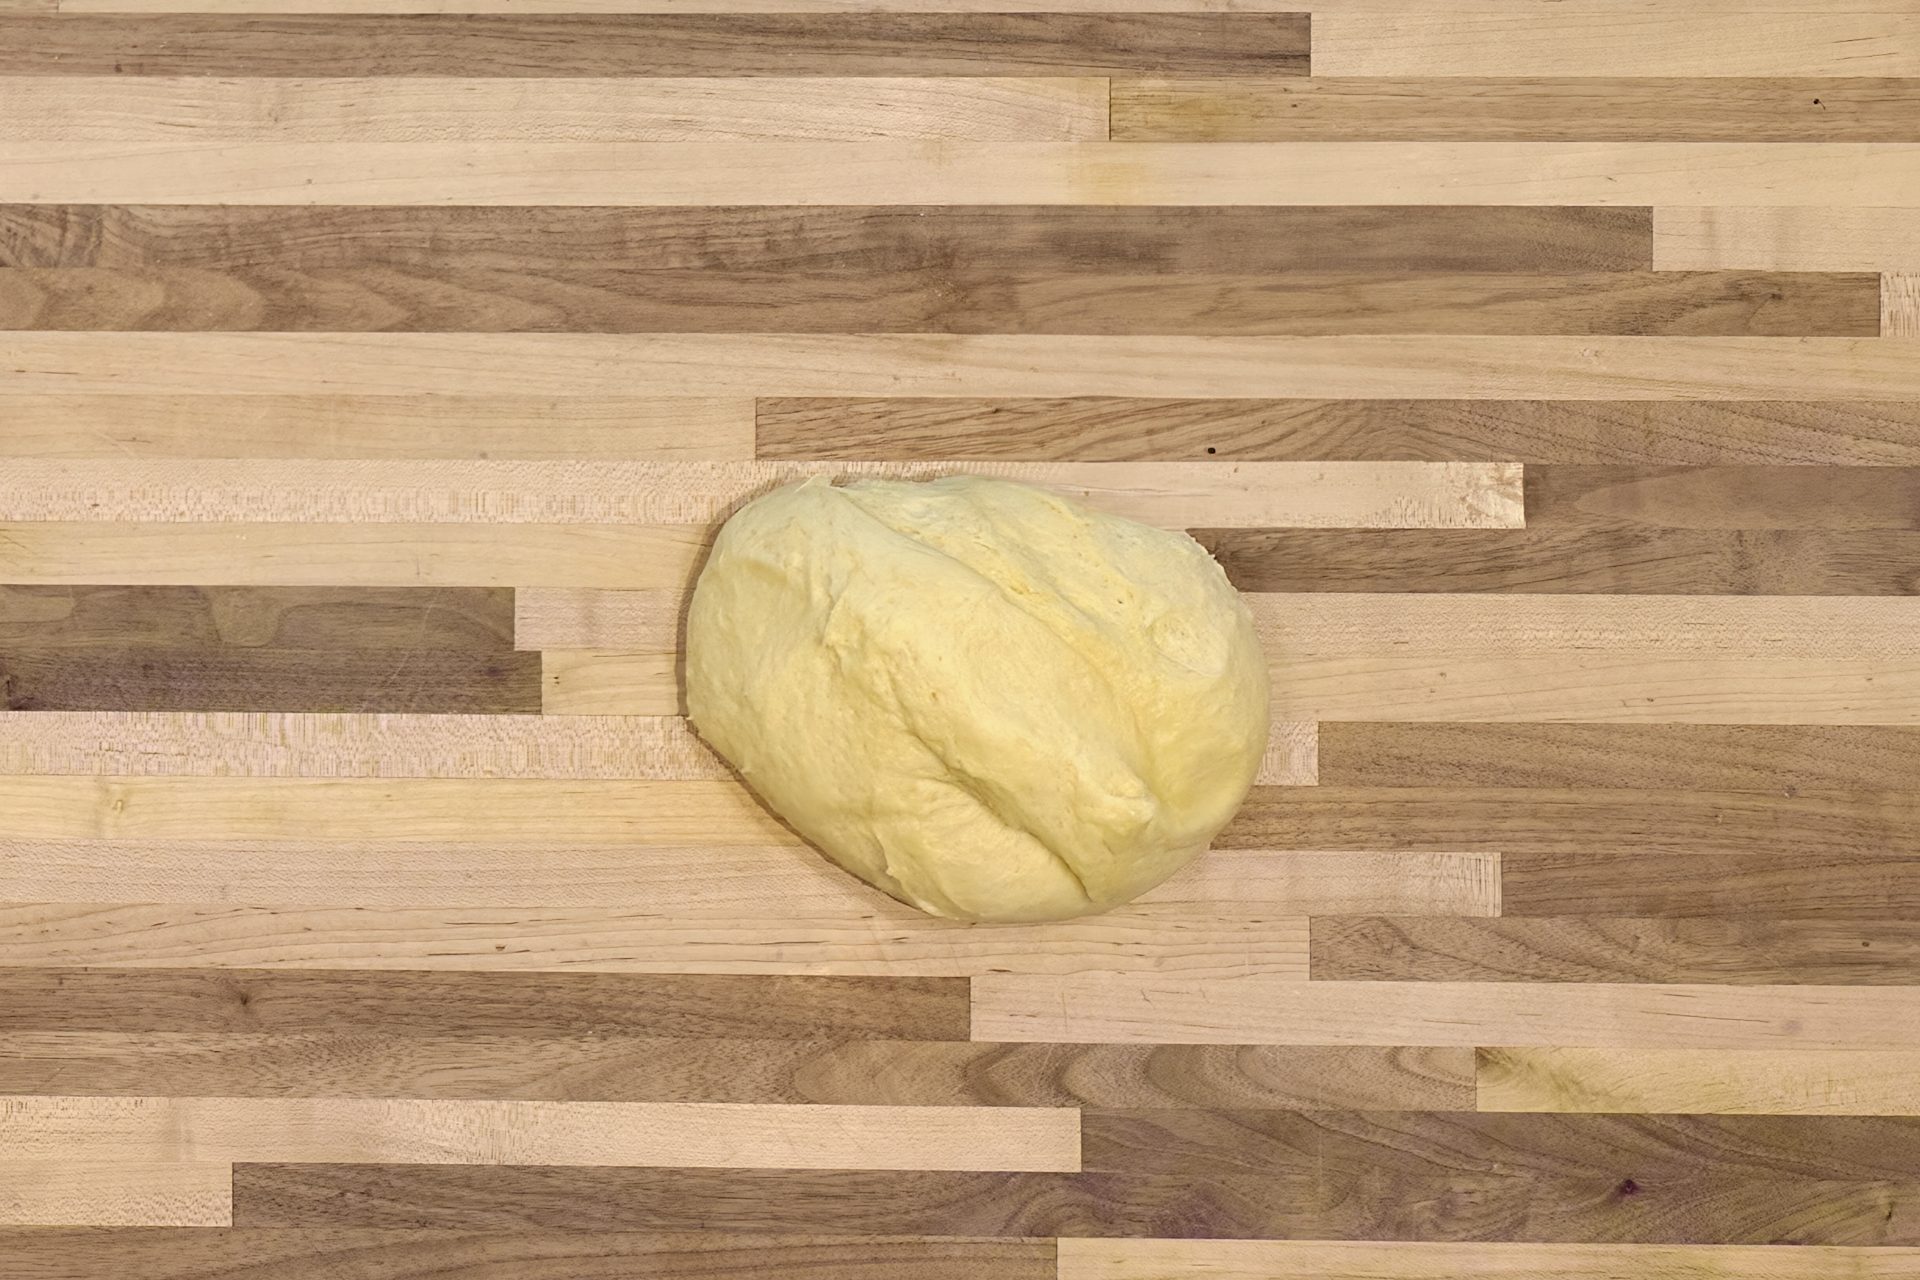
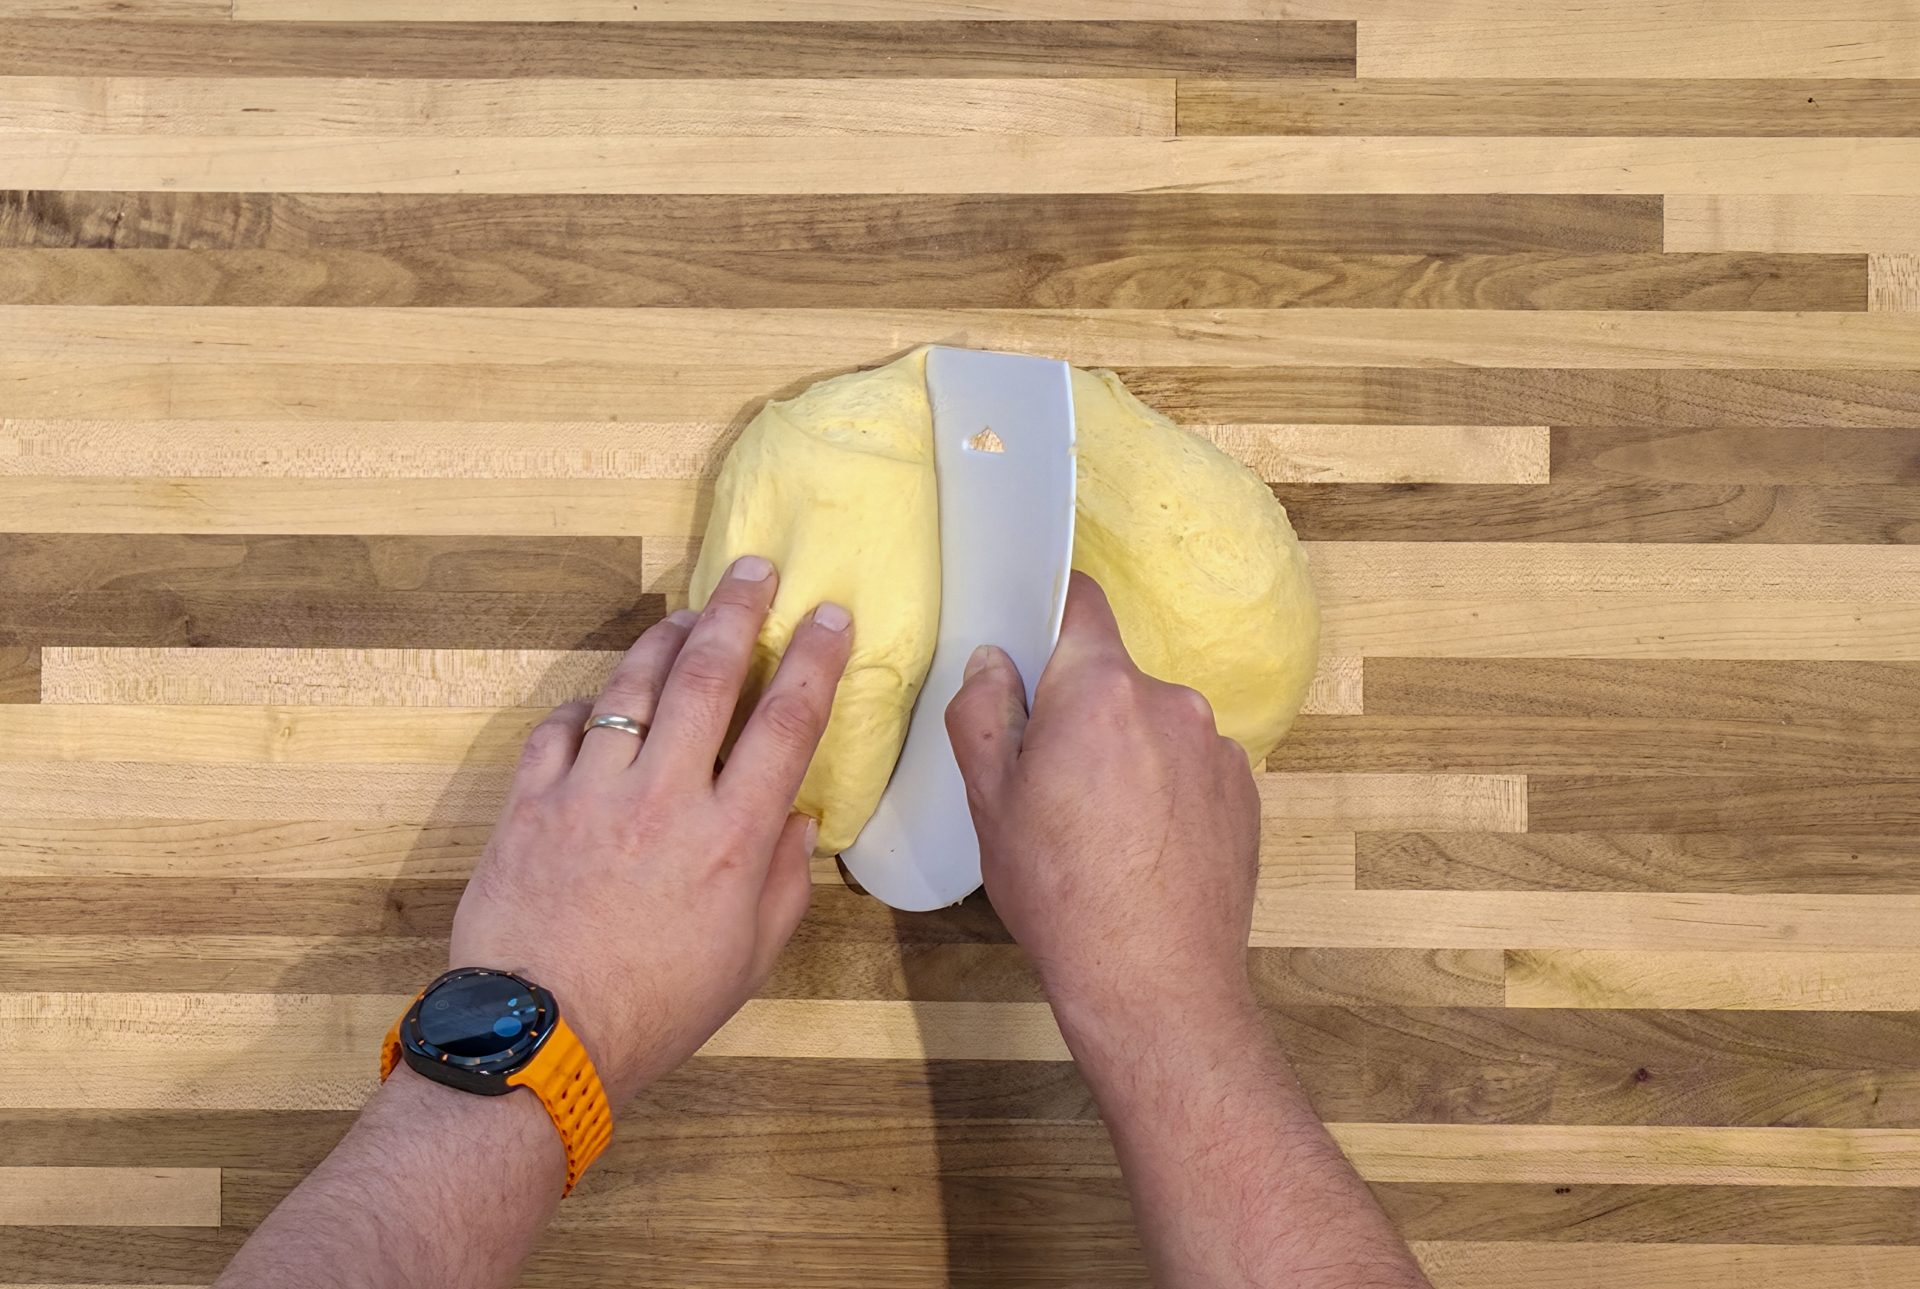
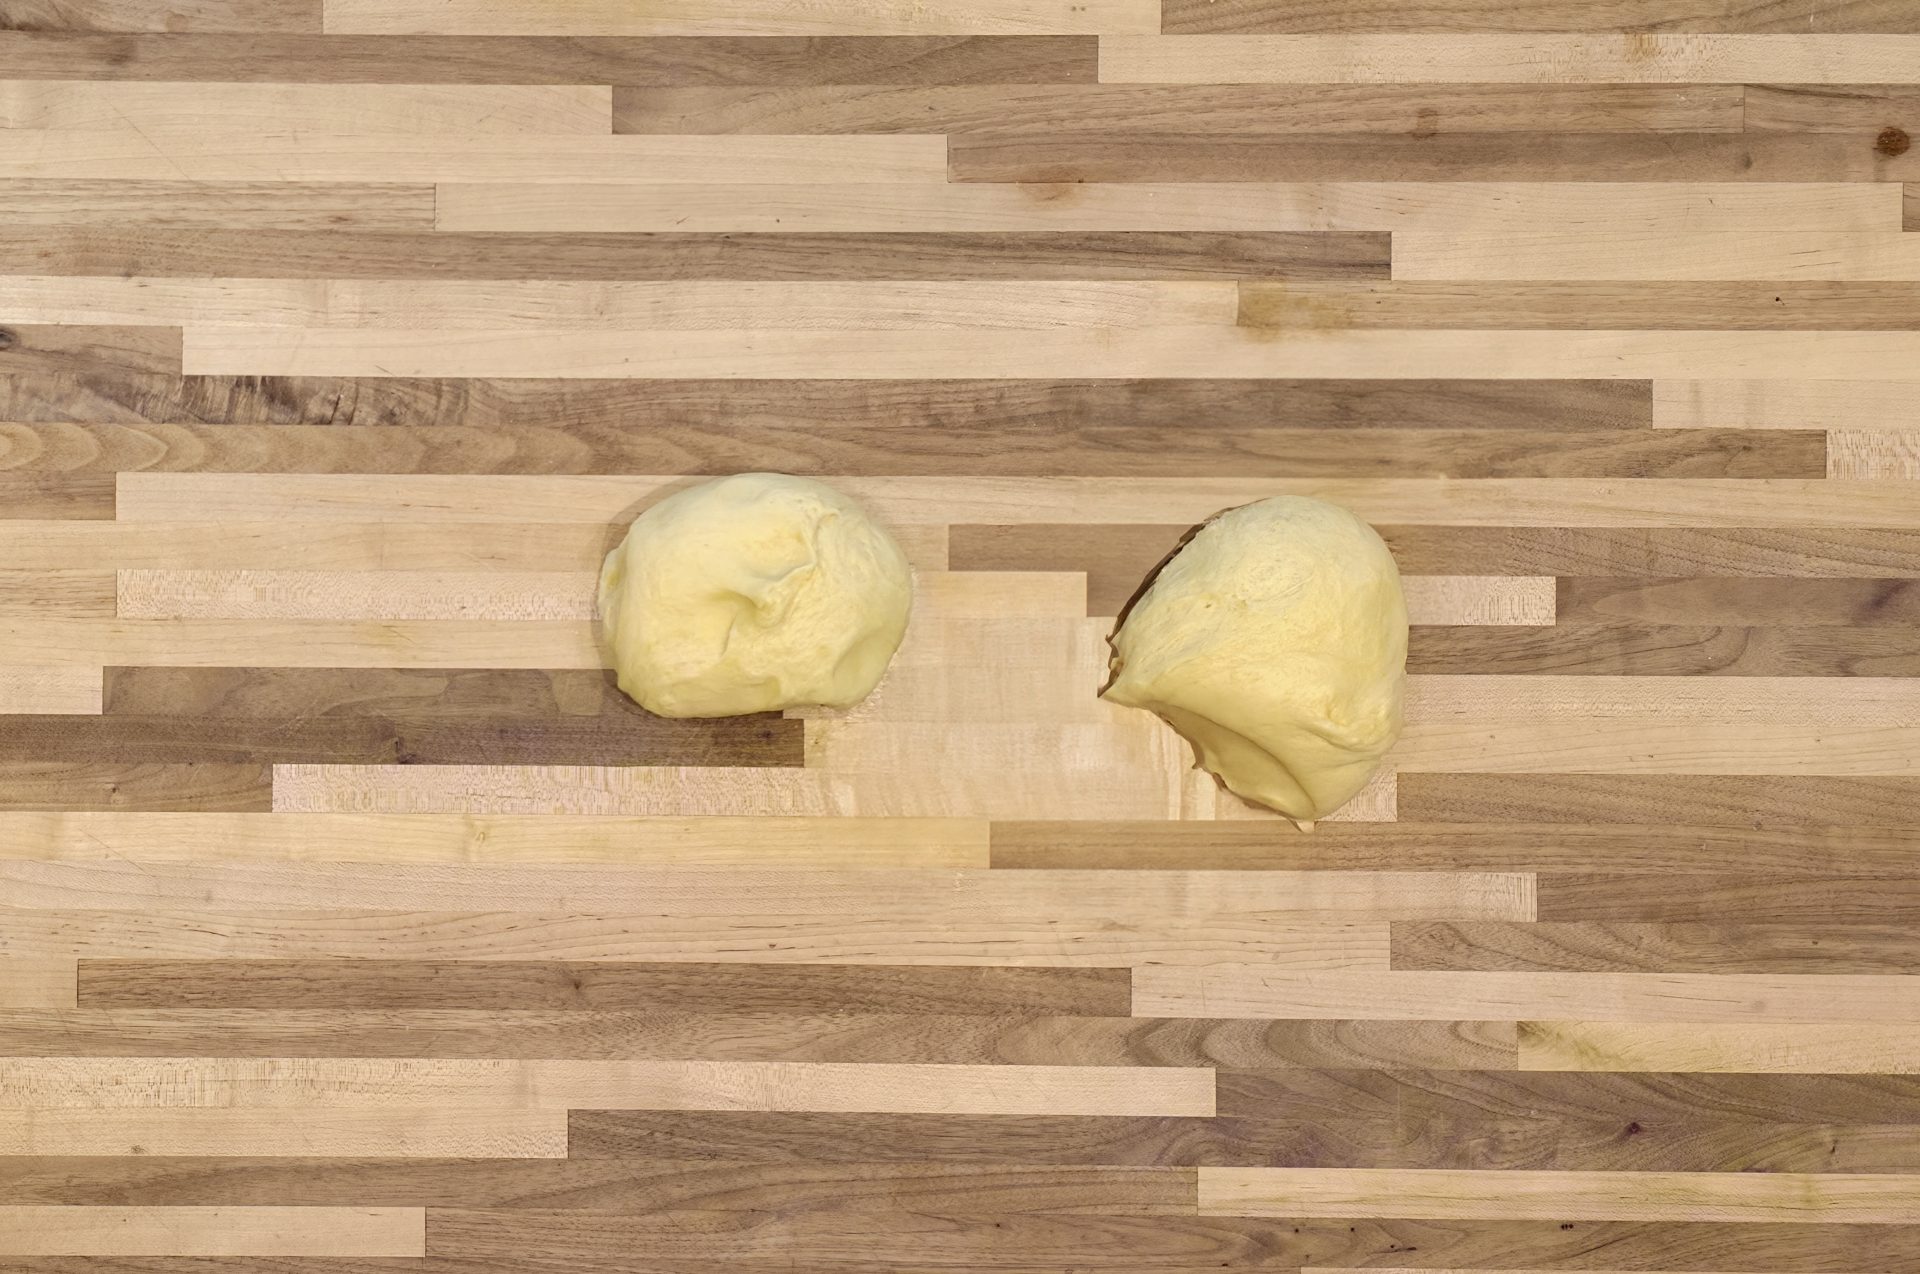
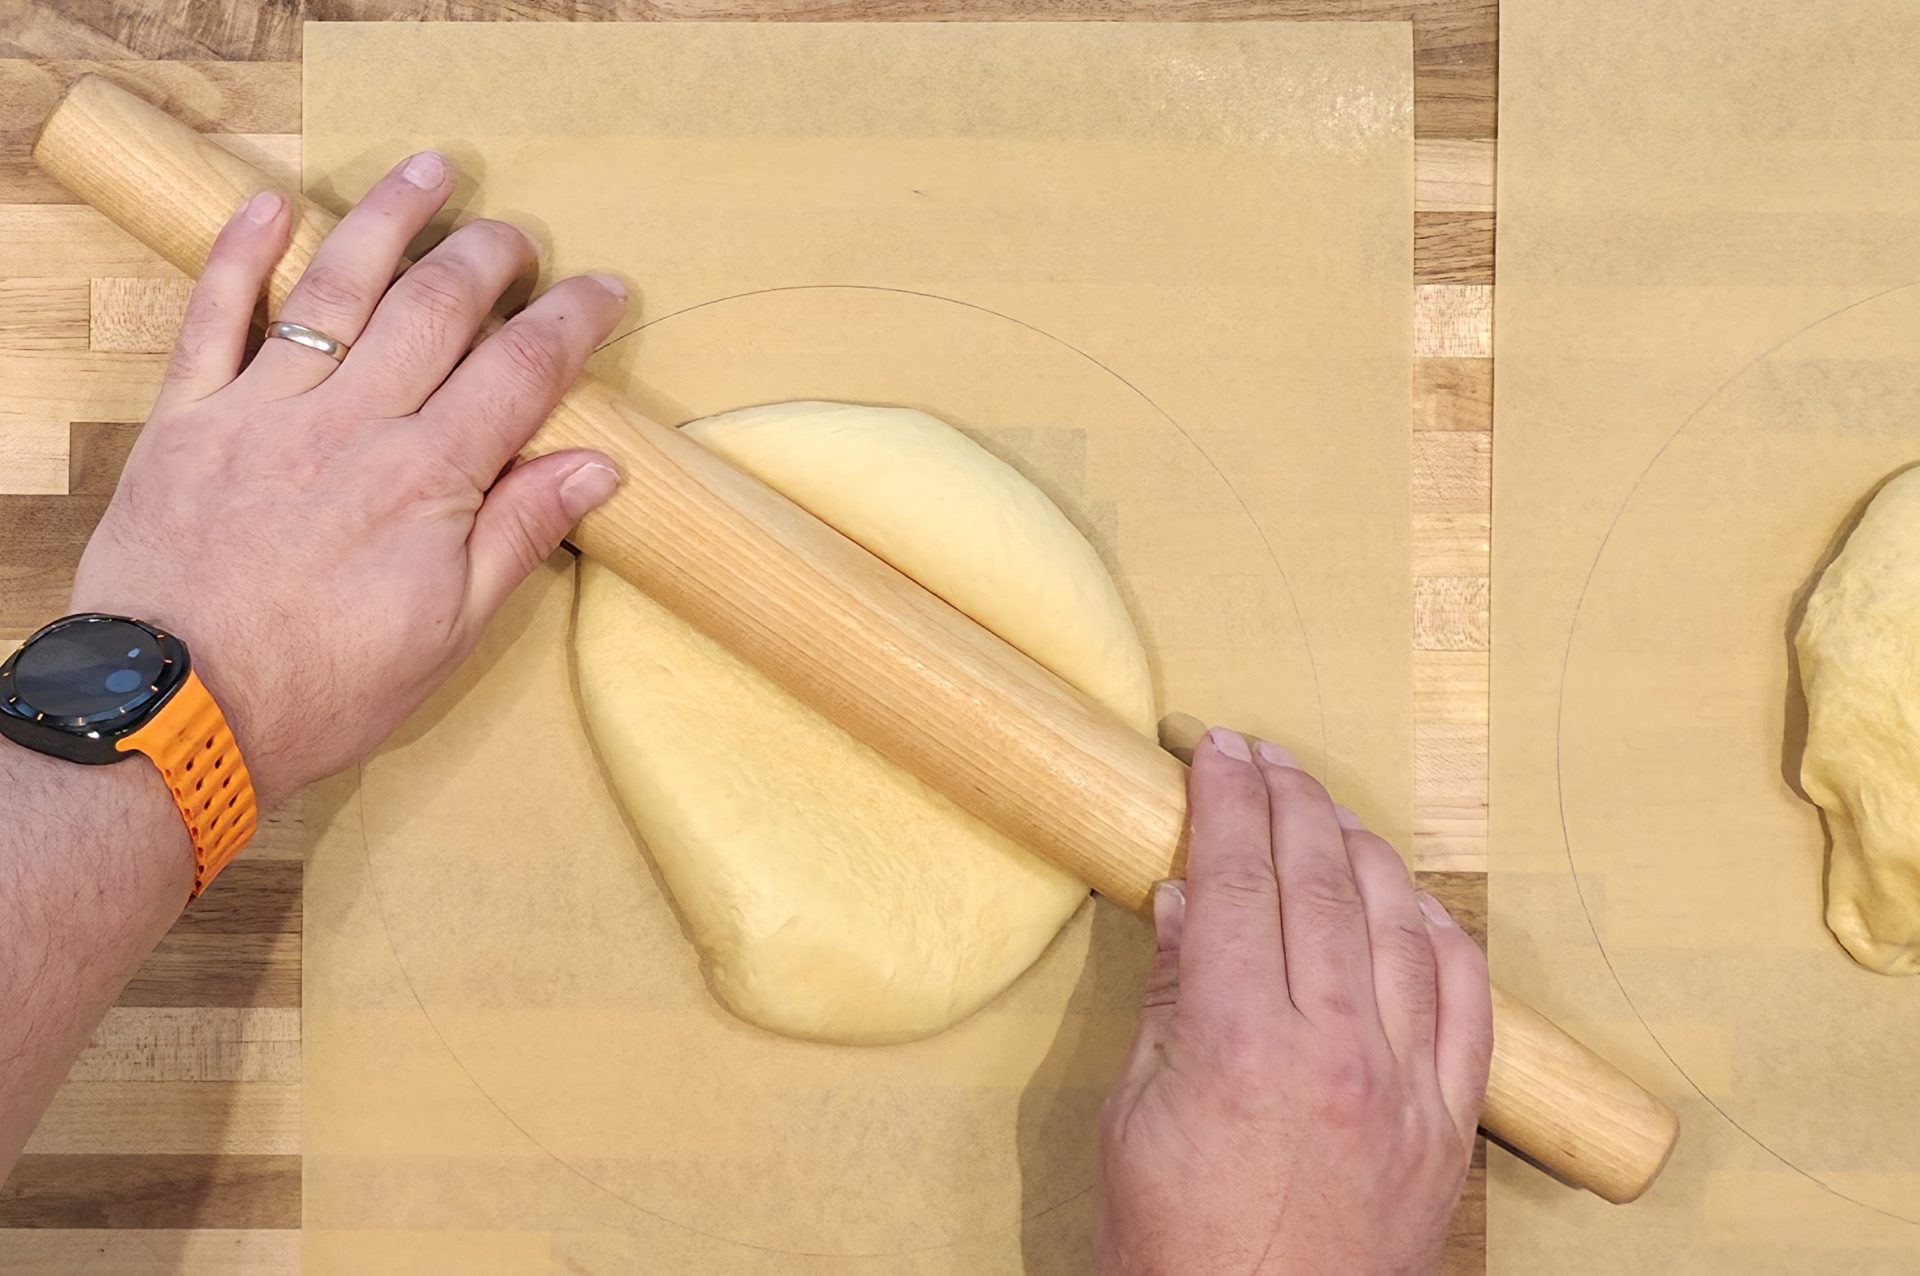
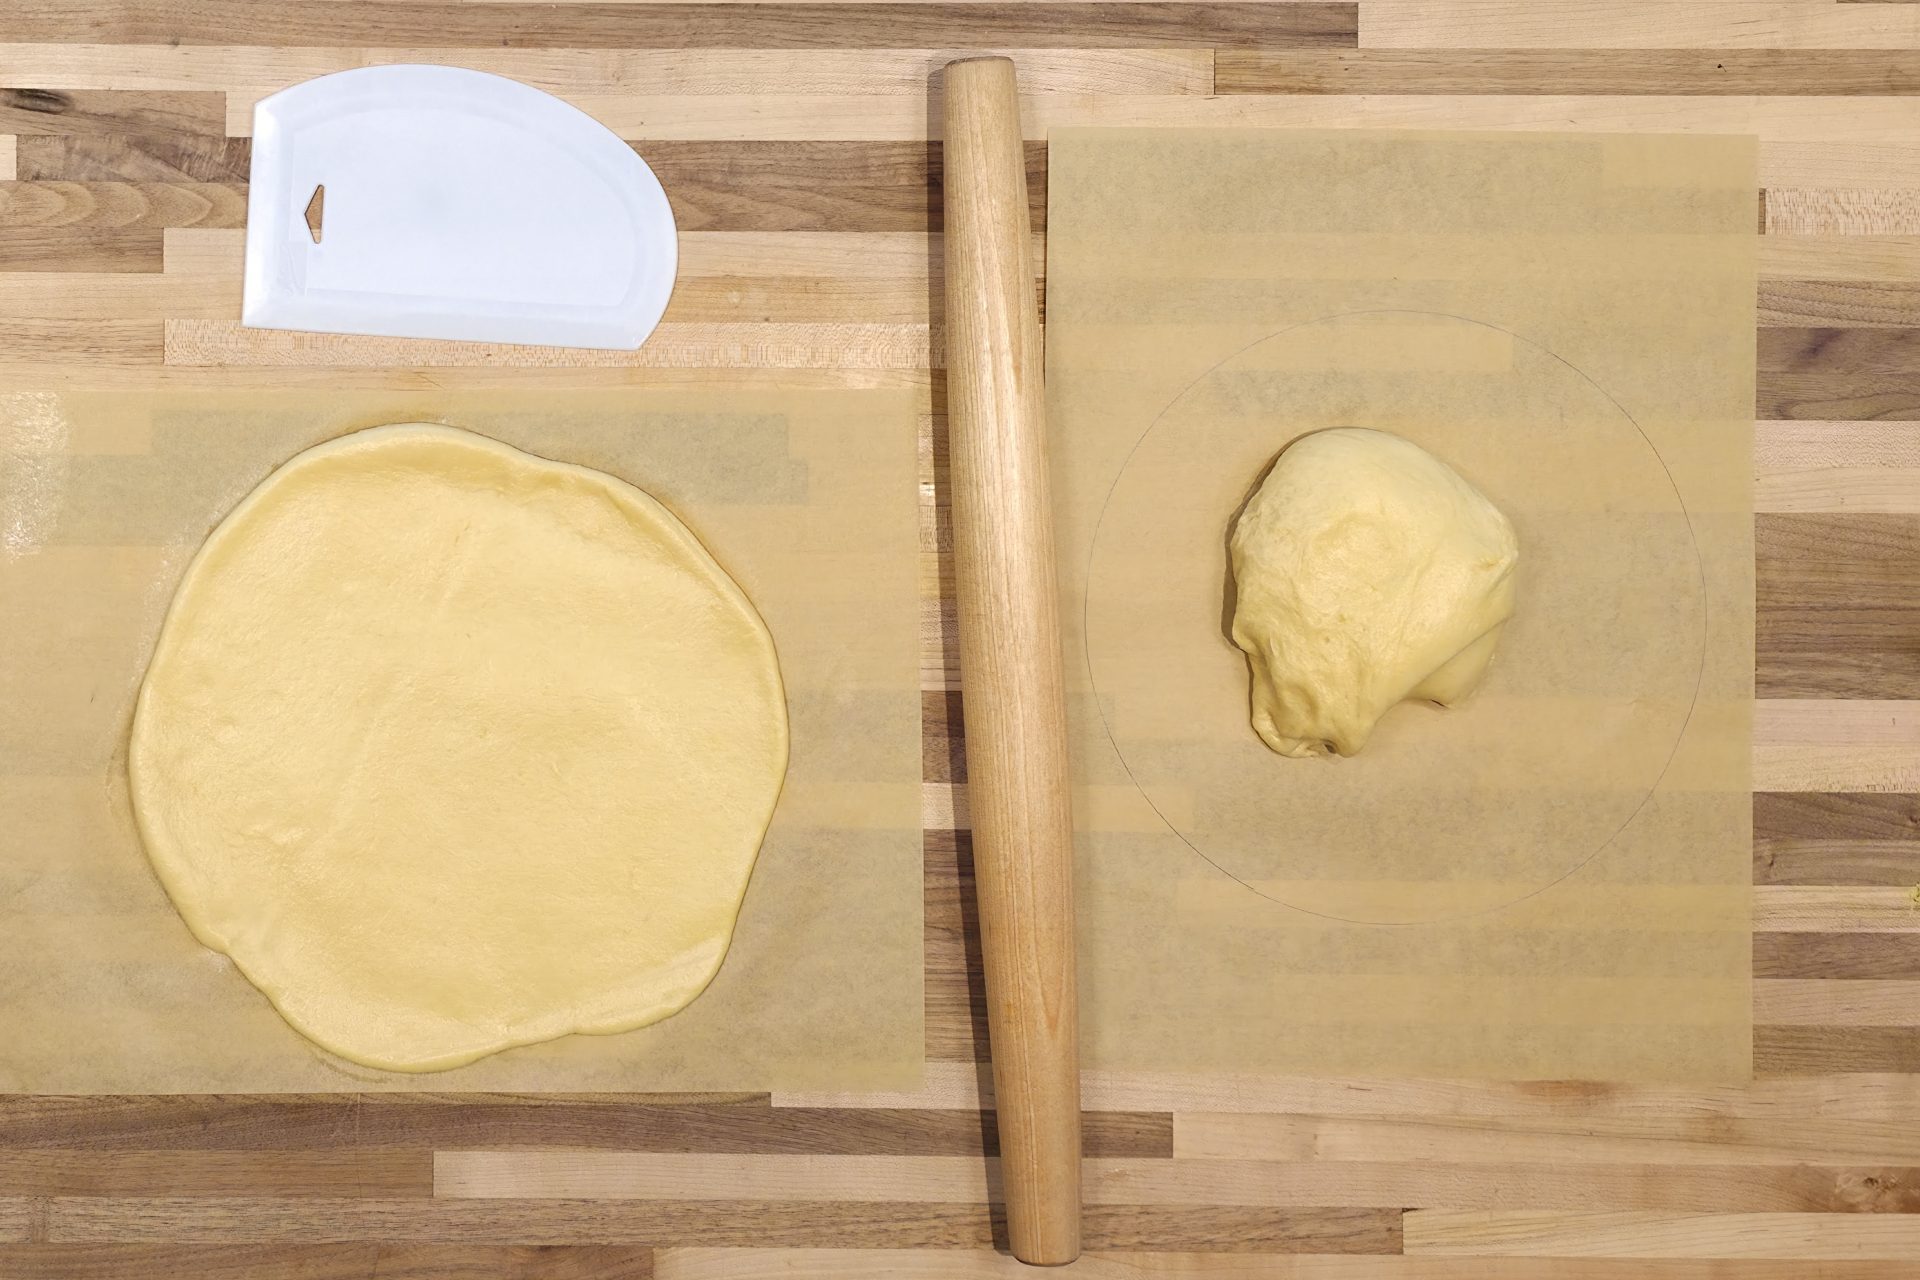
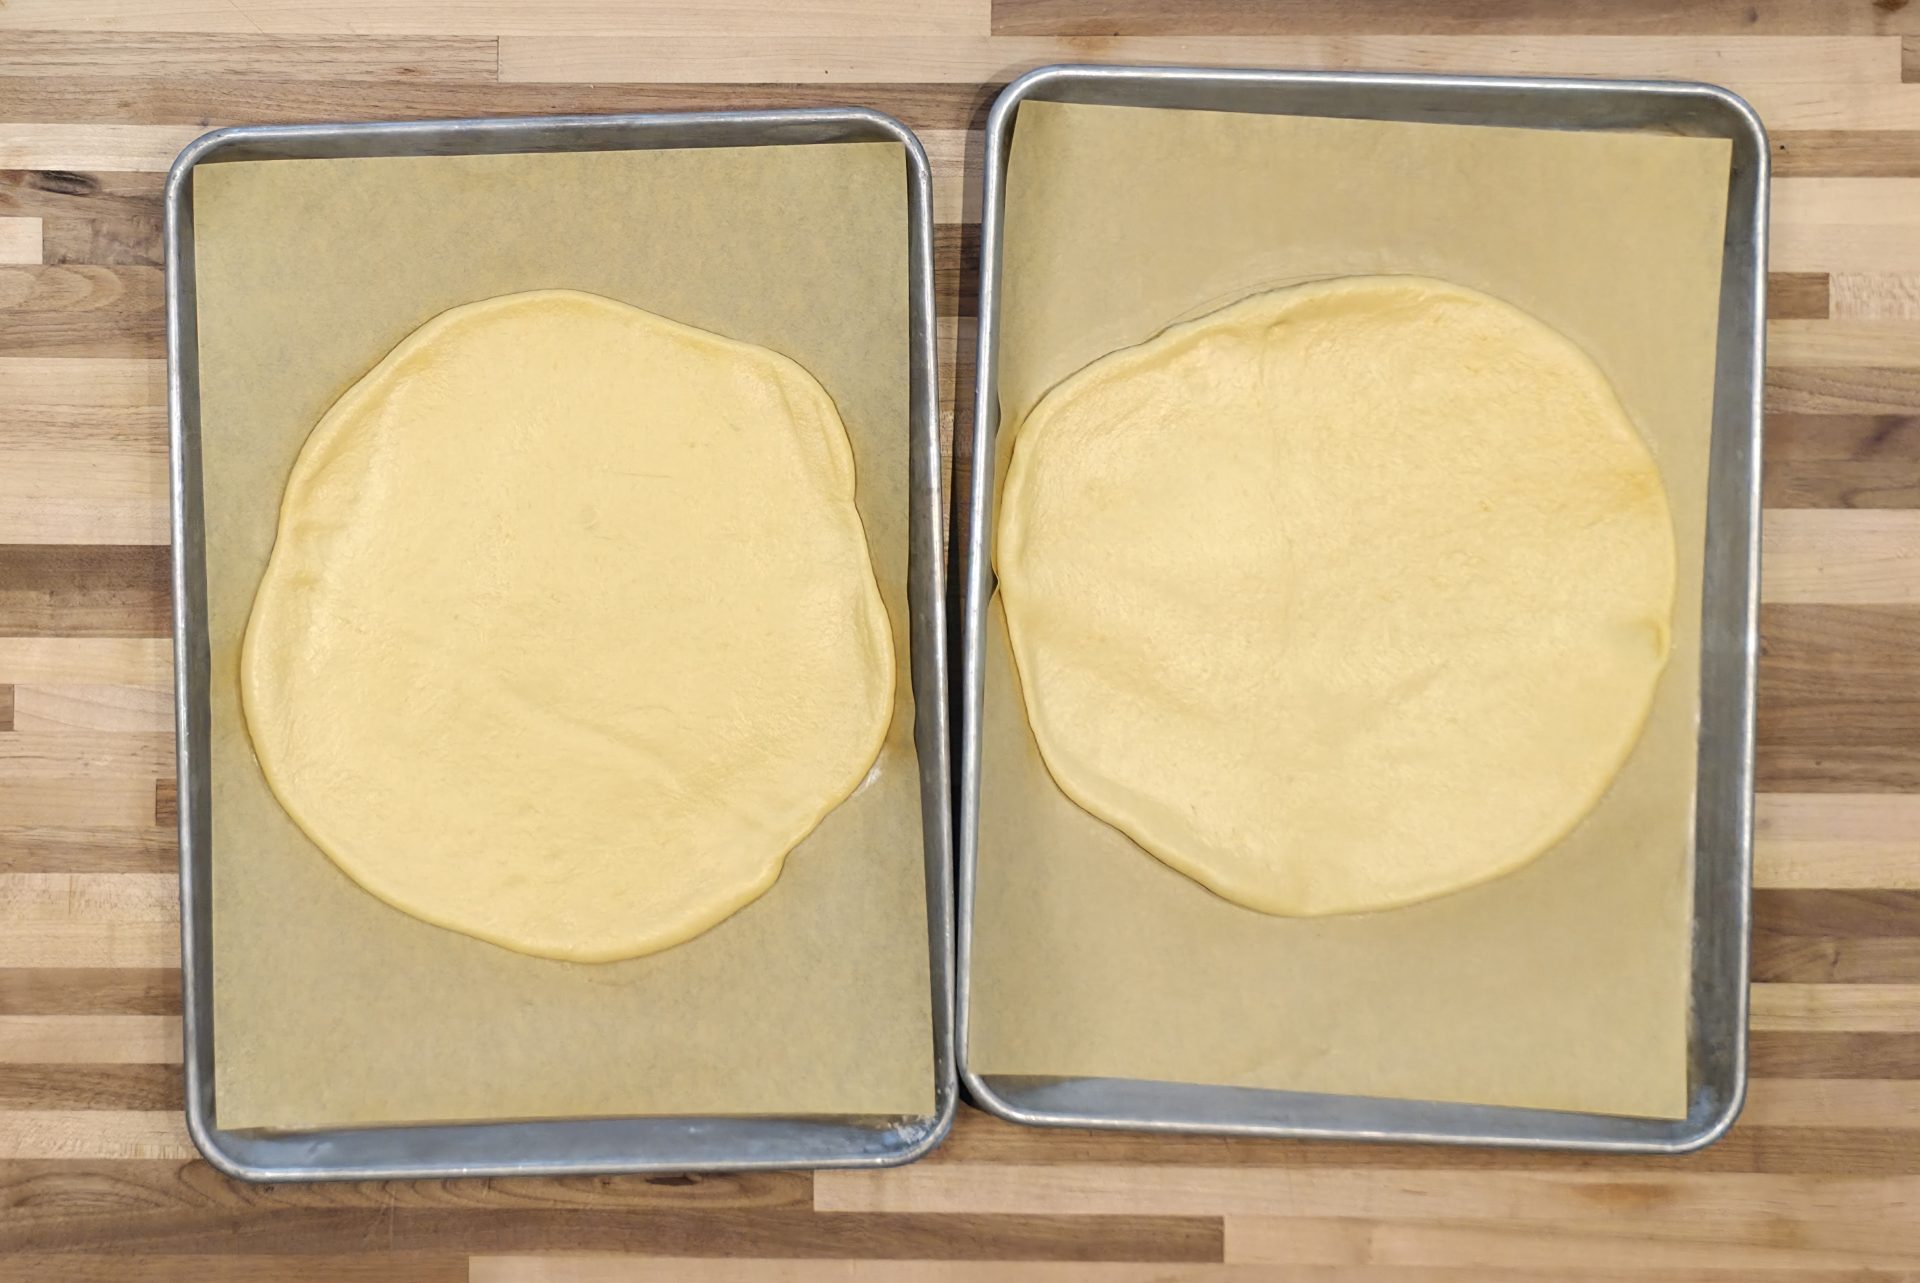
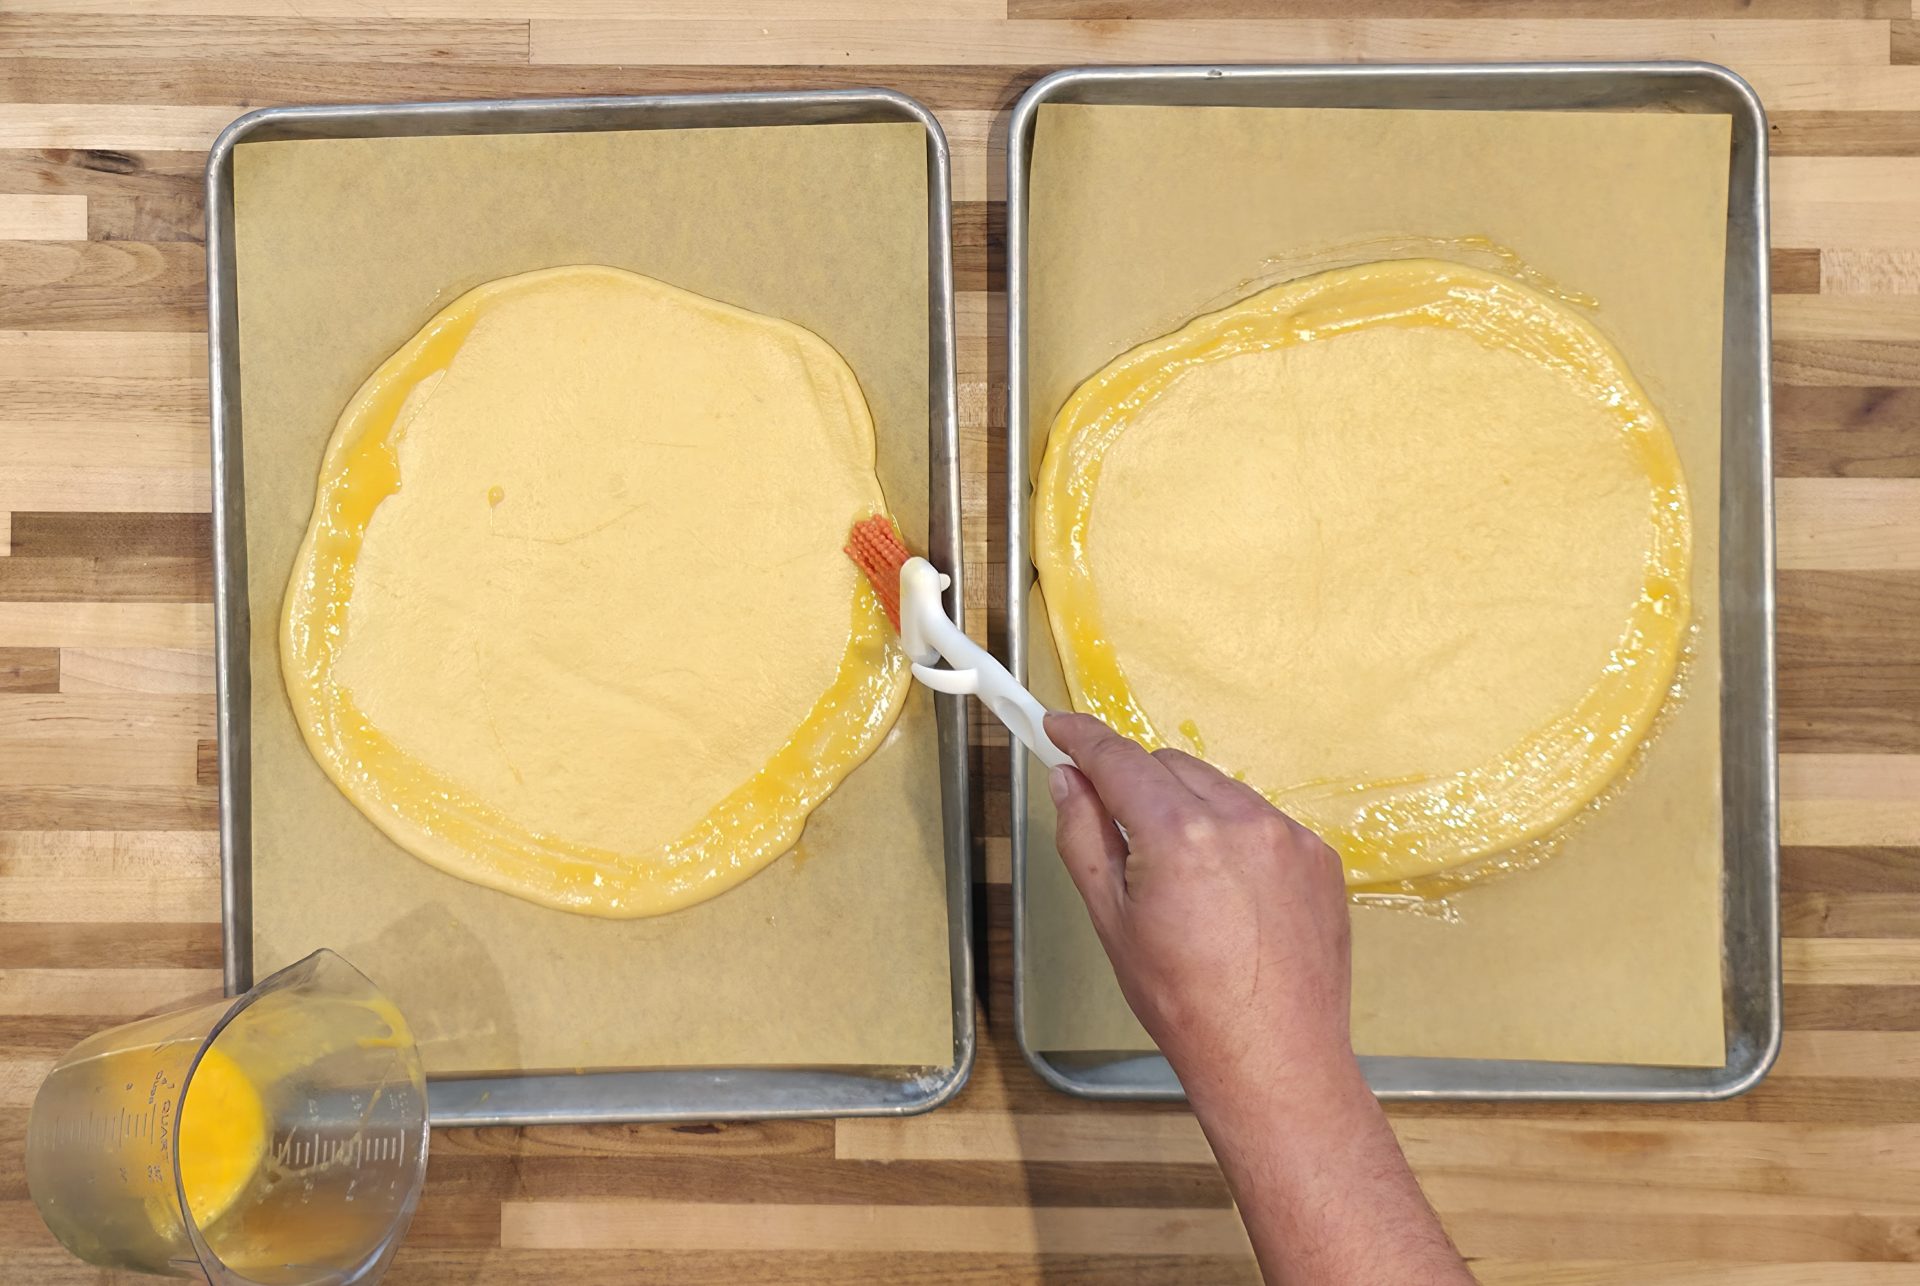
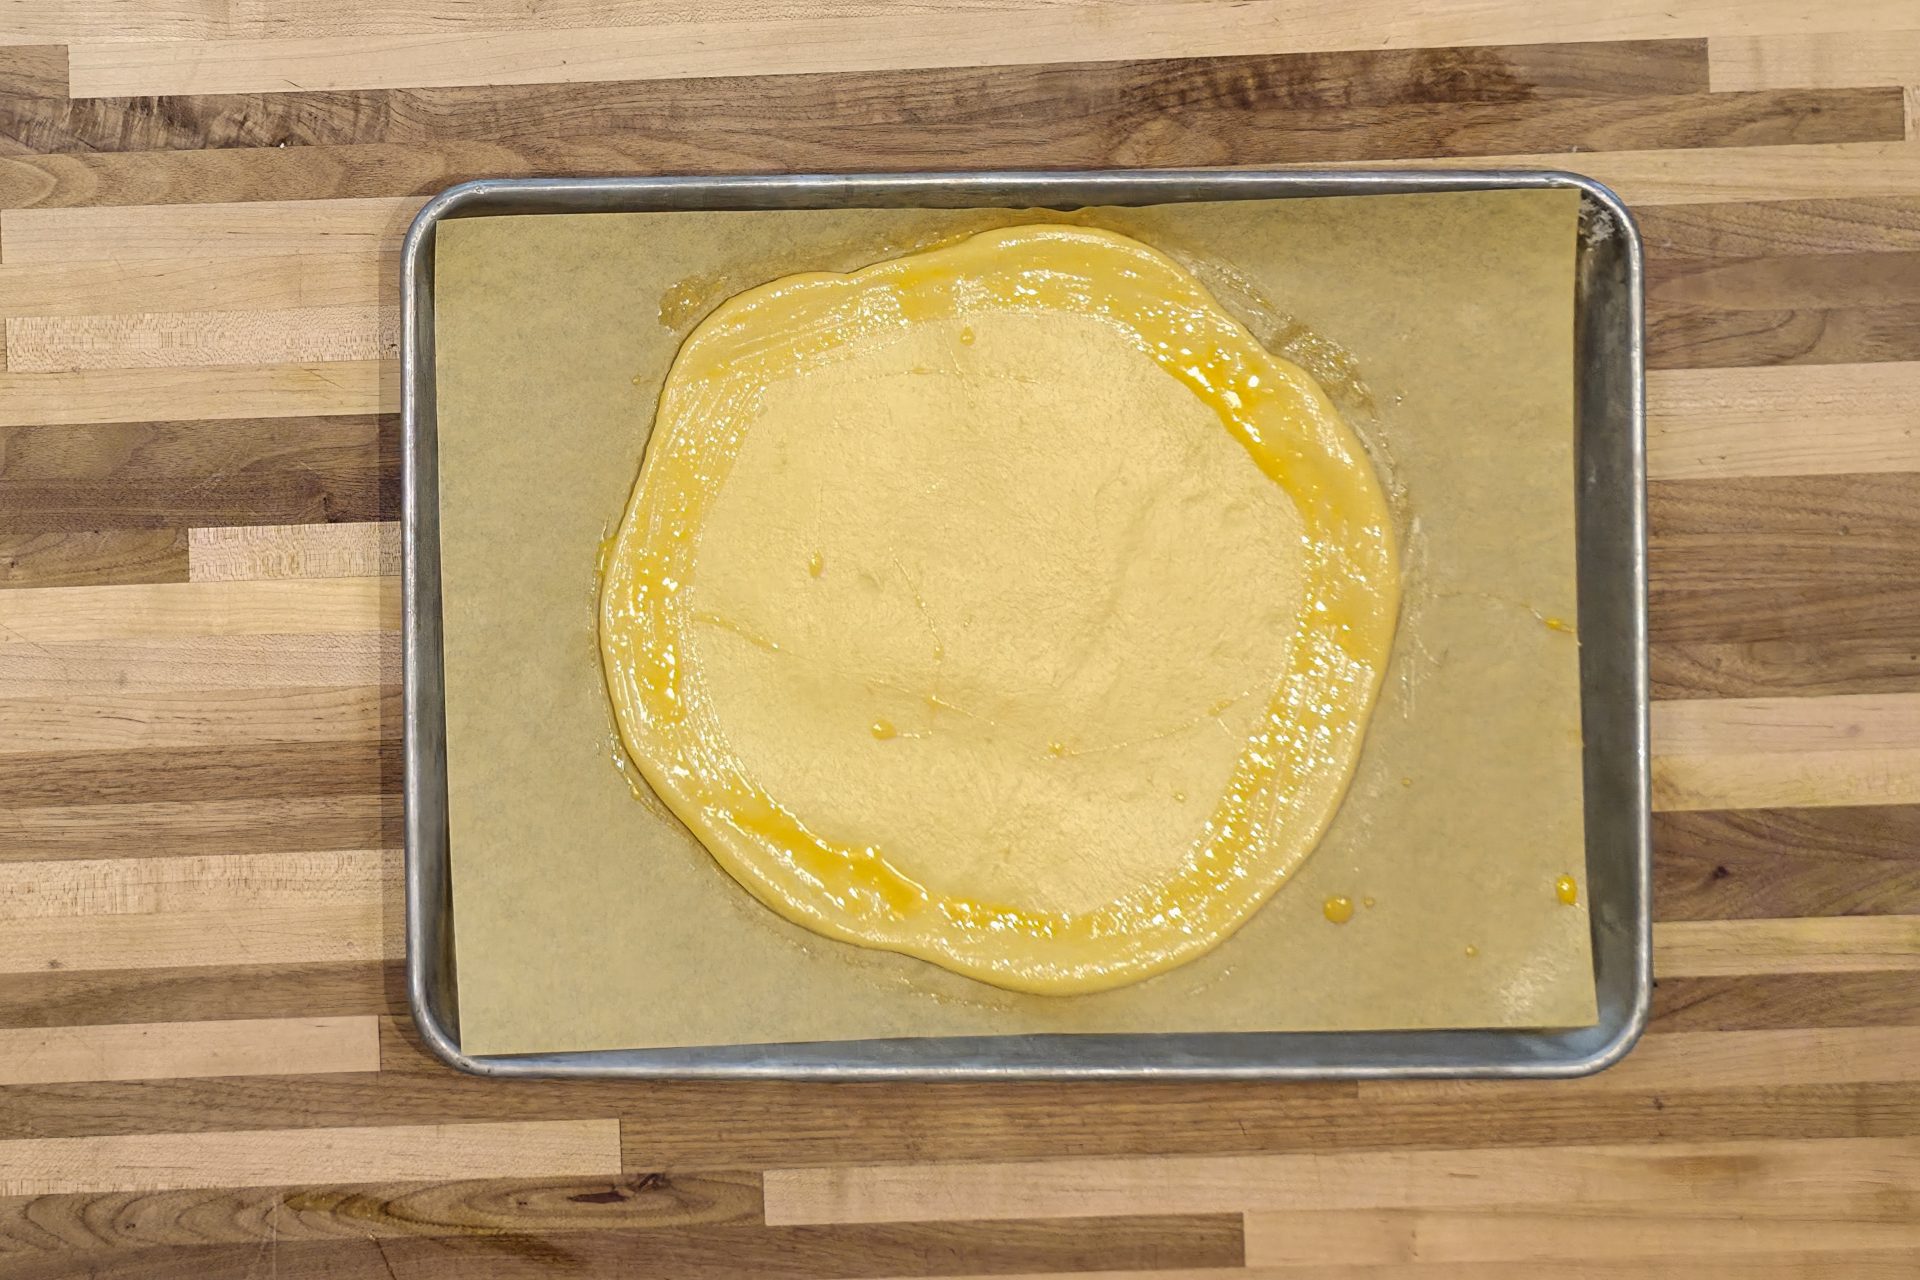
November 9, 2025While many know kolaches, the Frgal is a special, large version popular in central Europe. This detailed recipe for Frgal Kolach with Pear Filling will guide you through creating two beautiful, large pastries. We’ll cover everything from the rich, yeasted leaven and tender dough to a delicious homemade spiced pear filling and a buttery streusel topping.
3. Key Words
 Tom the Chef Founder
Share
Click on the icons below to share "Title of the item to share"