Pasta Dough
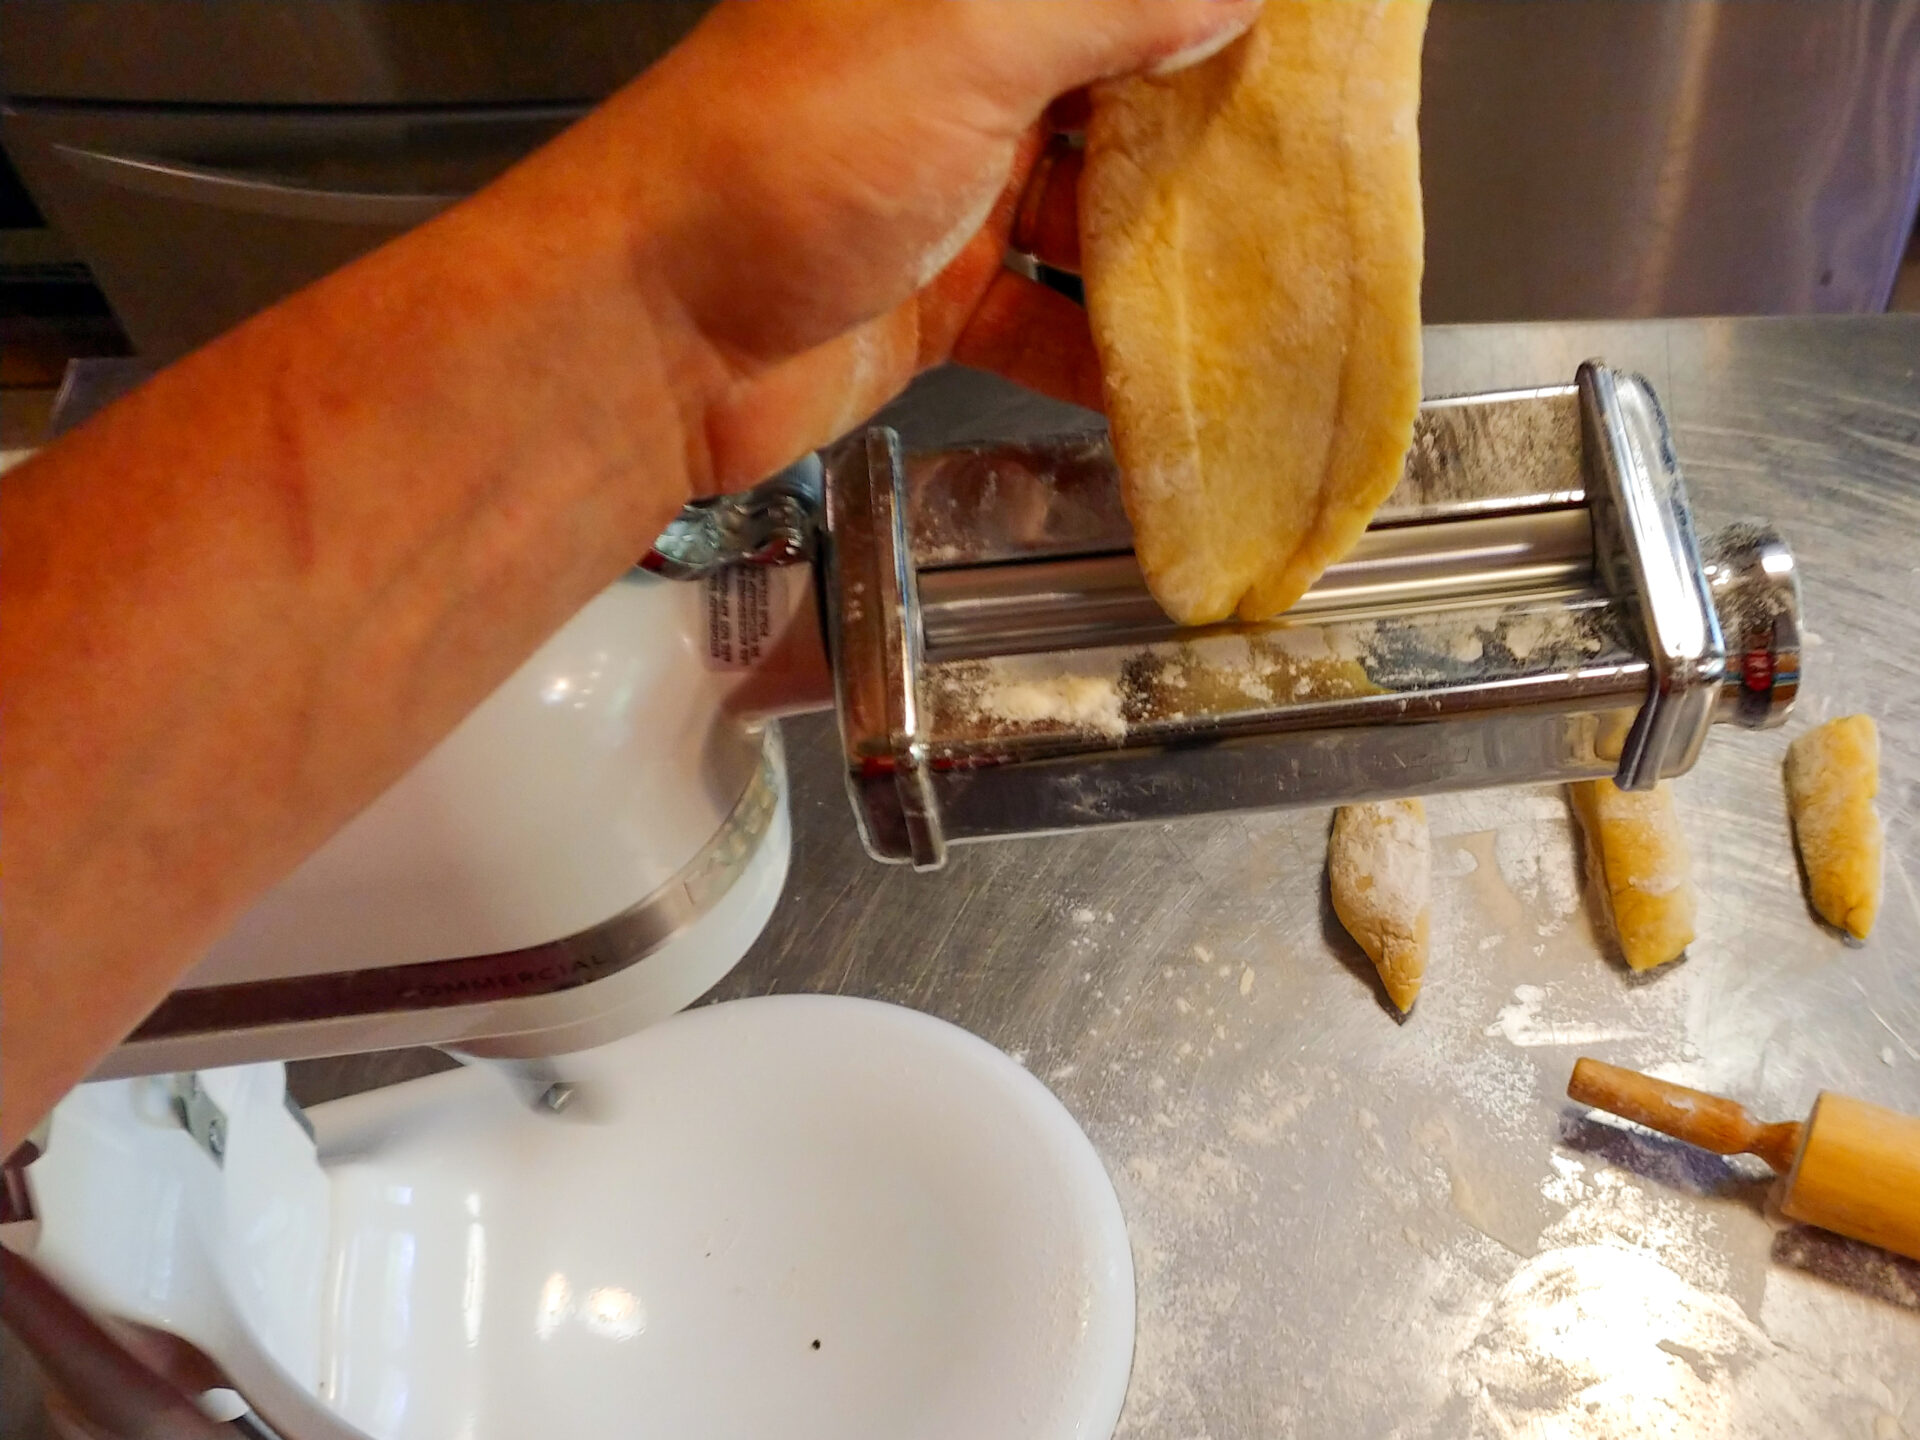
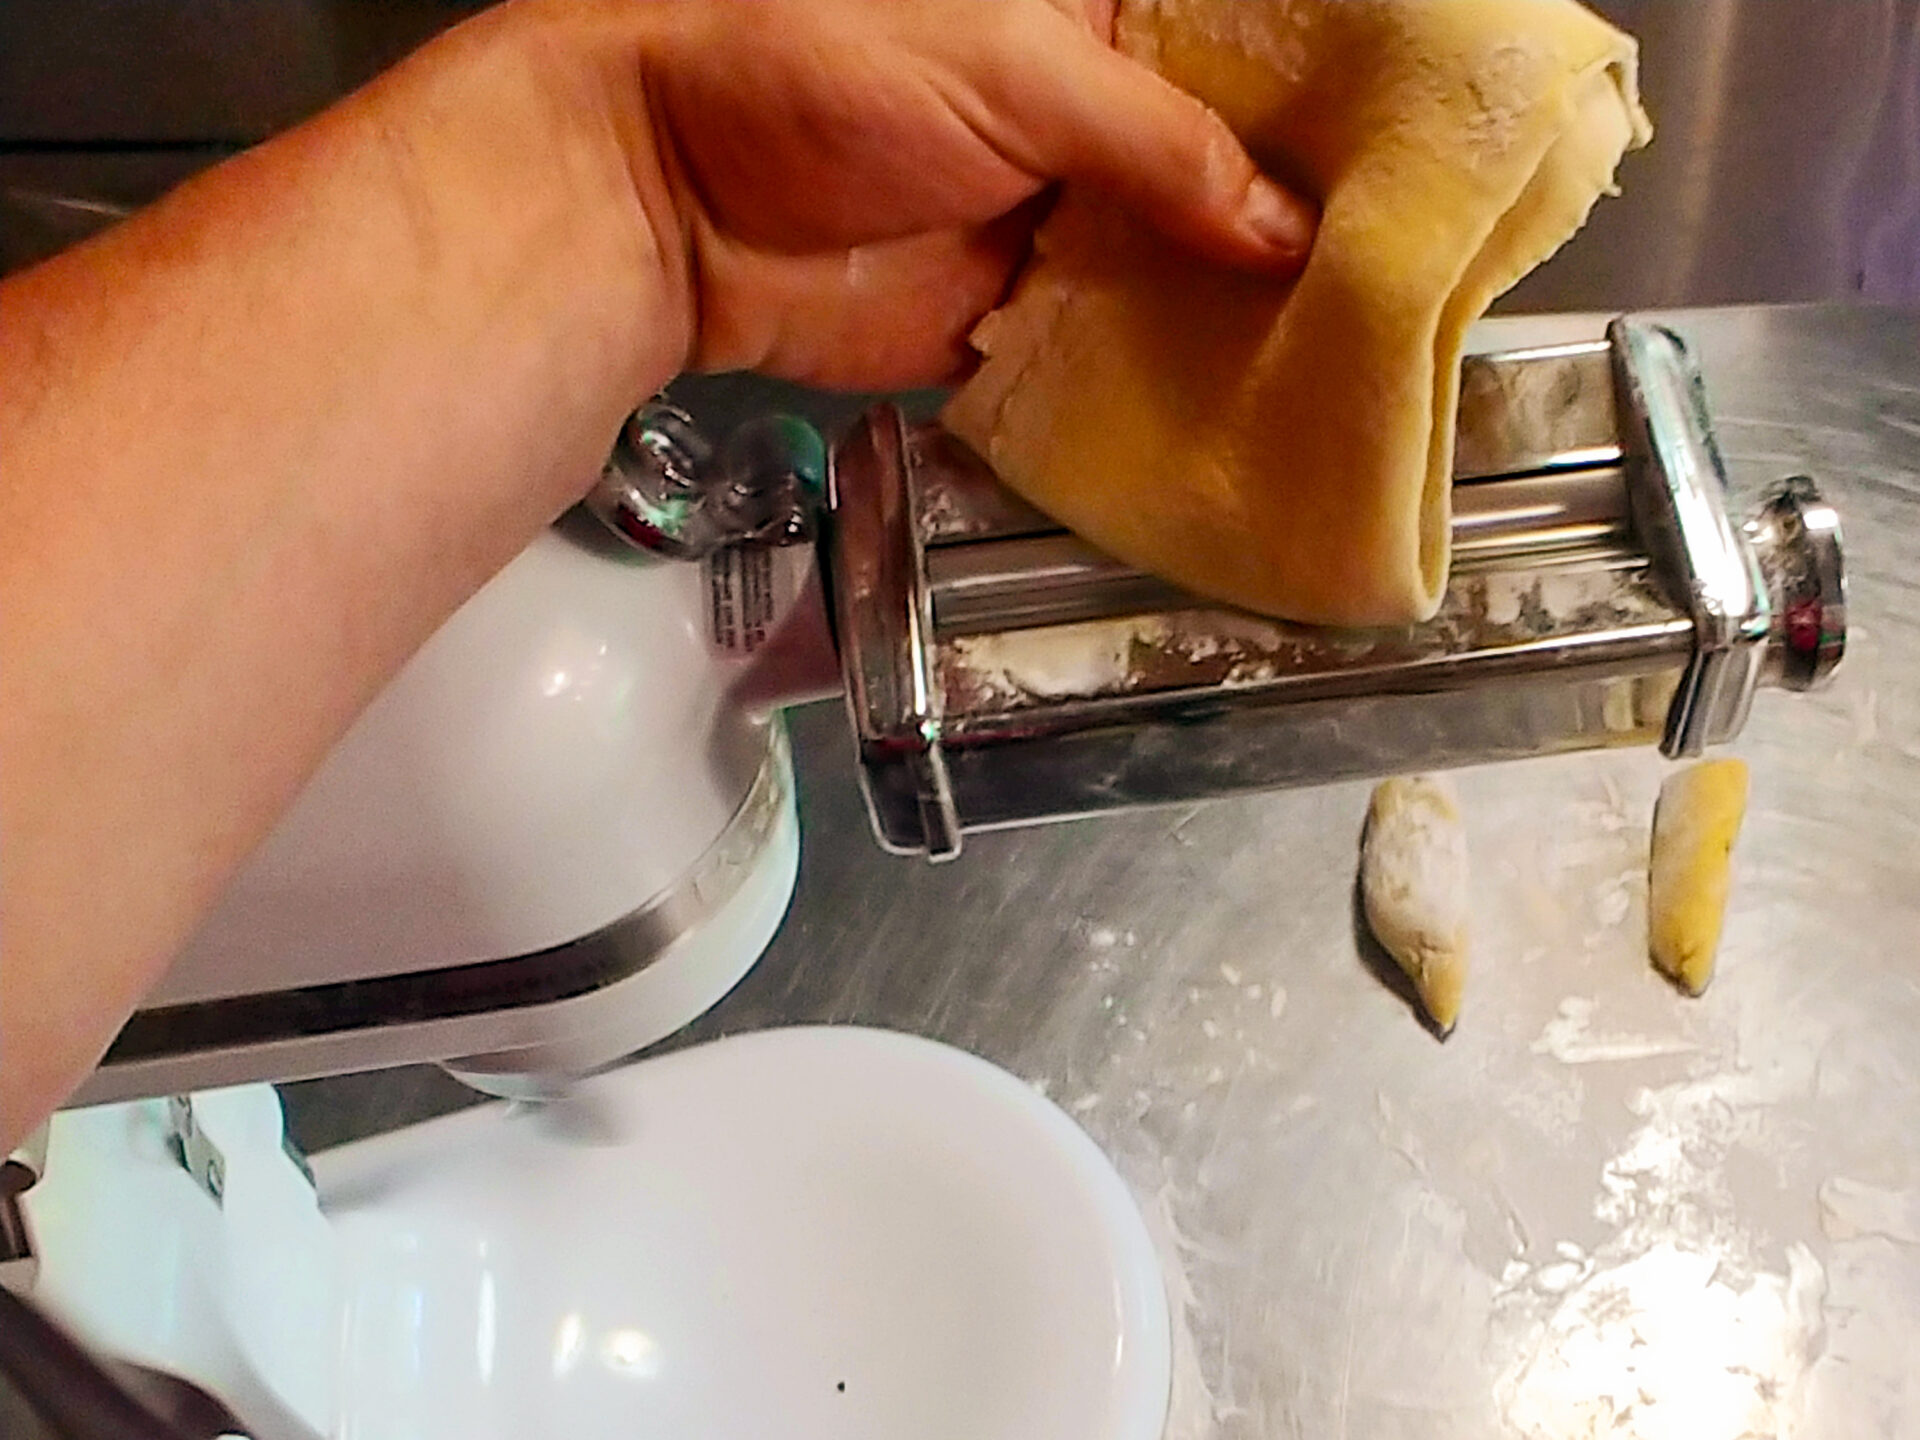
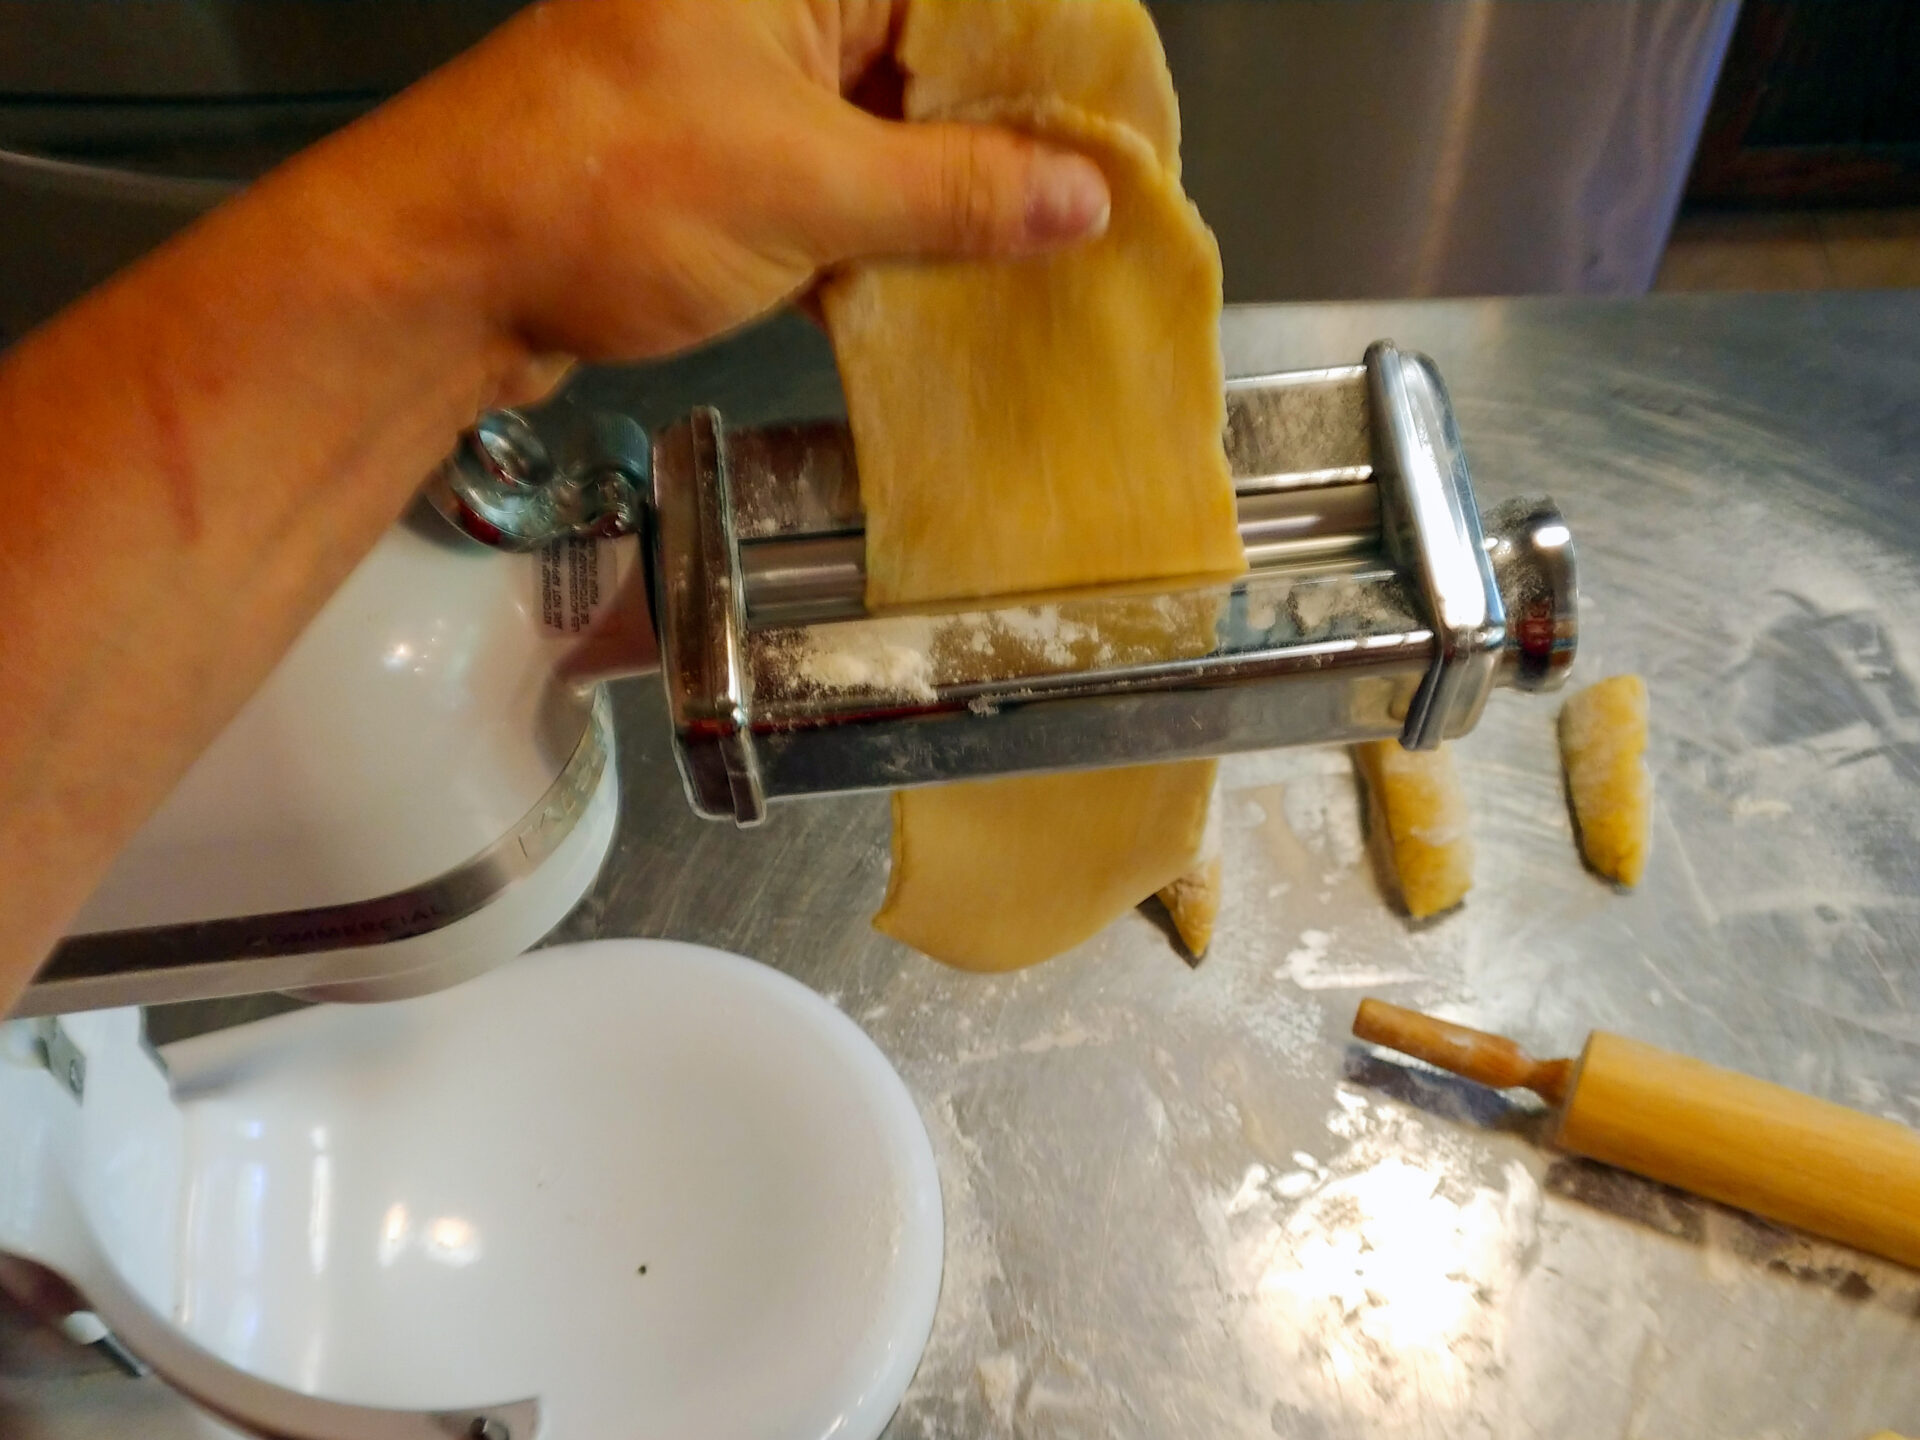
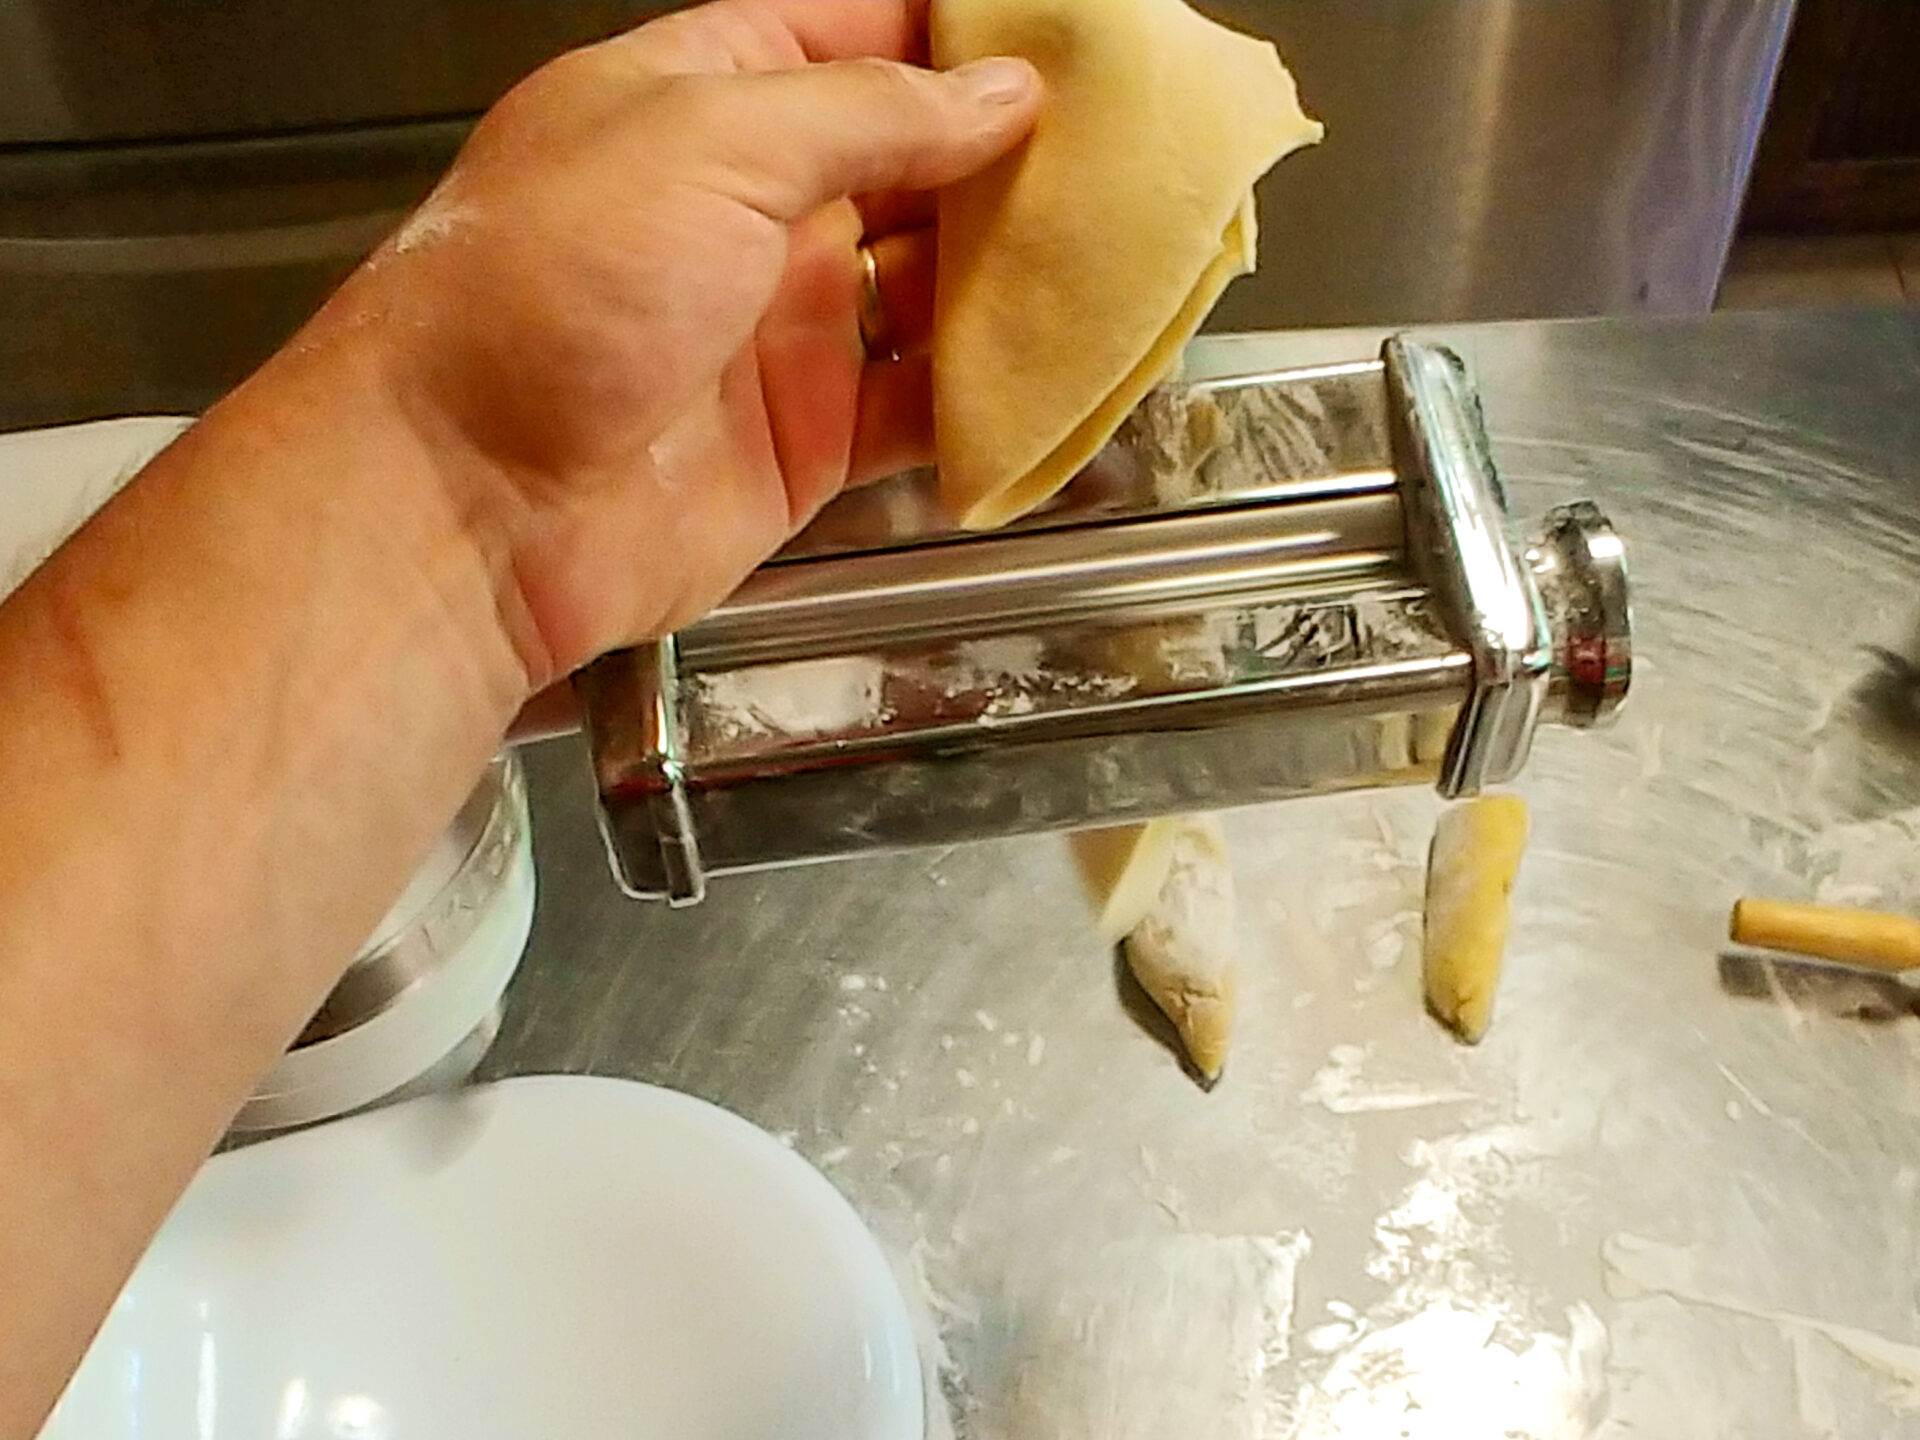
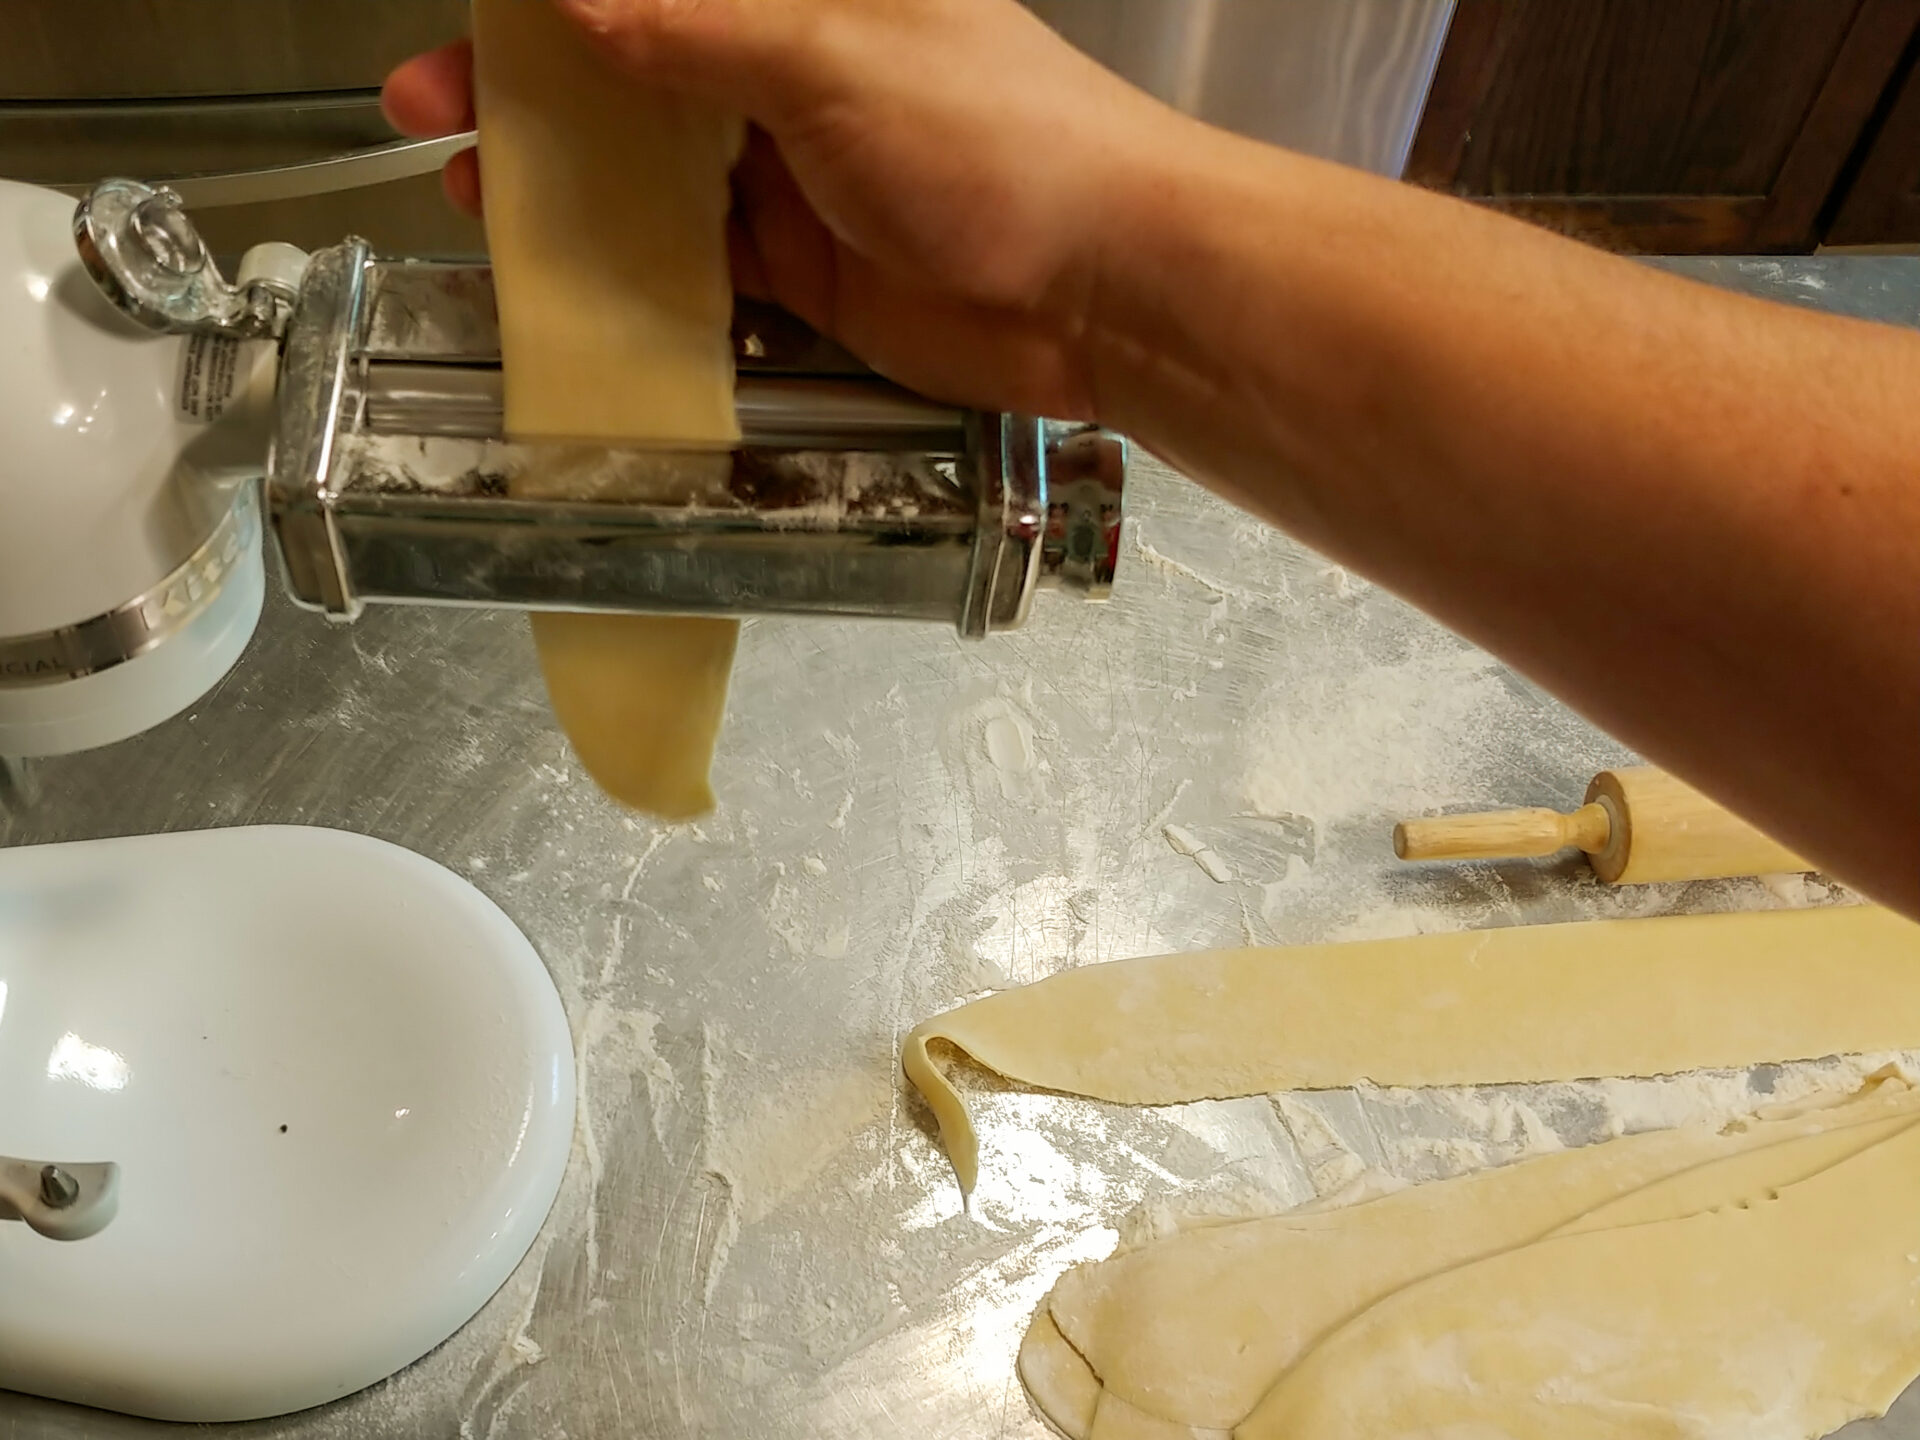
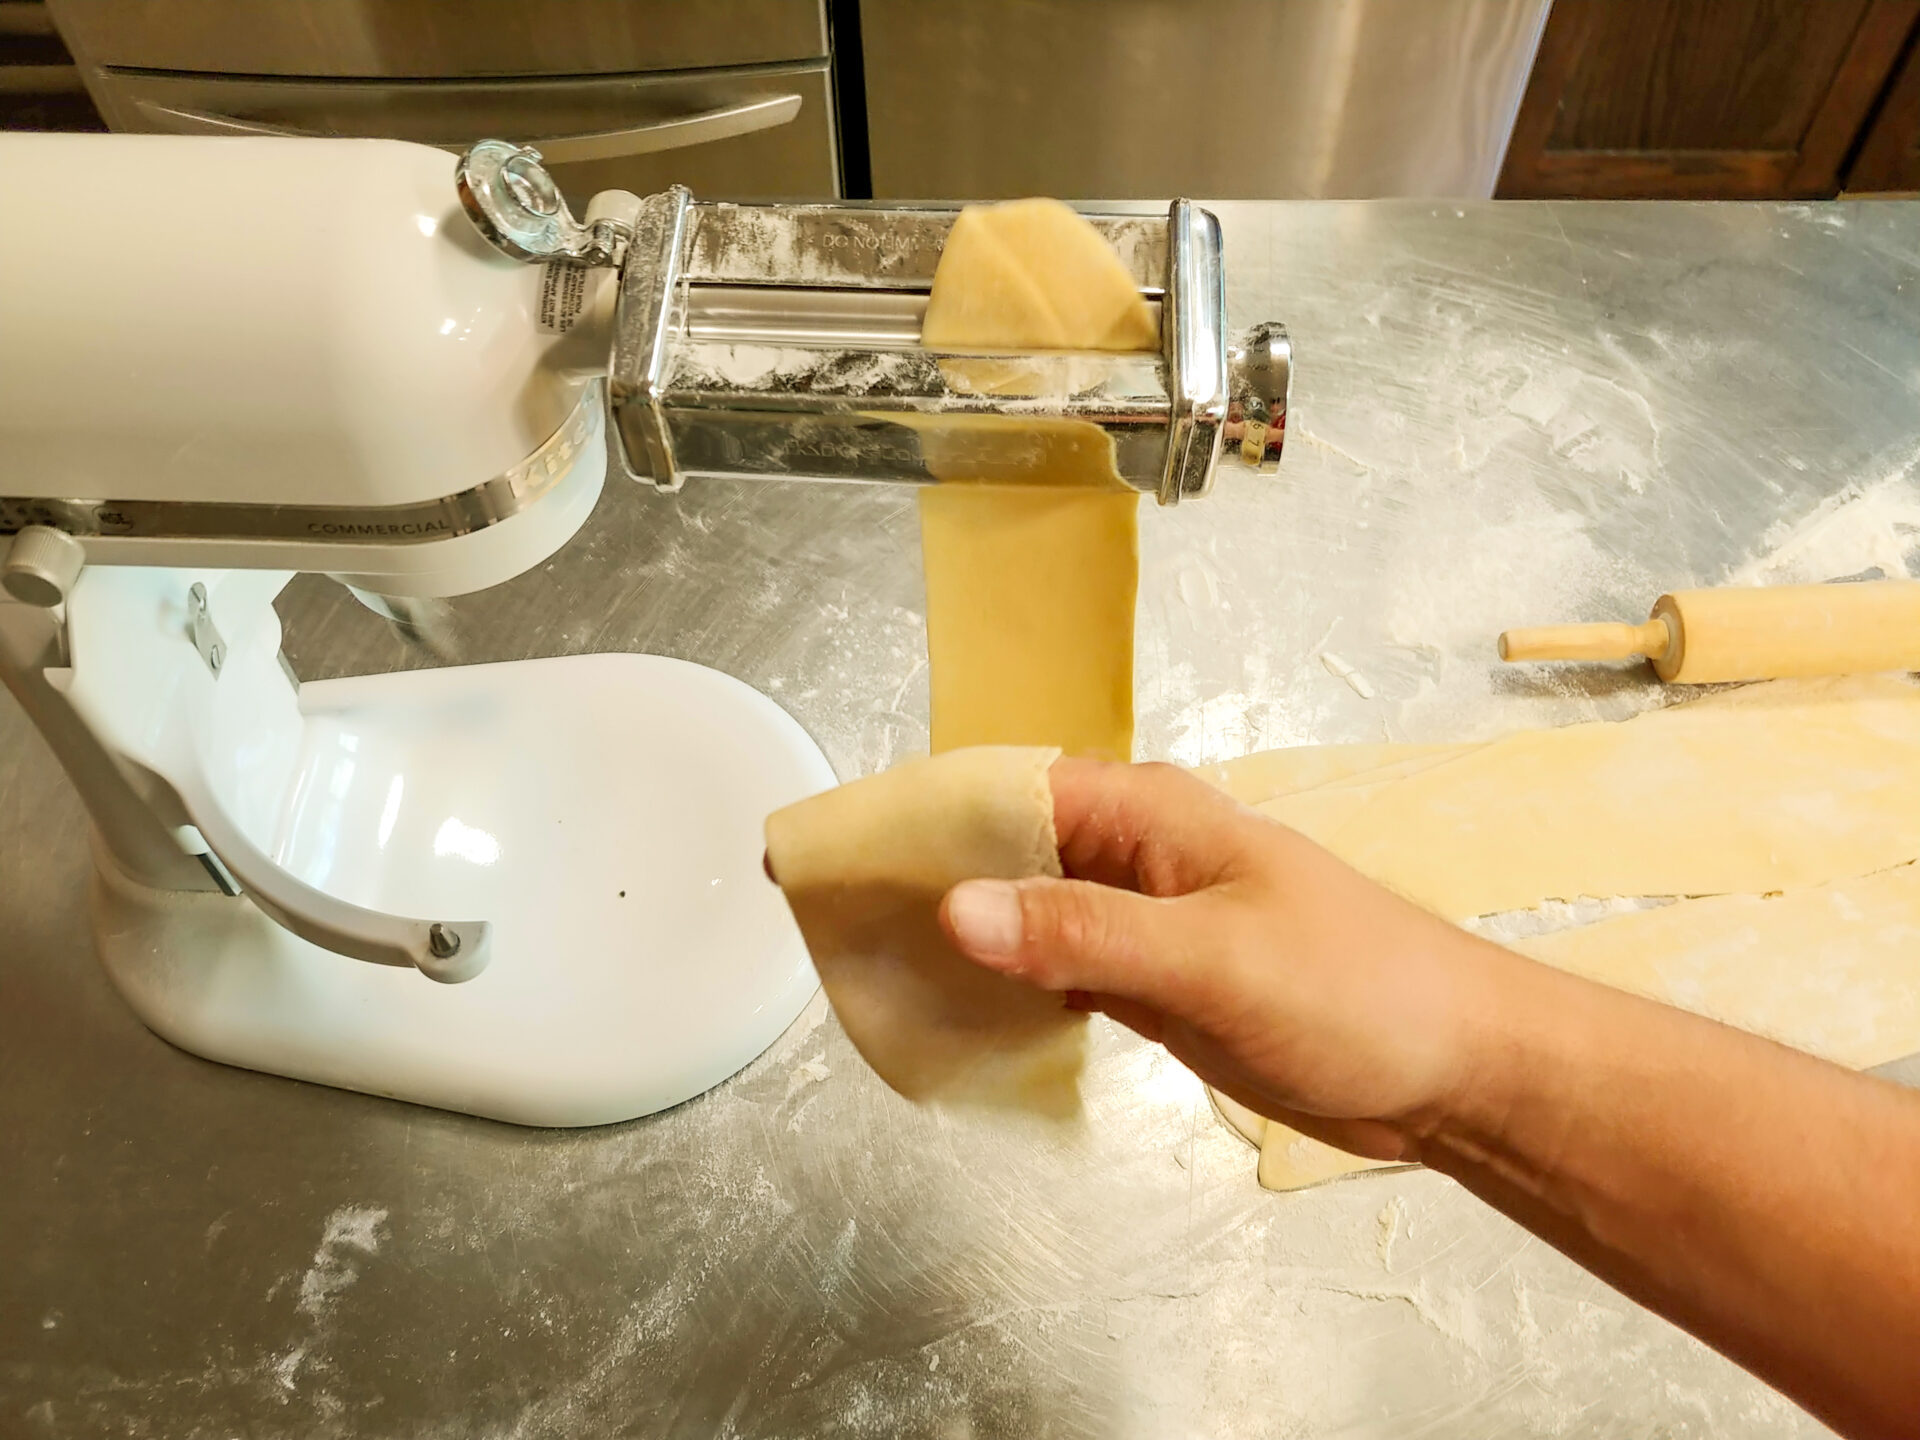
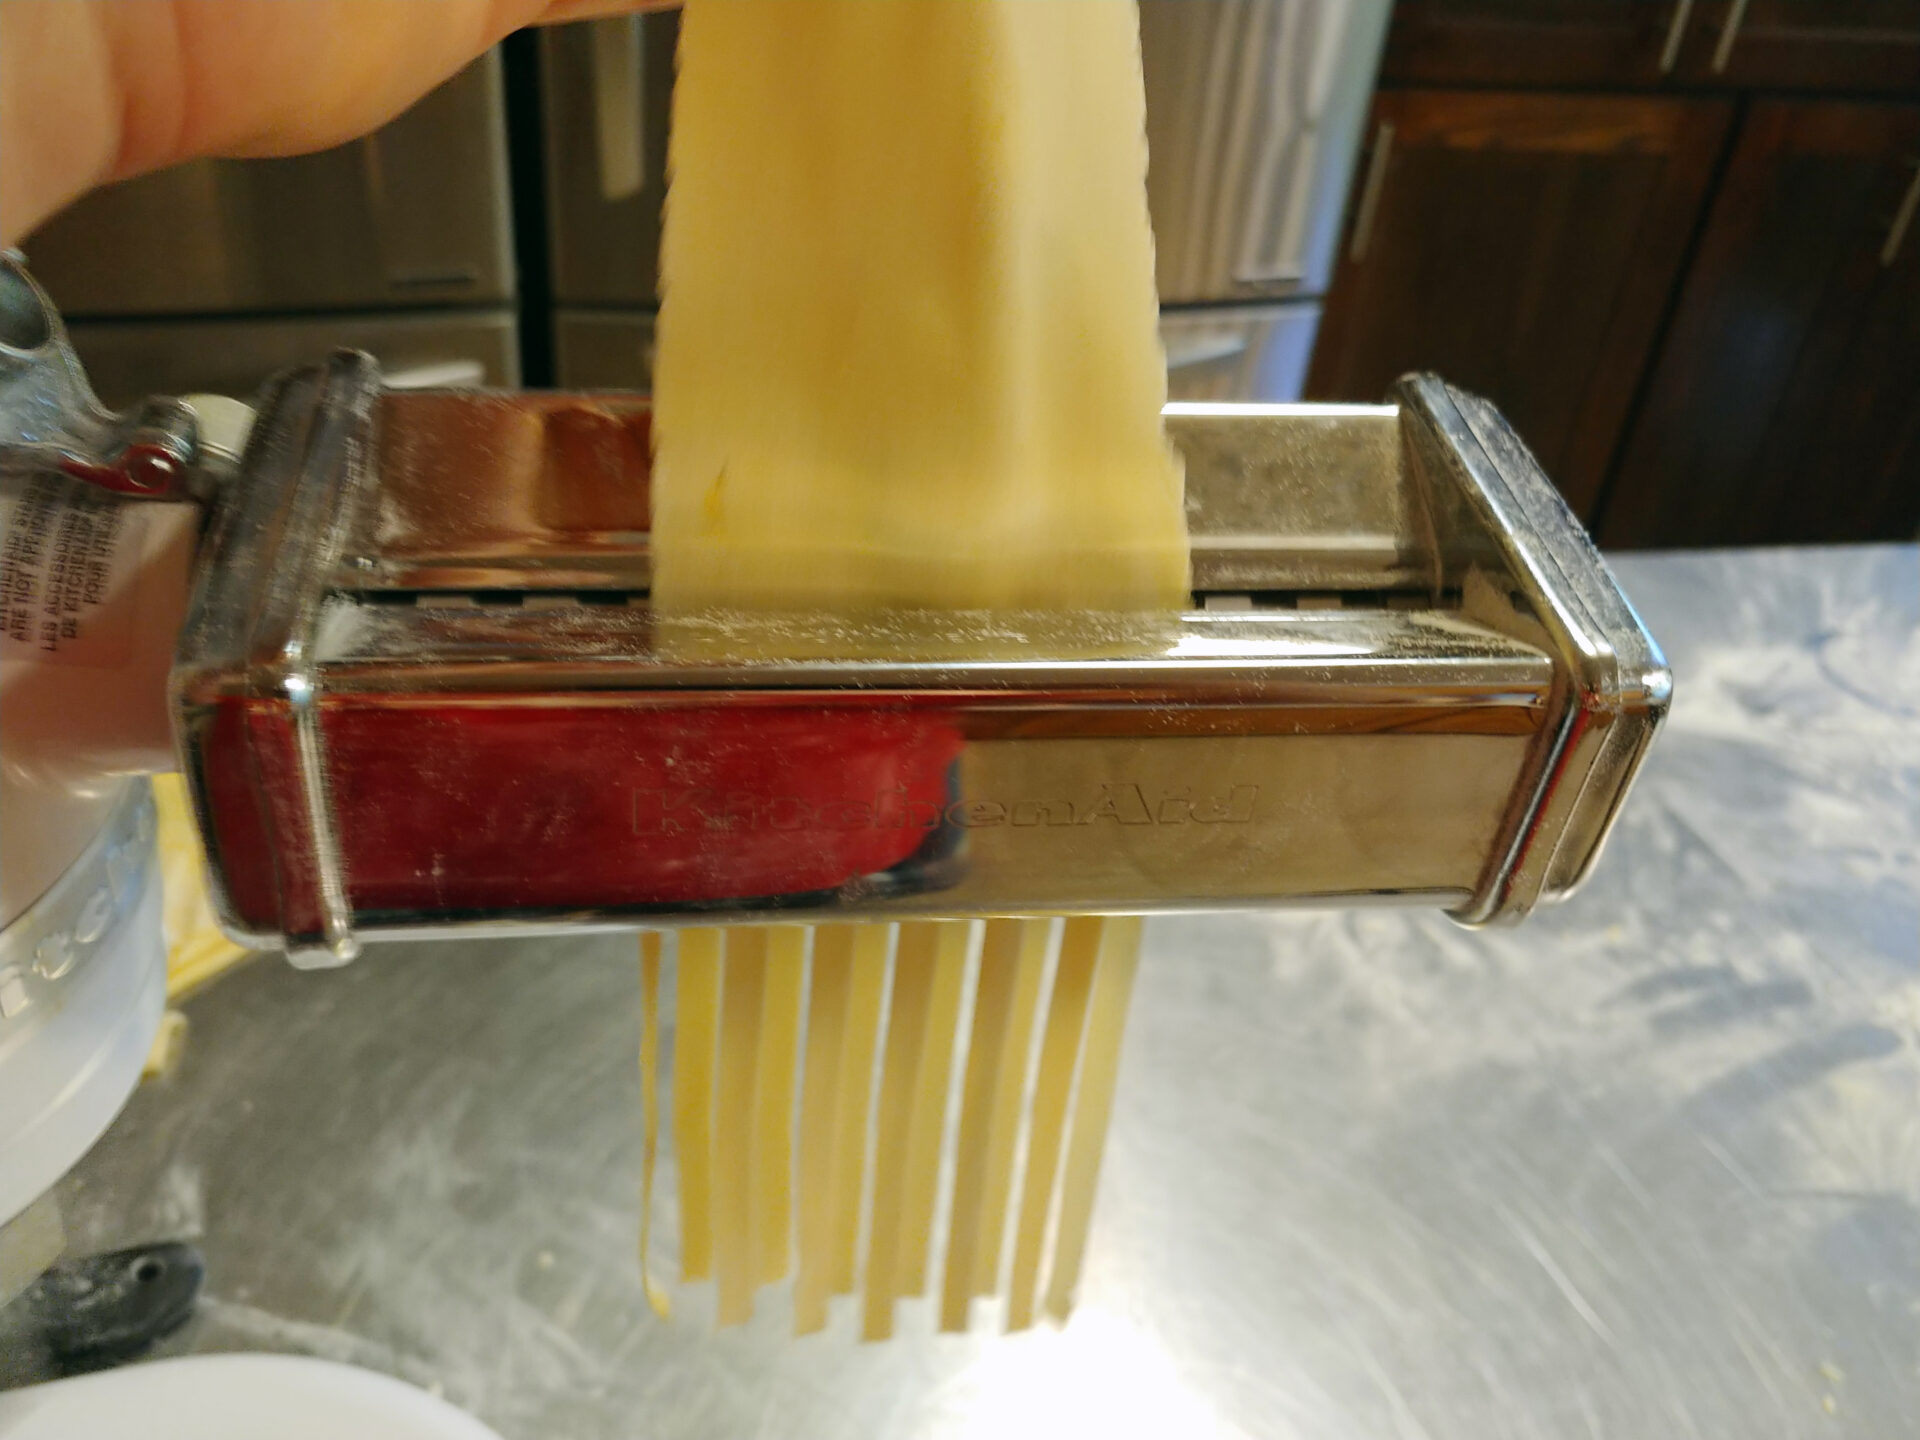
January 18, 2024Nothing beats the taste of fresh, homemade pasta. But did you know it’s easier than you think to make your own dough? With just a few ingredients and a bit of time, you can create delicate pasta that rivals anything from the store. Ditch the boxed stuff and unlock a world of culinary possibilities!
 Tom the Chef Founder
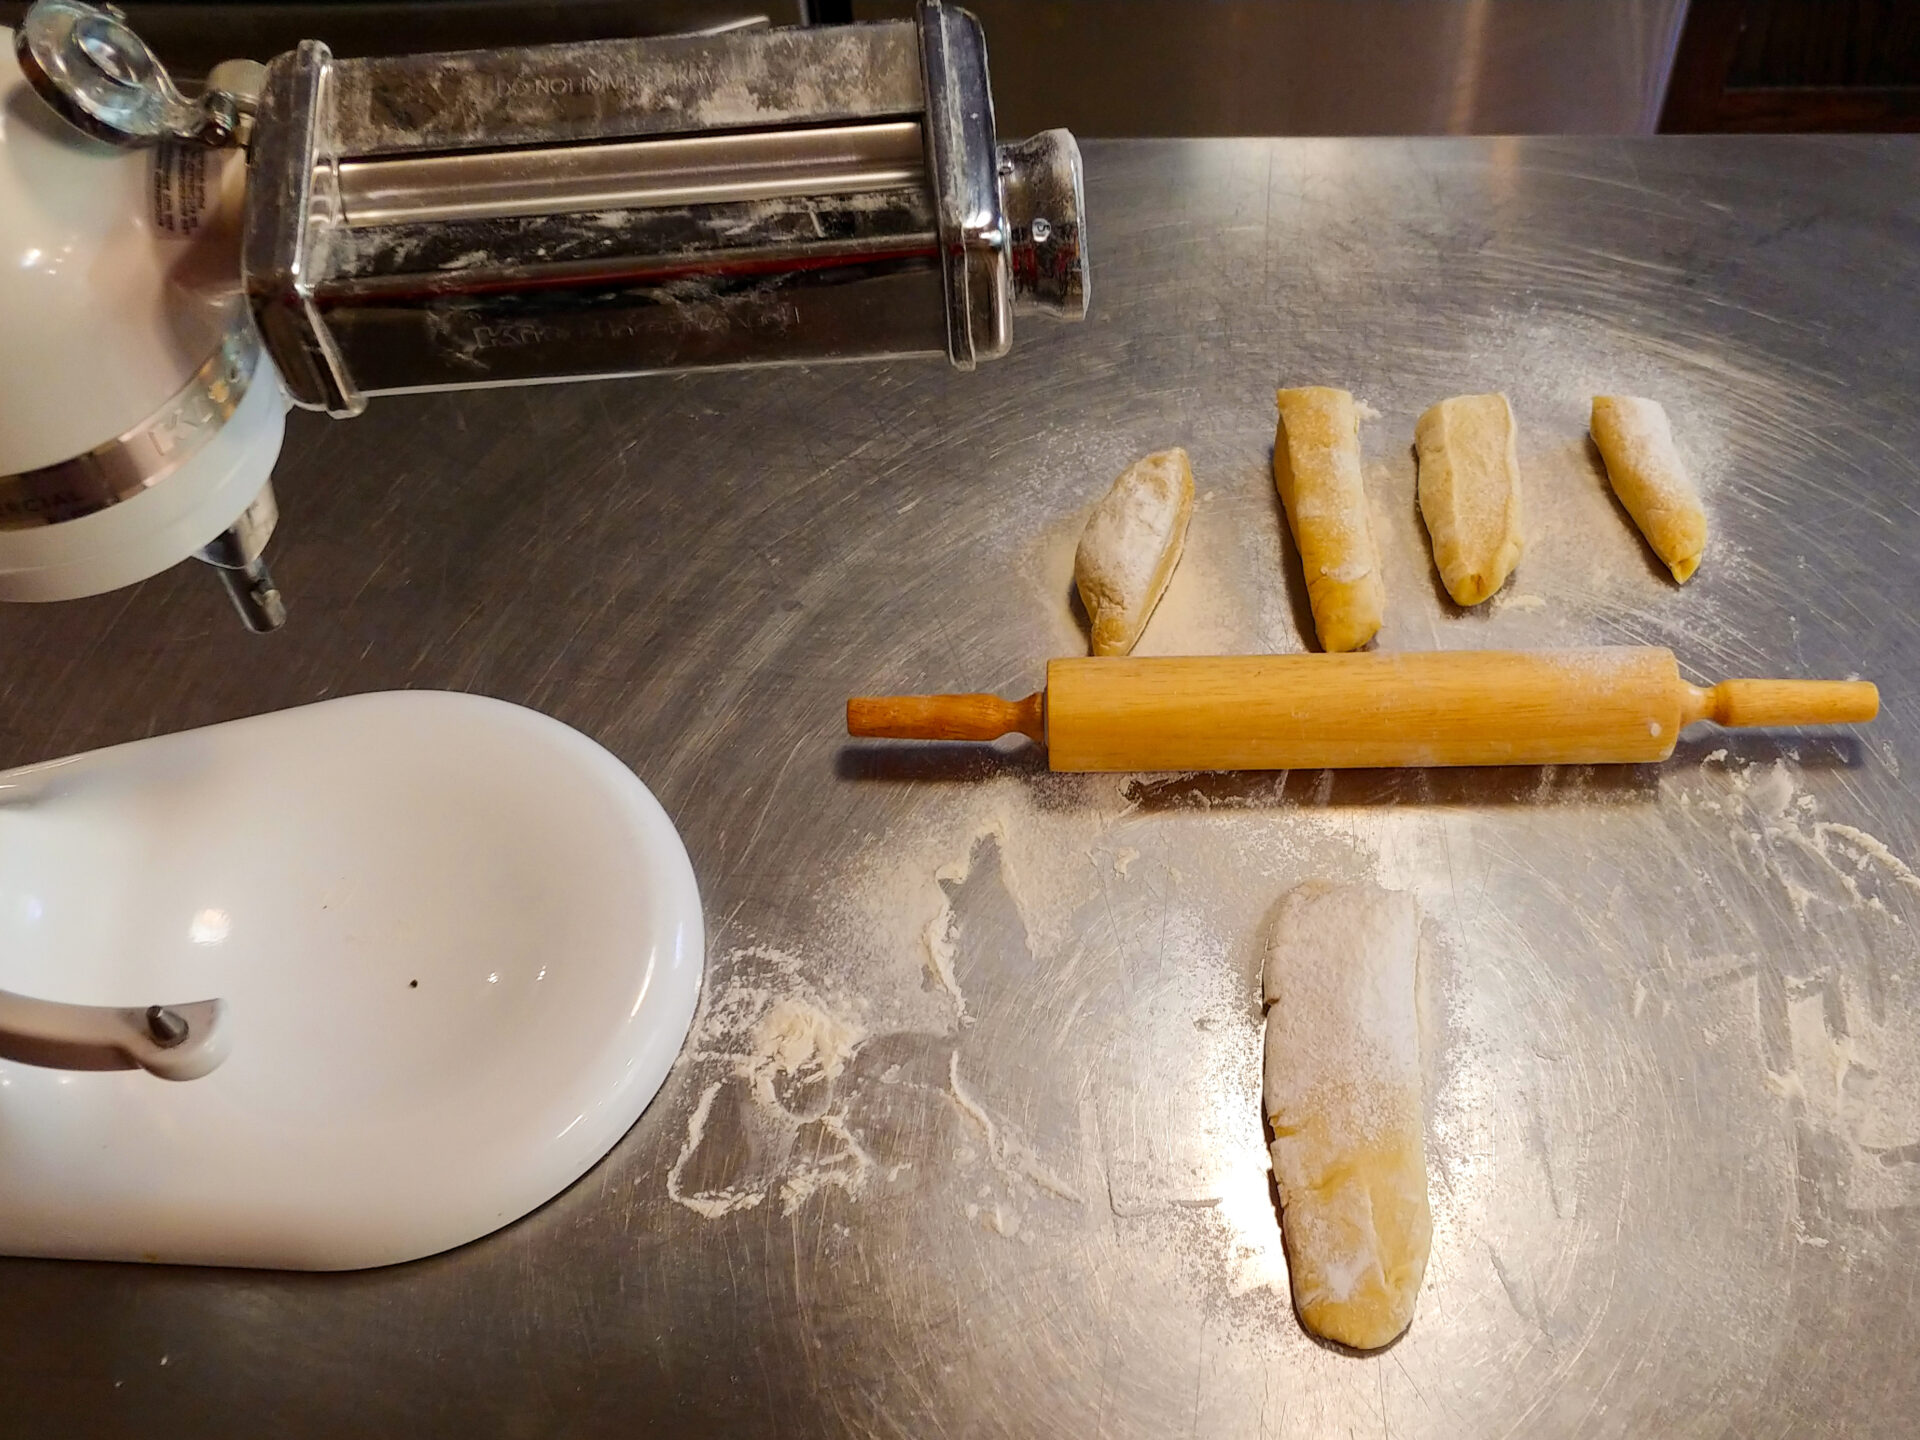


Share
Click on the icons below to share "Title of the item to share"