How to Grease and Flour Pan/Parchment Paper? Baking a cake is a delicate dance of ingredients, temperatures, and techniques, and one often-overlooked step that can make all the difference is the simple act of greasing and flouring the pan. This age-old practice, passed down through generations of bakers, is a crucial step in ensuring your cake emerges from the oven with a perfect golden crust and releases from the pan with effortless grace. Let’s dive deep into this essential baking technique, exploring its purpose, methods, and tips to guarantee your cakes are nothing short of masterpieces.
Why Grease and Flour? Unveiling the Purpose
Imagine this: you’ve carefully crafted a batter, poured it into your favorite cake pan, and patiently waited for it to bake to golden perfection. But when you try to remove the cake from the pan, it stubbornly clings to the sides, leaving behind chunks of cake and ruining your beautiful creation. This is where greasing and flouring comes to the rescue!
Greasing and flouring a pan serves two primary purposes:
- Preventing Sticking: The grease, whether it’s shortening, butter, or another fat, creates a slippery barrier between the batter and the pan. This prevents the cake from sticking and ensures a clean release when you invert the pan after baking. This means your cake will slide out effortlessly, preserving its beautiful shape and preventing any heartbreaking cracks or crumbles.
- Creating a Golden Crust: The thin layer of flour that you dust over the greased surface isn’t just for show. It plays a crucial role in creating a beautiful golden crust on the cake’s exterior. The flour also helps to absorb excess moisture from the batter, preventing a soggy bottom and promoting even baking.
Choosing the Right Grease: A Matter of Preference and Purpose
While there are several options for greasing a pan, some choices are better suited for baking cakes than others. Here’s a breakdown of the most common options:
- Shortening: Solid vegetable shortening is a popular choice for greasing pans, and for good reason. It creates a reliable non-stick surface and has a neutral flavor that won’t interfere with the delicate taste of your cake.
- Butter: Butter can also be used for greasing, and it adds a subtle richness to the cake’s flavor. However, butter has a lower melting point than shortening, which can sometimes lead to sticking if the oven temperature is too high or the baking time is extended.
- Oil: While oil can be used in a pinch, it’s generally not the best choice for greasing cake pans. It tends to create a thinner coating that may not provide adequate protection against sticking, especially for delicate cakes.
The Greasing Process: A Step-by-Step Guide to Perfection
- Prepare the Pan: Start with a clean and dry baking pan. Any residue or moisture can interfere with the greasing process and potentially cause your cake to stick. Wash the pan thoroughly with soap and water, then dry it completely with a clean towel.
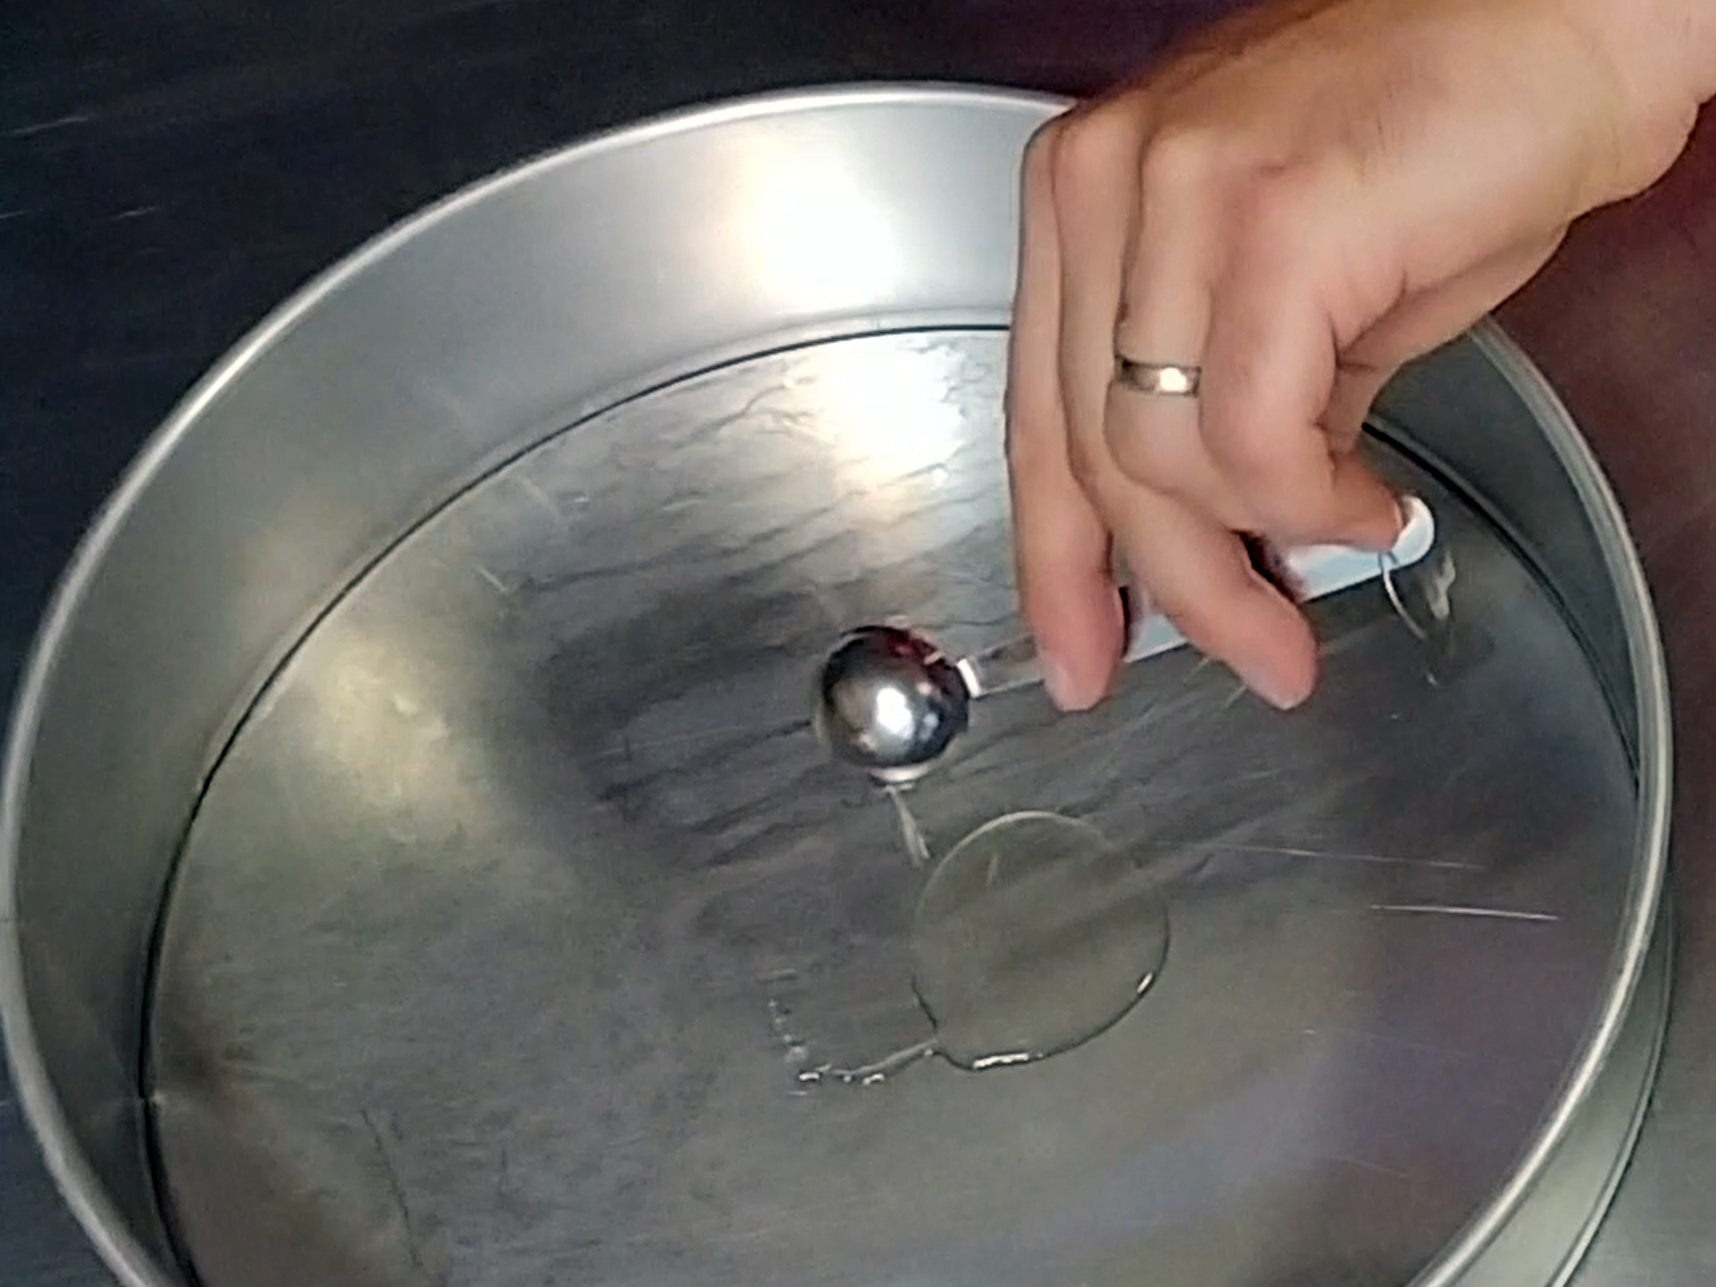
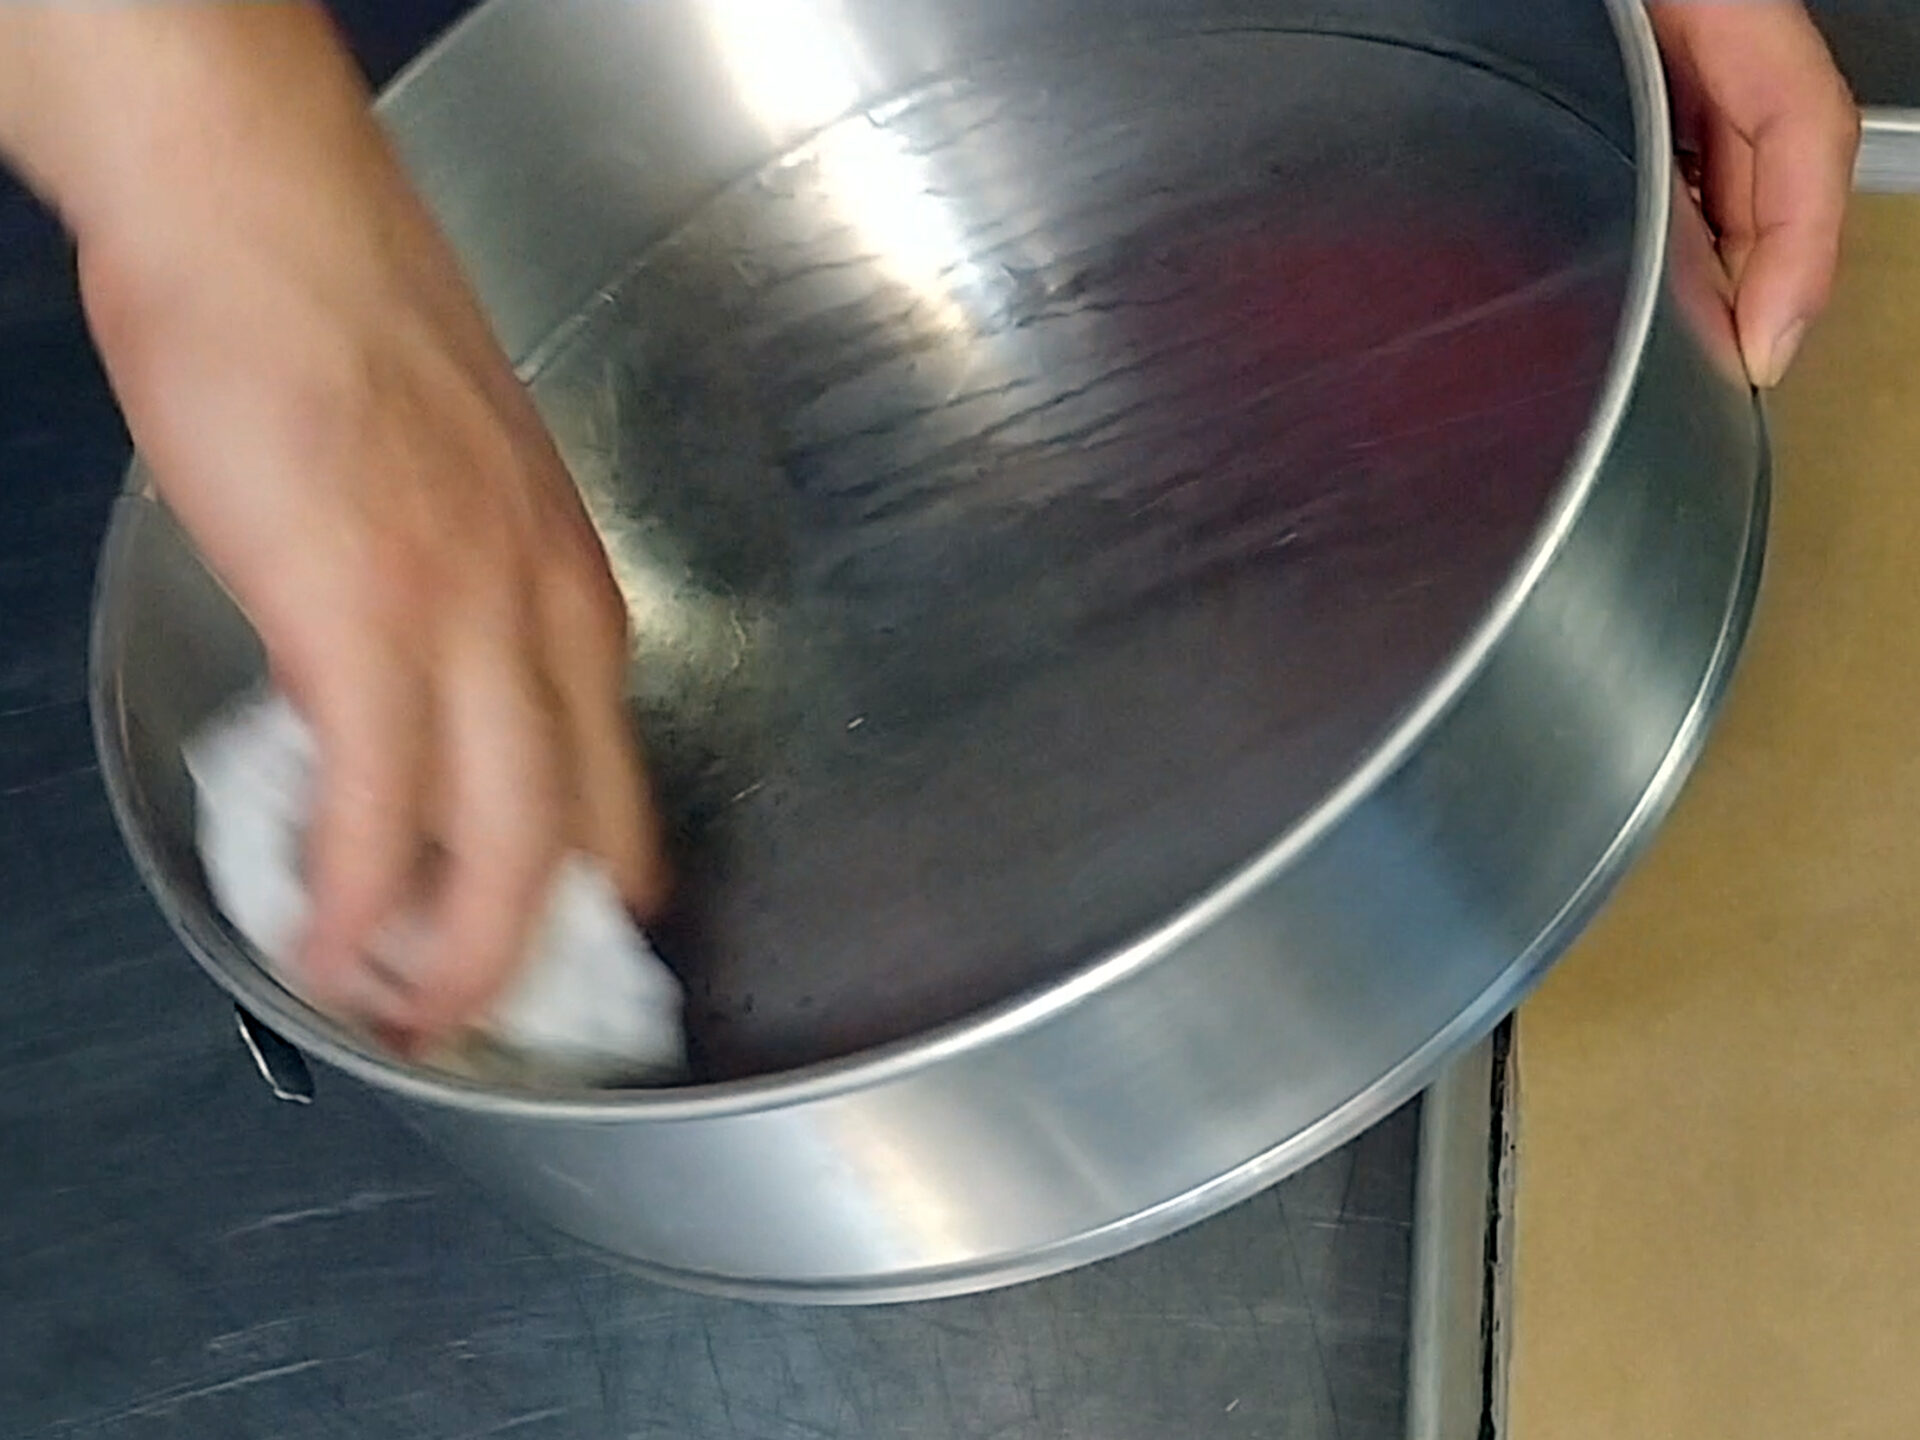
- Apply the Grease: Use your fingertips, a pastry brush, or a folded paper towel to evenly coat the inside of the pan with your chosen grease. Pay close attention to the corners and crevices, ensuring that every surface is covered with a thin layer of grease. Avoid applying too much grease, as this can result in a greasy cake. A light touch is key!
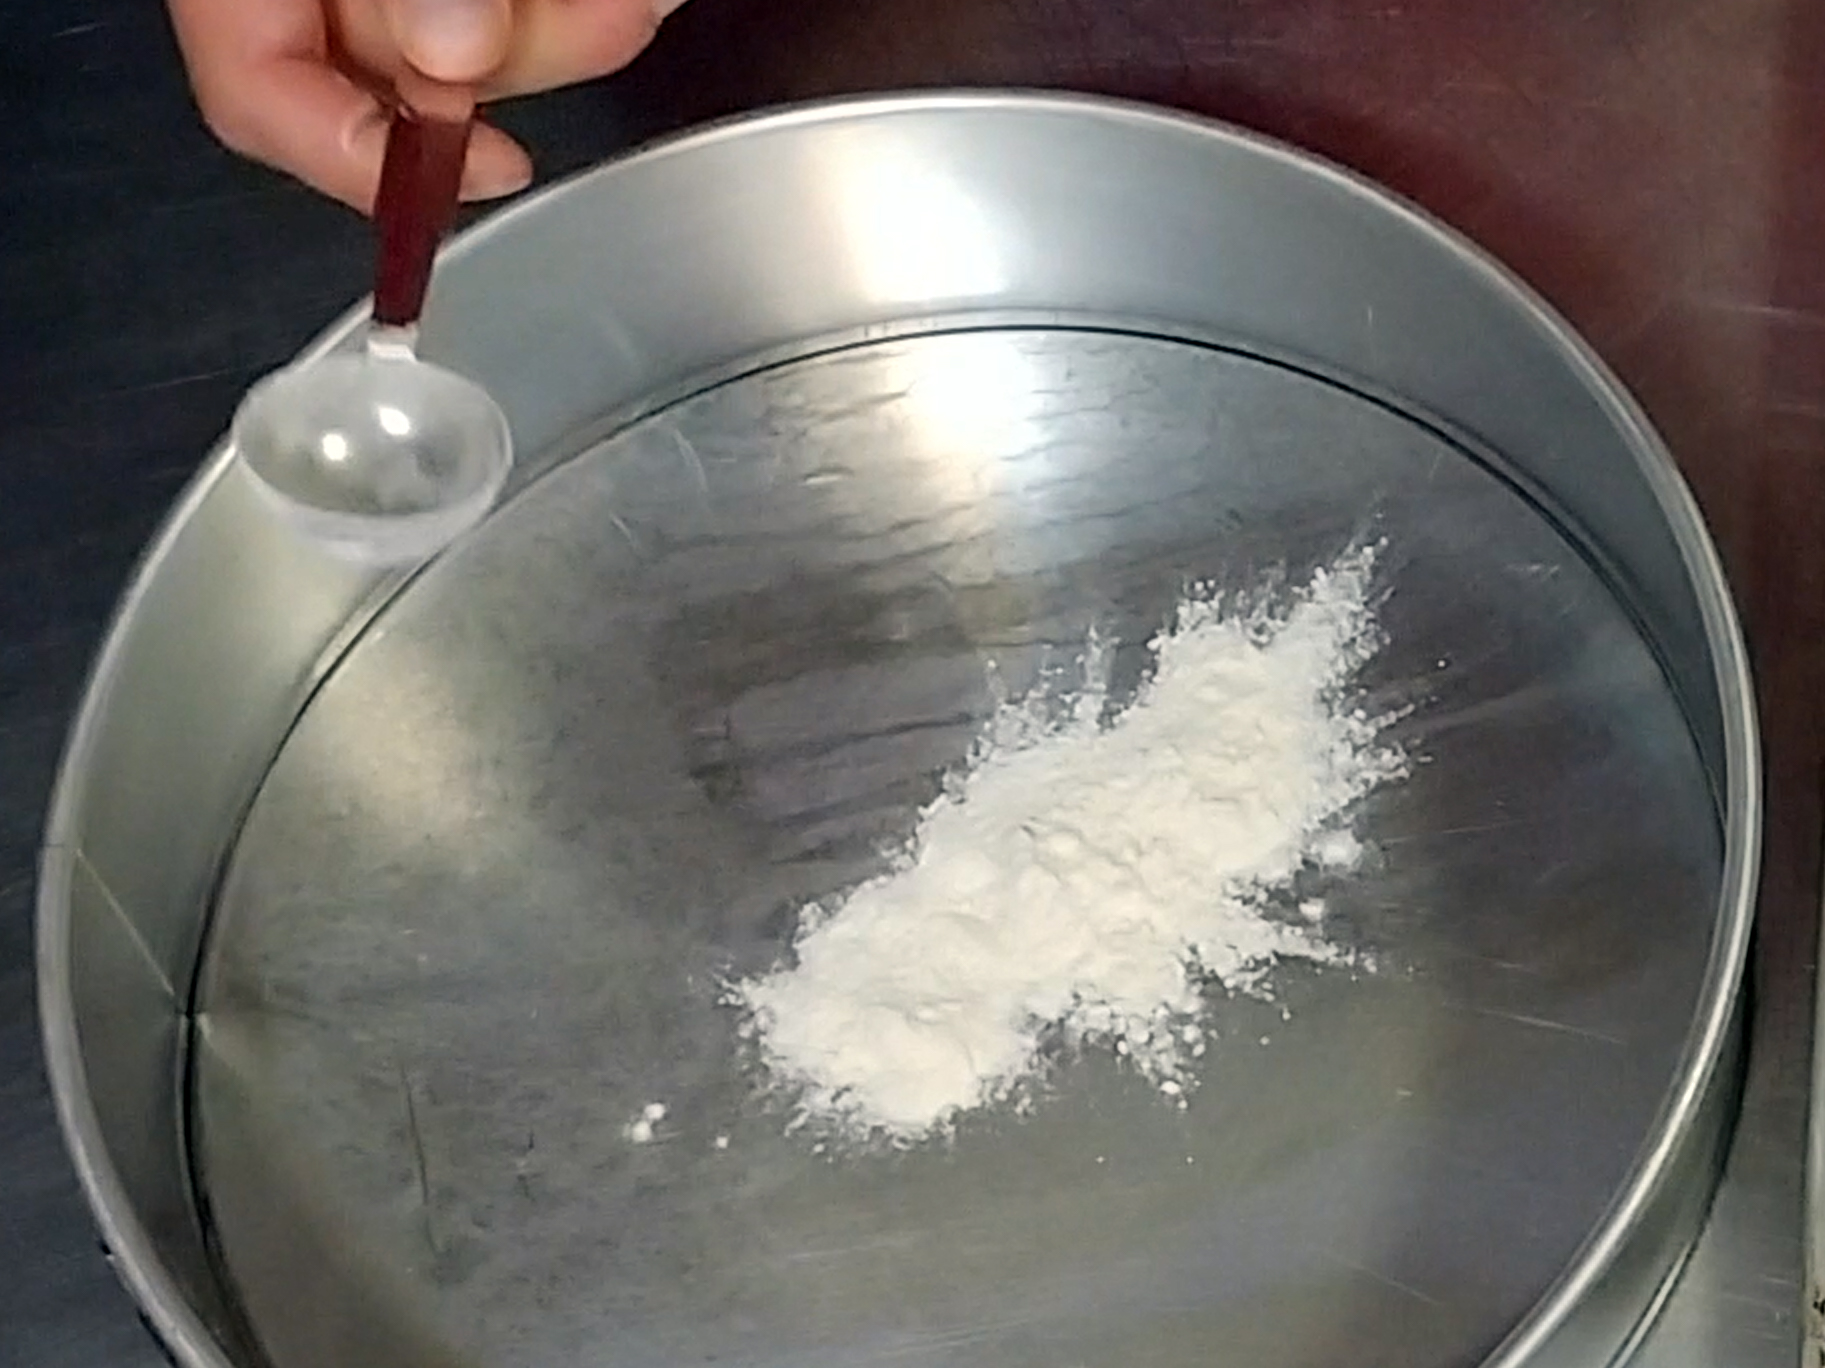
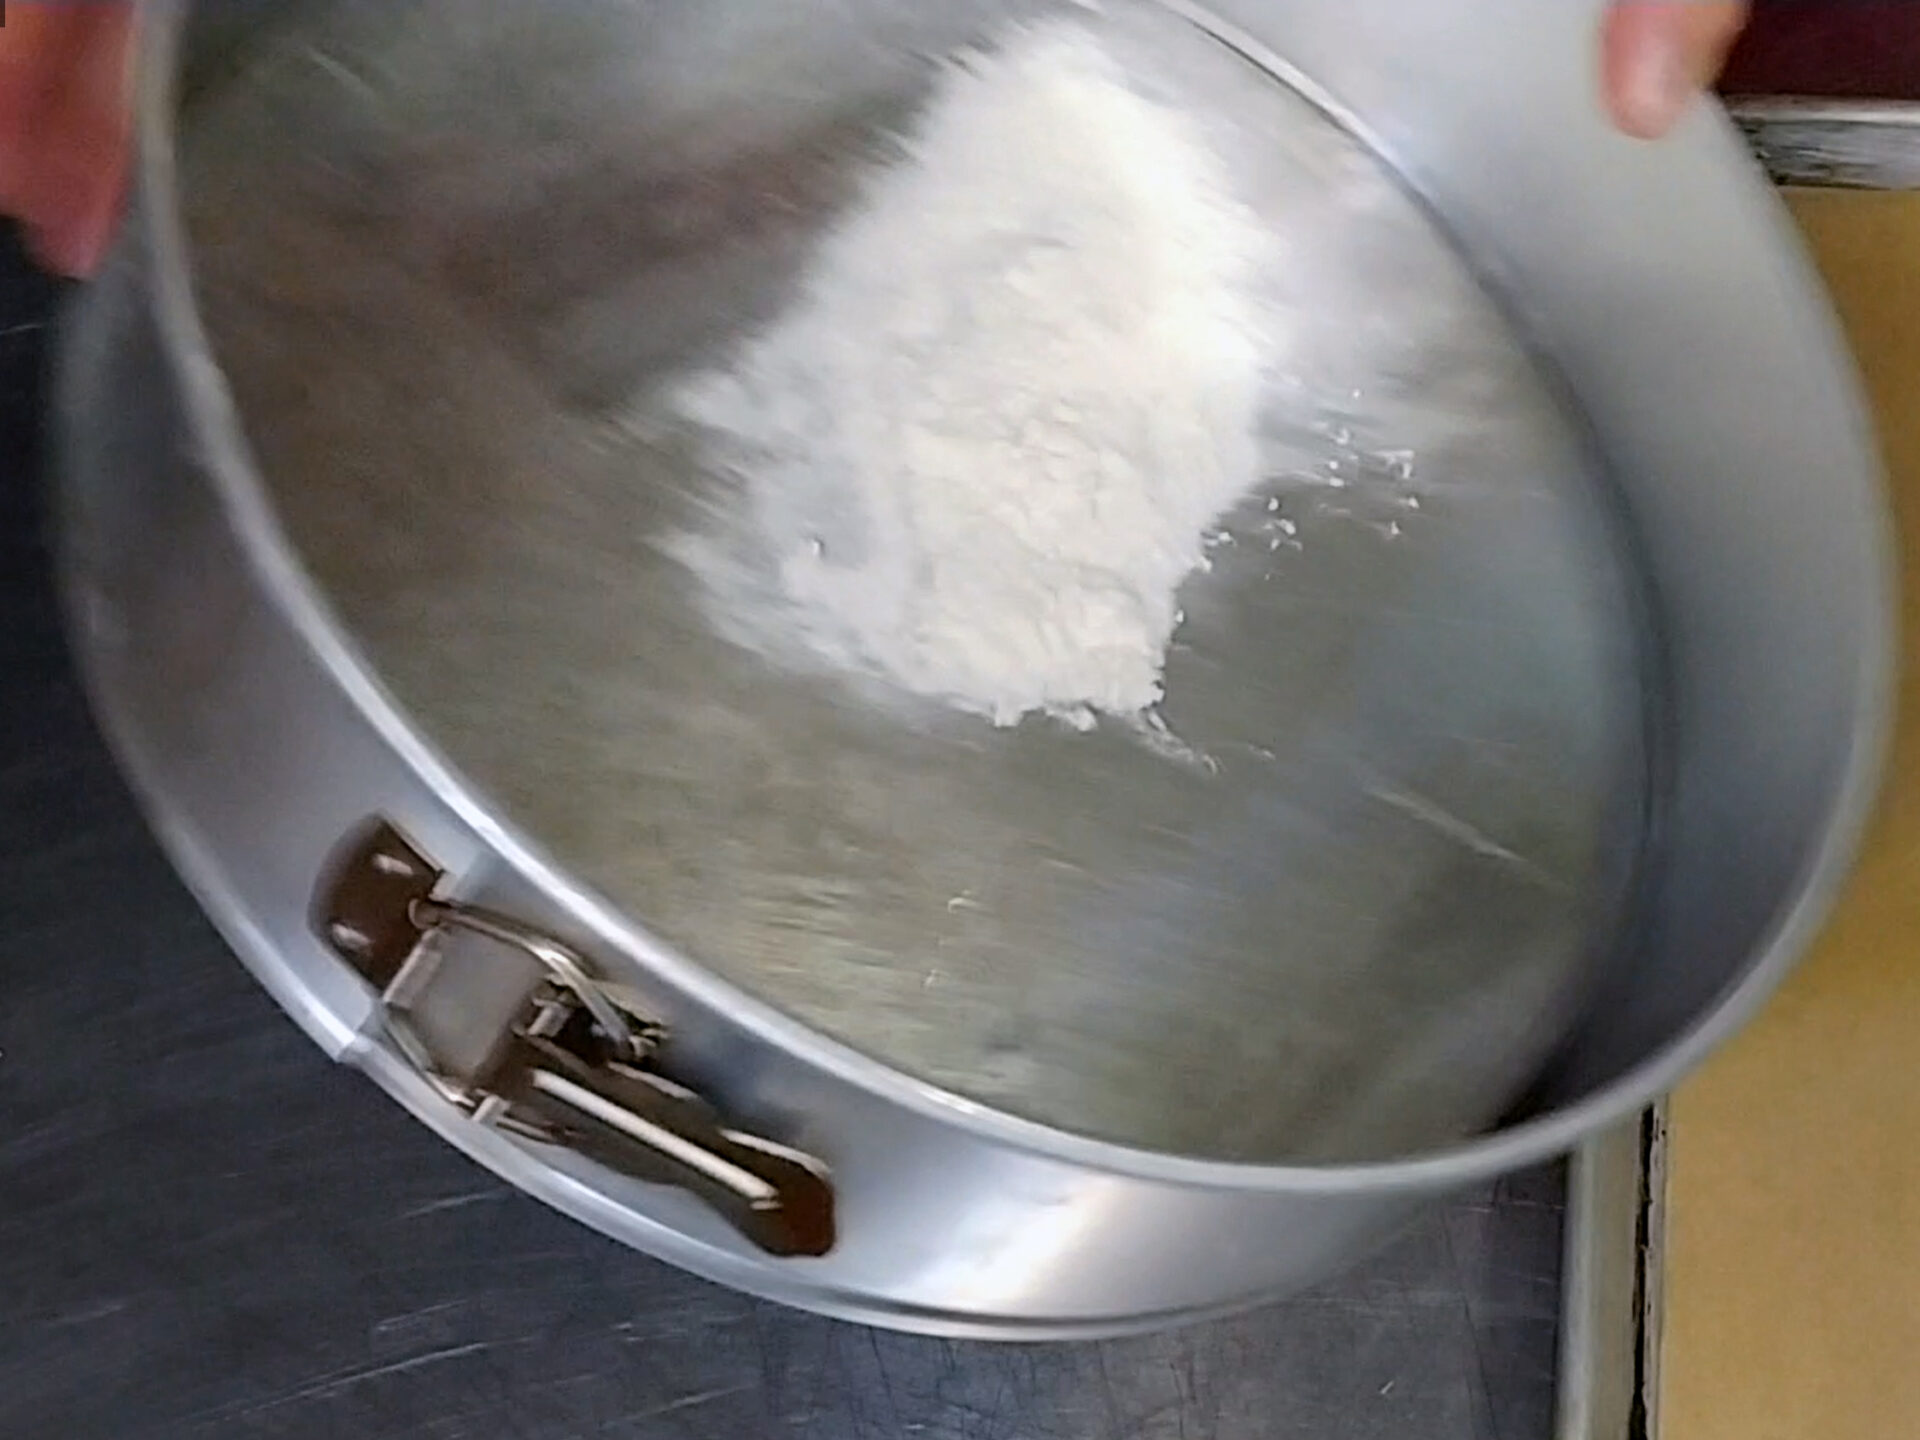
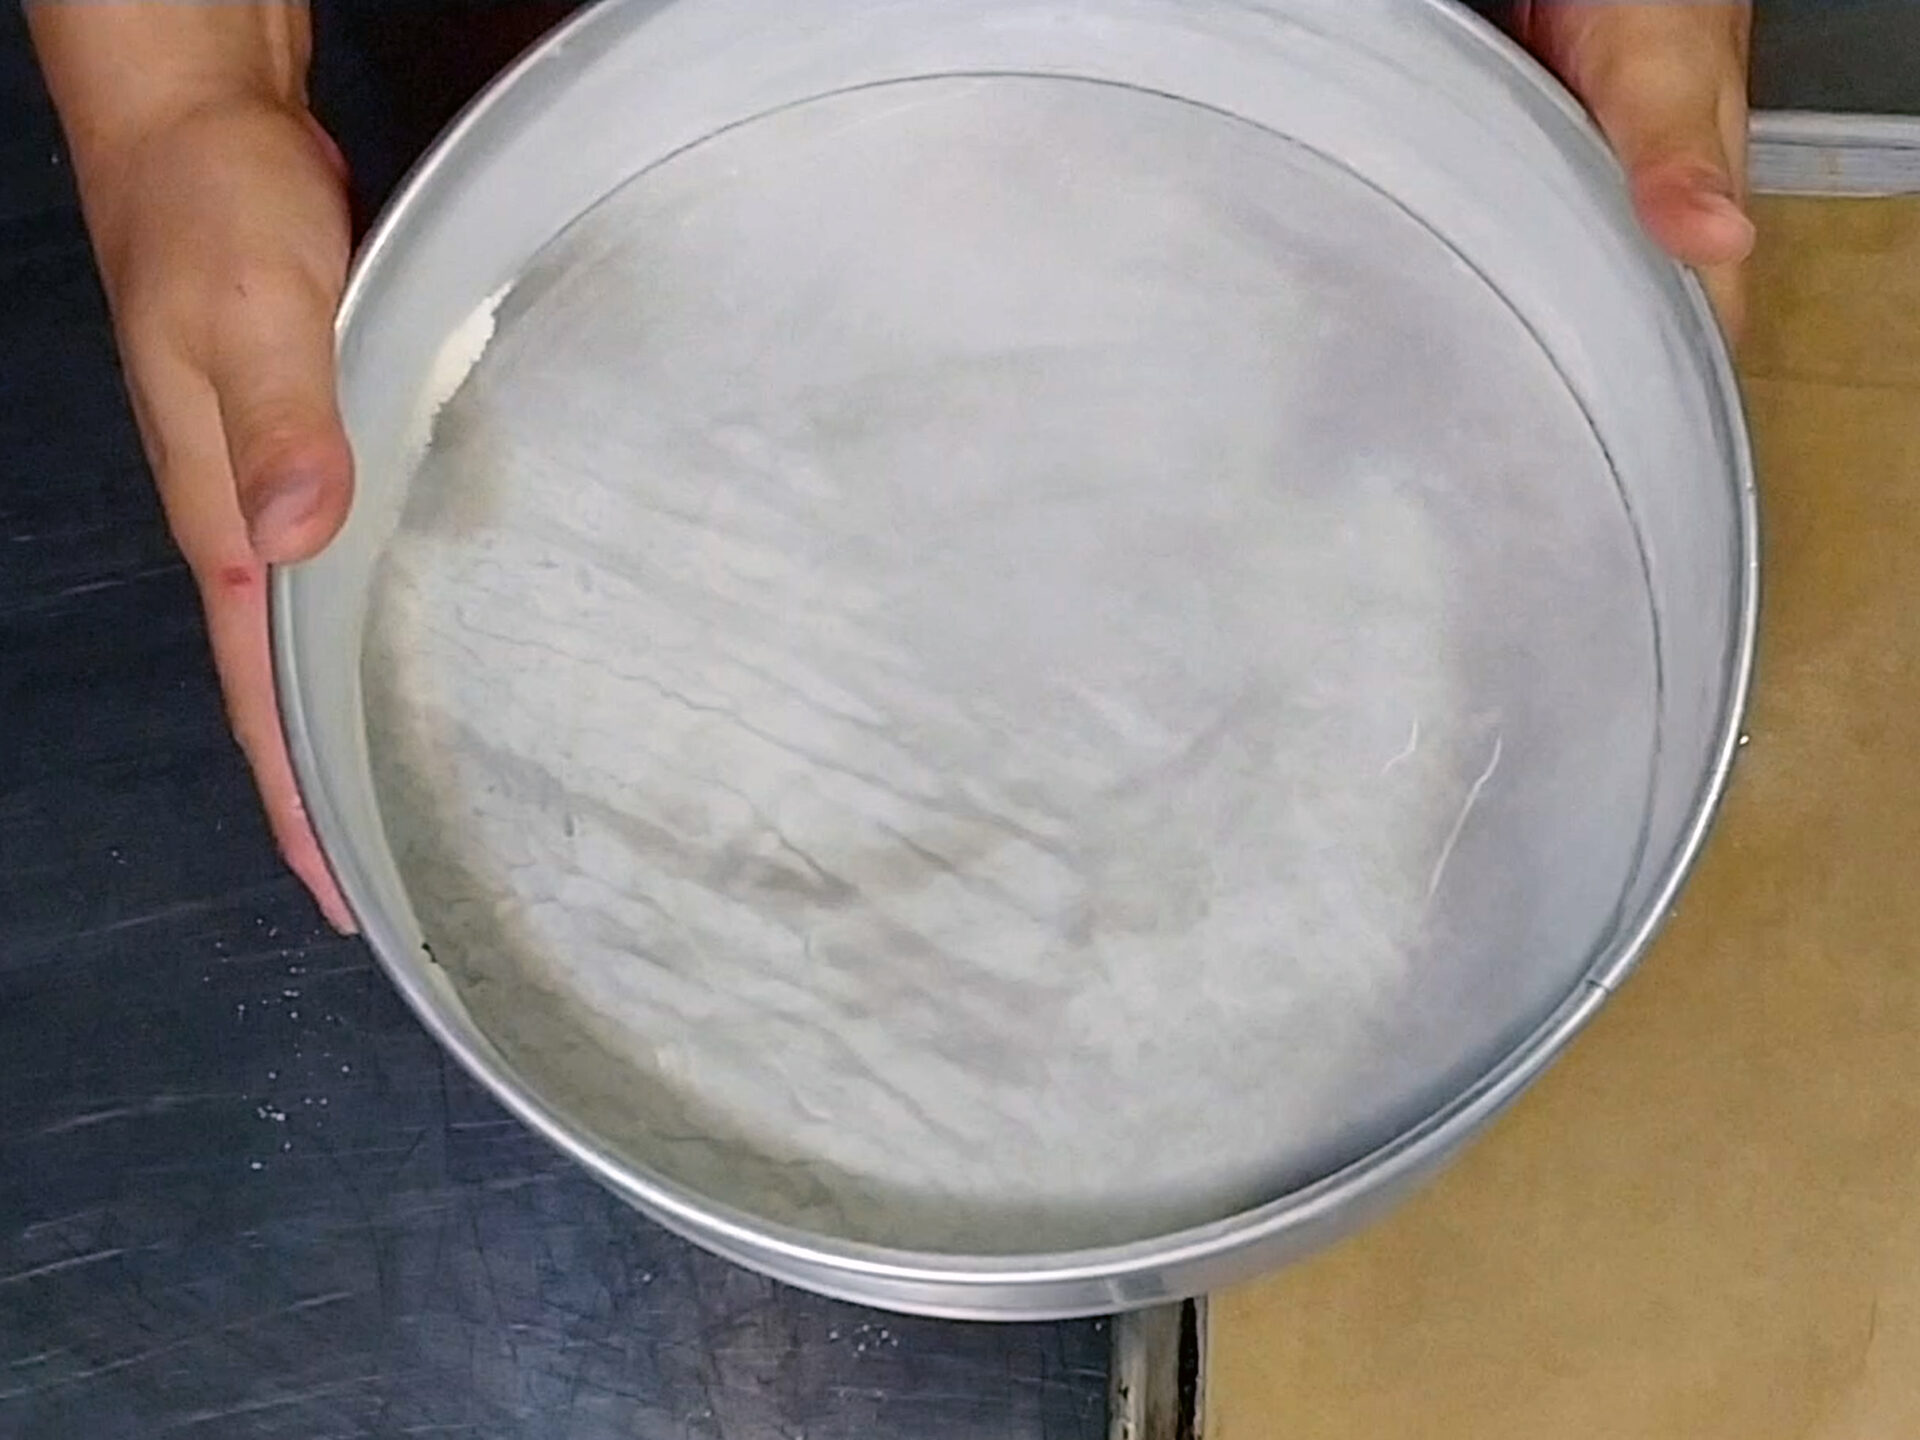
- Dust with Flour: Once the pan is greased, sprinkle a tablespoon or two of all-purpose flour into the pan. Gently shake, tap, and tilt the pan until the flour coats the entire greased surface, creating a thin, even layer. Discard any excess flour that doesn’t adhere to the grease.
Flour Power: Choosing the Right Flour for Your Cake
While all-purpose flour is the most common choice for flouring a pan, other options can be used depending on the recipe and the desired outcome:
- Cake Flour: Cake flour, with its finer texture, can create a more delicate crust on your cake. If you’re aiming for a light and airy cake, cake flour might be the way to go.
- Whole Wheat Flour: Whole wheat flour can add a nutty flavor and a slightly coarser texture to the crust. If you’re looking for a more rustic and wholesome cake, whole wheat flour can be a good choice.
- Gluten-Free Blends: Gluten-free flour blends can be used for those with gluten sensitivities, allowing everyone to enjoy delicious and beautifully baked cakes.
Greasing and Flouring: Tips and Tricks for Baking Success
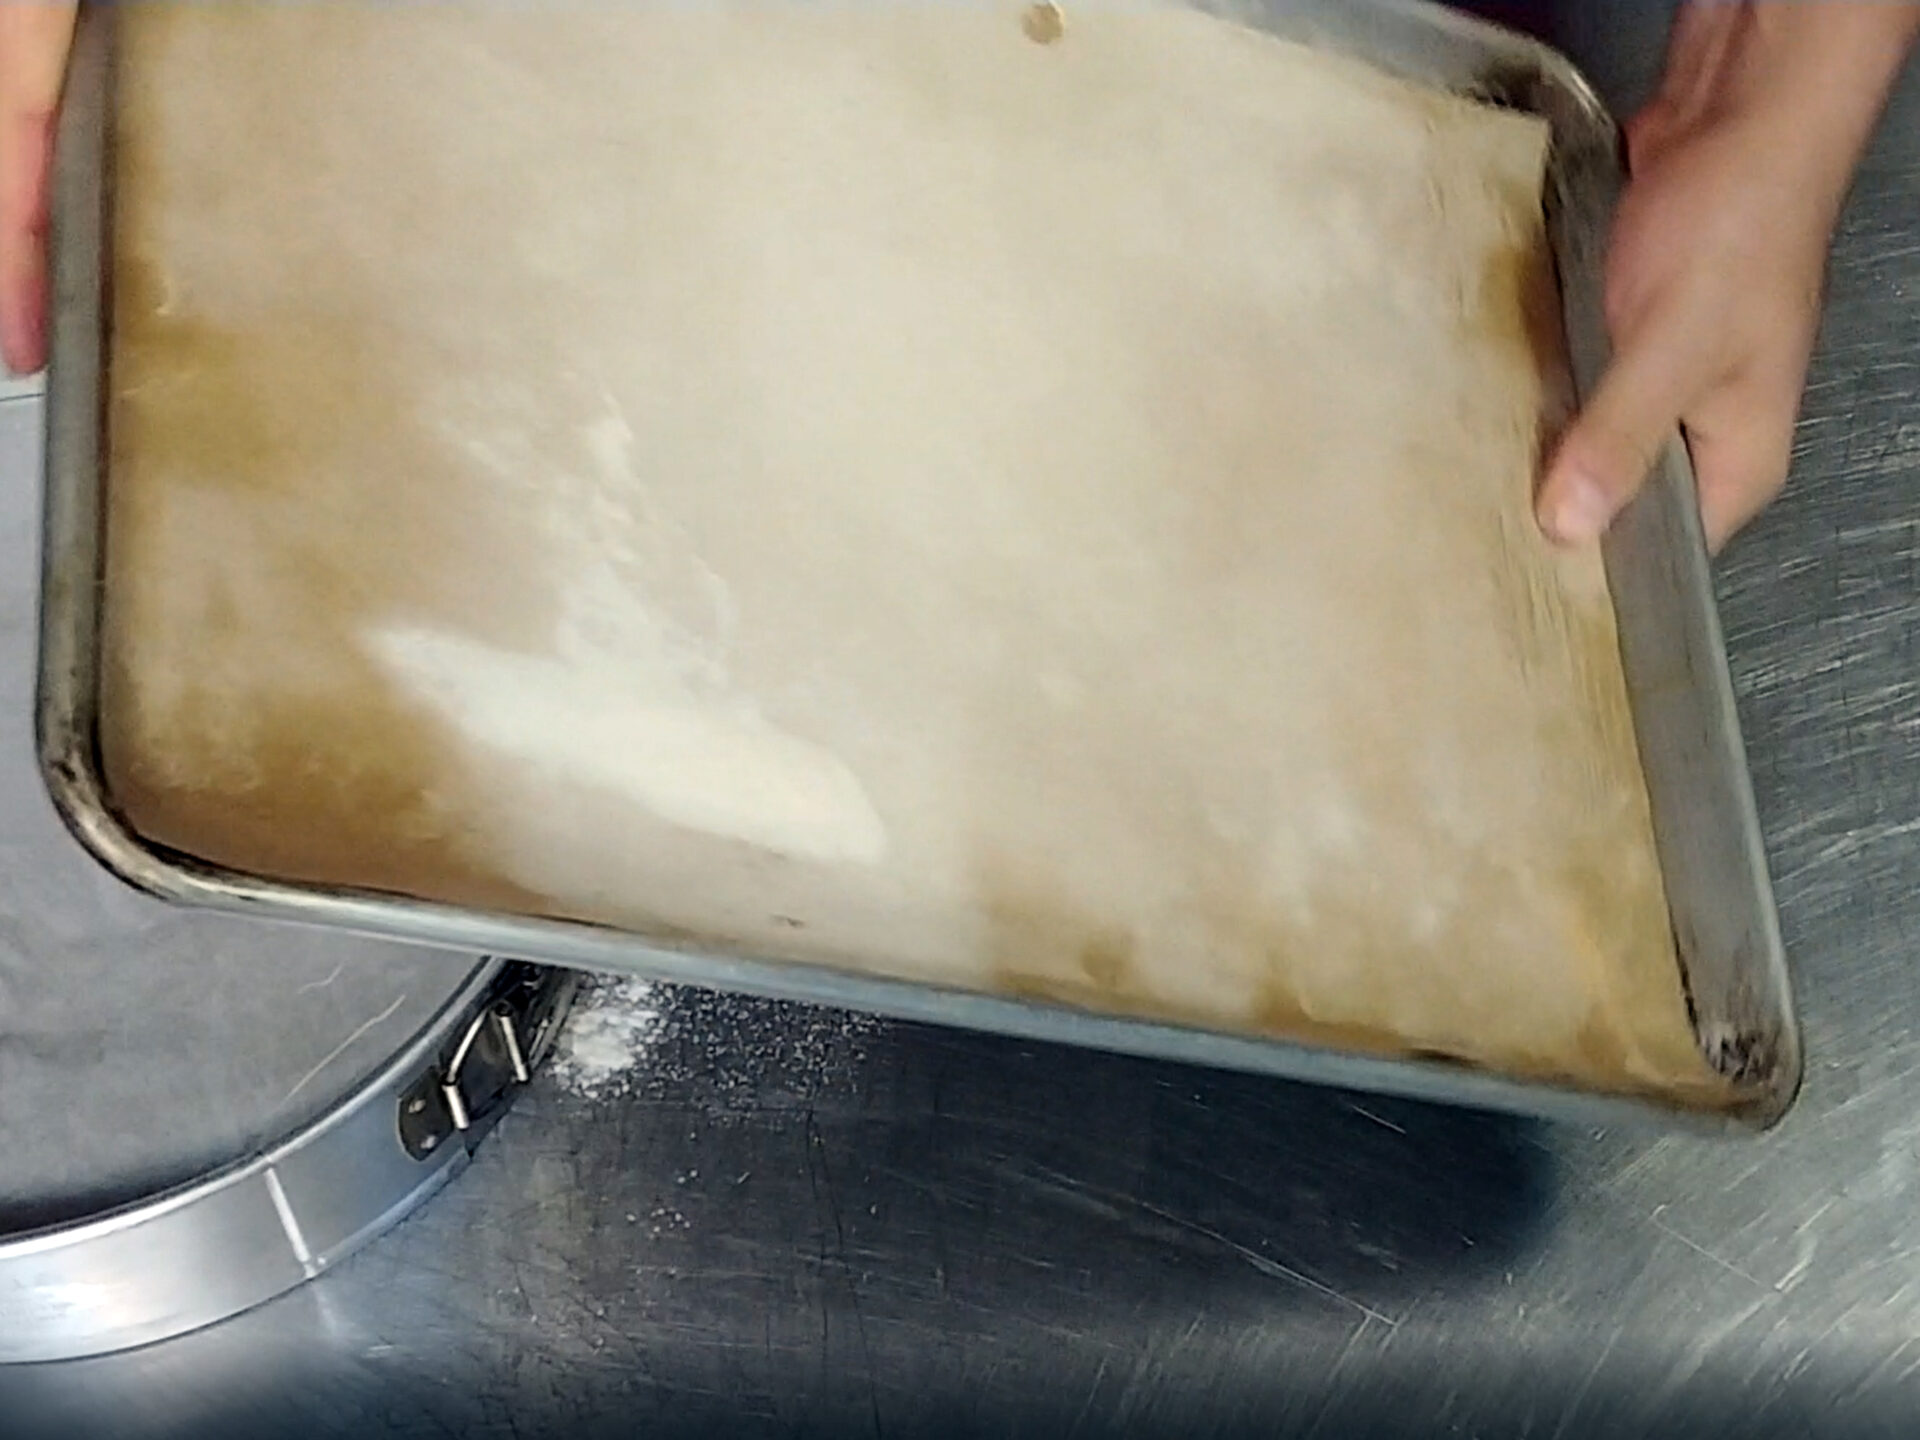
- Parchment Paper: For extra insurance against sticking, line the bottom of the pan with parchment paper after greasing and flouring. This creates an additional barrier and ensures a clean release, especially for cakes with delicate textures.
- Bundt Pans: Bundt pans, with their intricate designs and crevices, can be tricky to grease and flour. Use a pastry brush to ensure that all the nooks and crannies are properly coated. This will prevent the cake from sticking to the intricate details of the pan.
- Cooling Time: Allow the cake to cool in the pan for about 10 minutes before inverting it onto a cooling rack. This allows the cake to firm up slightly and reduces the risk of breakage when you remove it from the pan.
- Troubleshooting: If your cake does stick, don’t panic! Try running a thin knife around the edges to loosen it from the pan. You can also try placing a warm, damp towel over the bottom of the pan to help release the cake.
Beyond Cakes: Other Applications for Greasing and Flouring
The greasing and flouring technique isn’t limited to cakes. It can also be used for other baked goods, such as:
- Muffins and Cupcakes: Grease and flour muffin tins to prevent sticking and ensure easy removal of your perfectly baked muffins and cupcakes.
- Loaf Pans: Grease and flour loaf pans for breads, pound cakes, and other baked goods that are baked in loaf pans.
- Pie Plates: For pies with a crumb crust, greasing and flouring the pie plate can help prevent the crust from sticking and ensure a clean slice.
Greasing and Flouring: A Baker’s Best Friend
Greasing and flouring a pan is a simple yet essential technique that can make all the difference in your baking endeavors. By creating a non-stick surface and promoting a beautiful golden crust, this time-honored practice ensures that your cakes and other baked goods emerge from the oven with flawless finesse. So, embrace this baker’s secret, master the technique, and enjoy the satisfaction of perfectly released, beautifully baked creations.
Read less
Comments